Changing the display of the content editor screen
You can change the display of the content editor screen using a CSS for the content structure. Write a custom CSS to hide content or change colors.
This tutorial explains how to hide the "Advanced settings" element on the content editor screen.
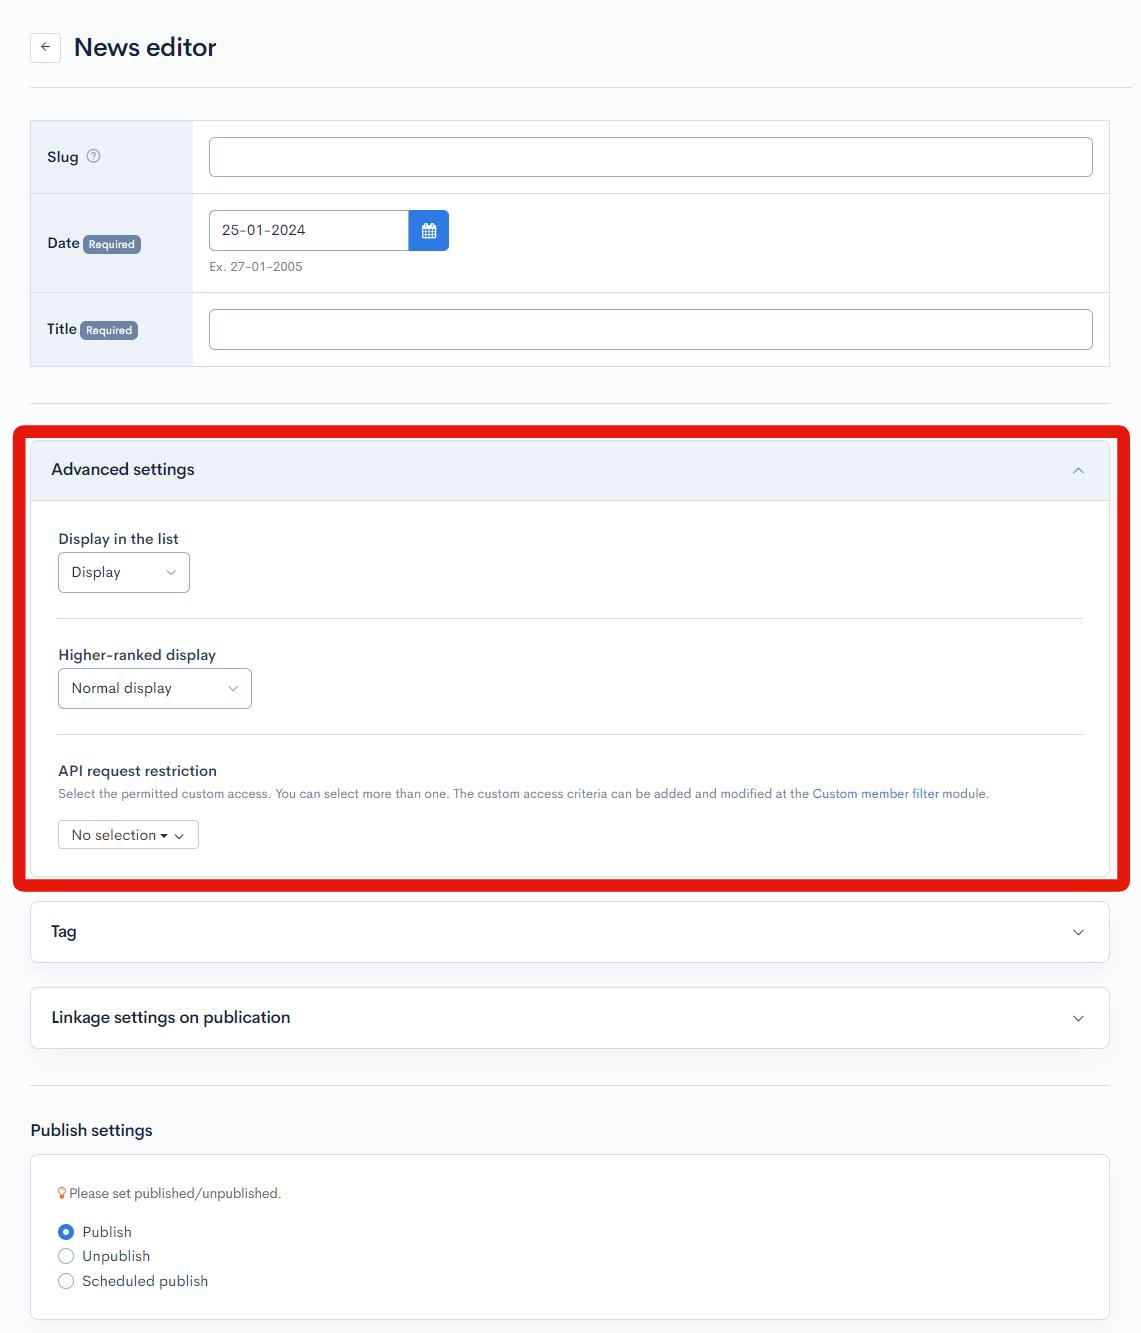
Hiding the unwanted element
1. Navigate to the content editor
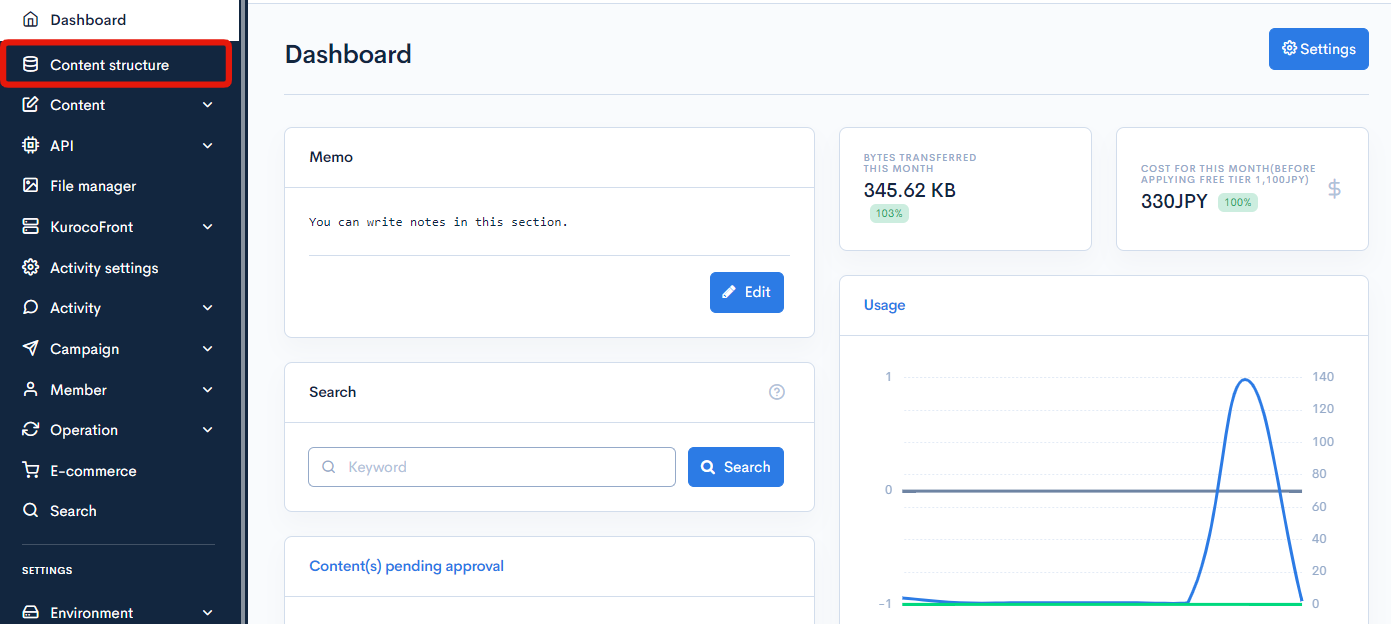
First, go to the content editor screen with the element you want to hide. In the left sidebar menu, click [Content structure].
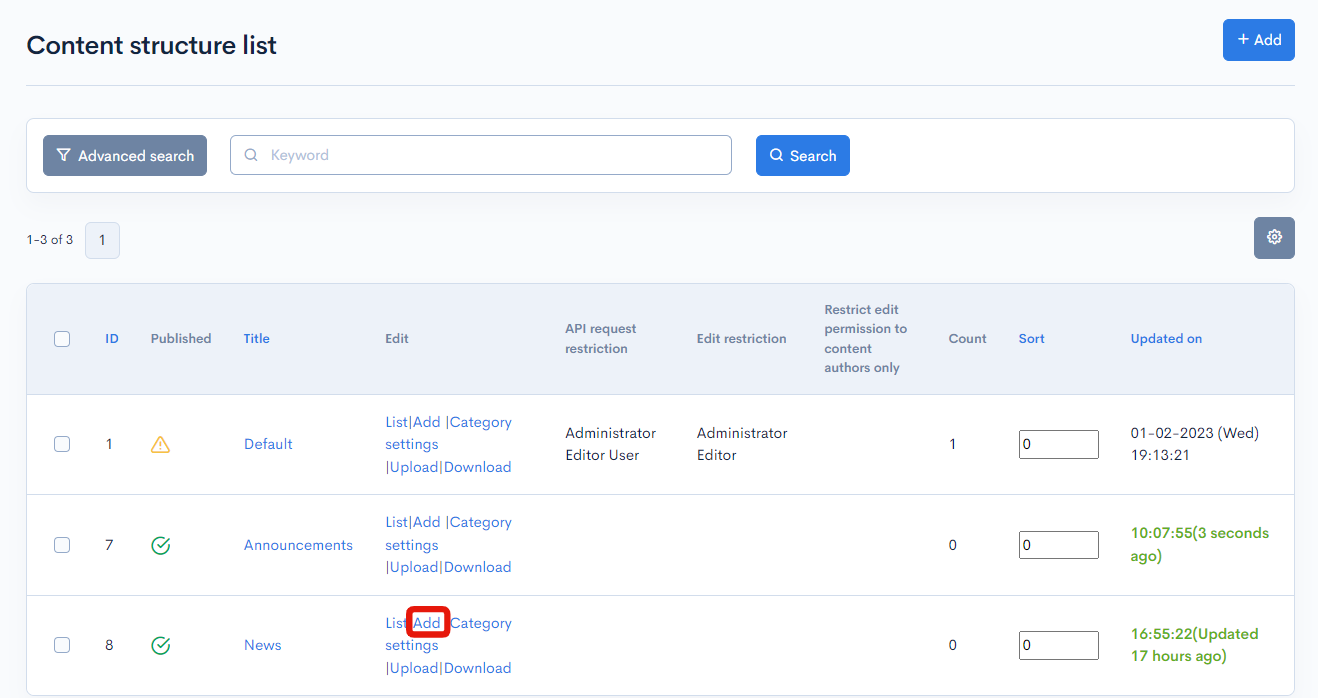
Click the [Add] link next to the group for which you want to hide the element.
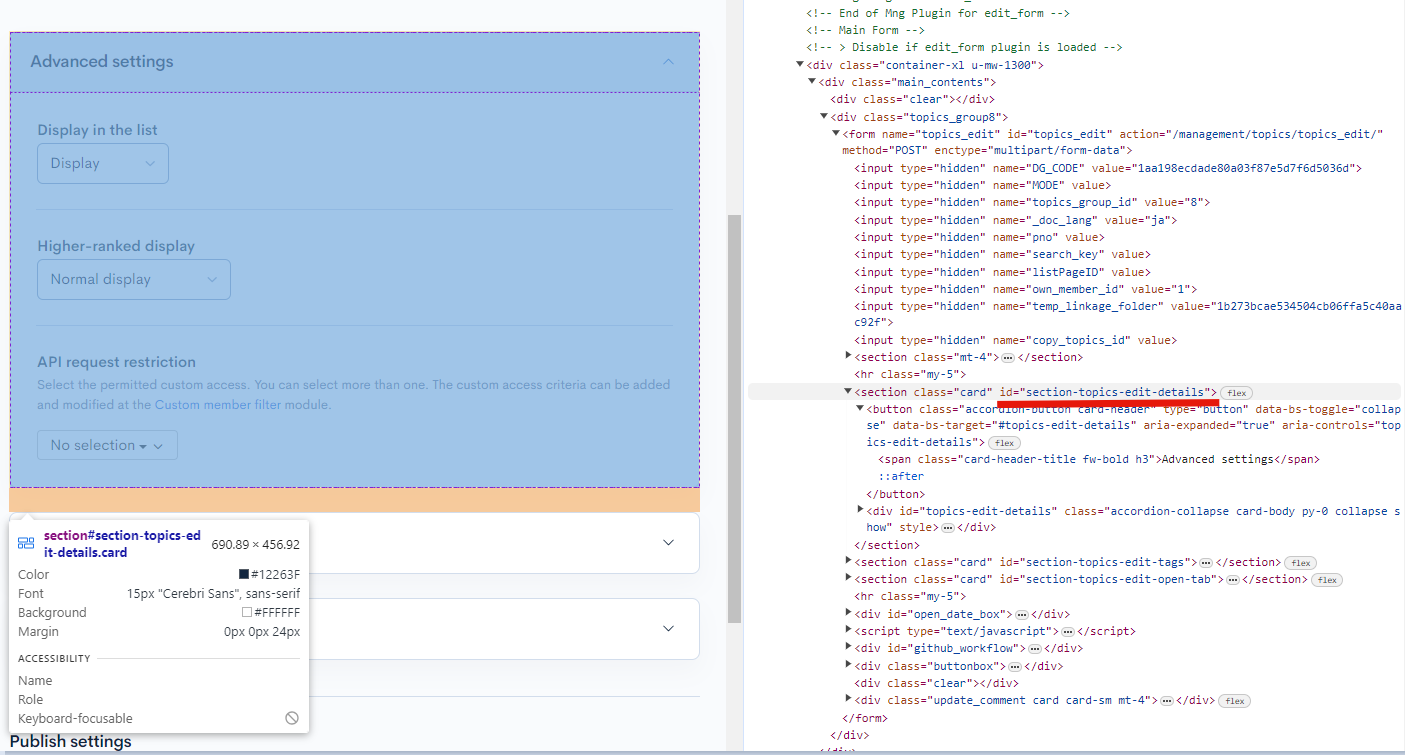
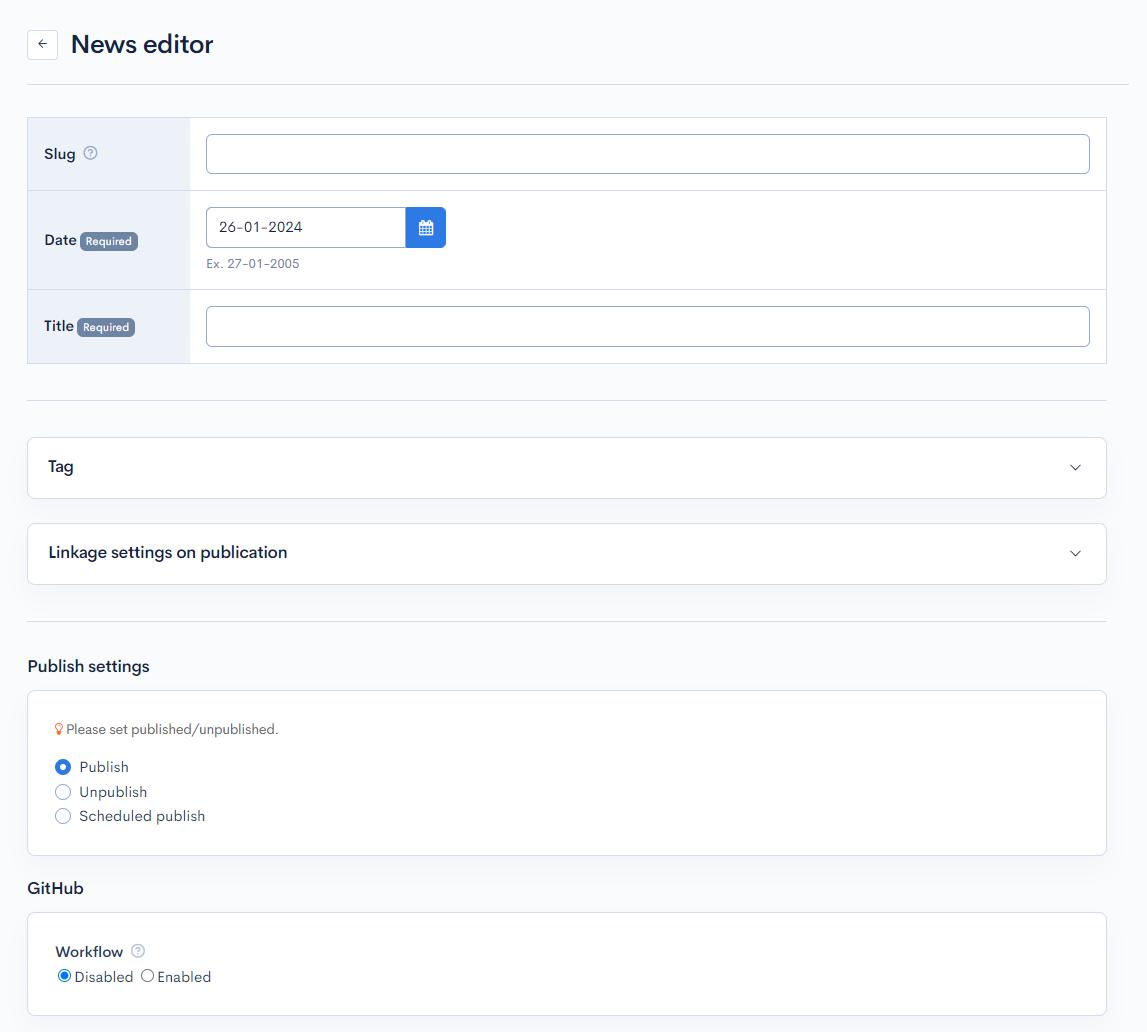
2. Obtain the element ID
Next, get the ID of the element you want to hide in the developer console for the page. To do this in the Chrome browser, right-click anywhere on the page and select [inspect] in the displayed menu. The element ID for "Advanced settings" is section-topics-edit-details.
For reference, the other ID elements are as follows:
| Item | Description |
|---|---|
| Advanced settings | section-topics-edit-details |
| Tag | section-topics-edit-tags |
| Linkage settings on publication | section-topics-edit-open-tab |
| Publish settings | open_date_box |
| GitHub | github_workflow |
| Approval workflow settings | workflow_box |
3. Navigate to the content structure editor
In the left sidebar menu, click [Content structure].
On the content structure list screen, click the name of the content group you want to edit.
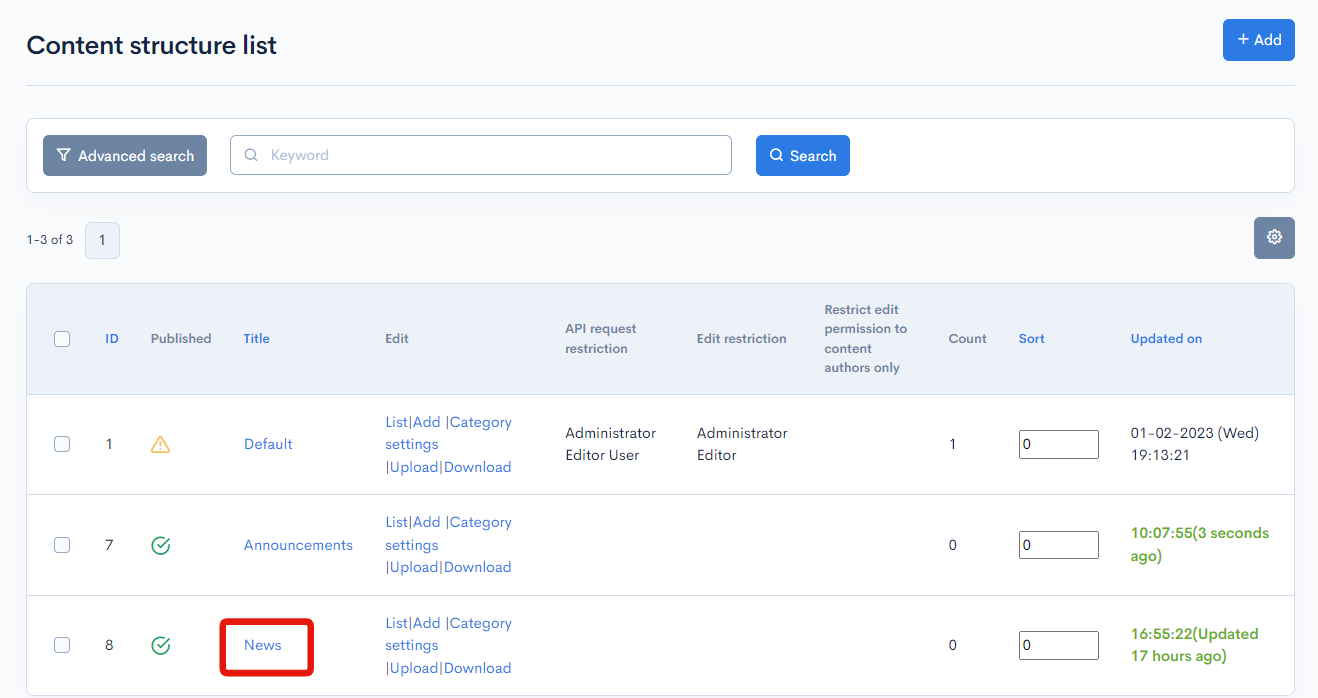
You should see the CSS field in the "Advanced settings".
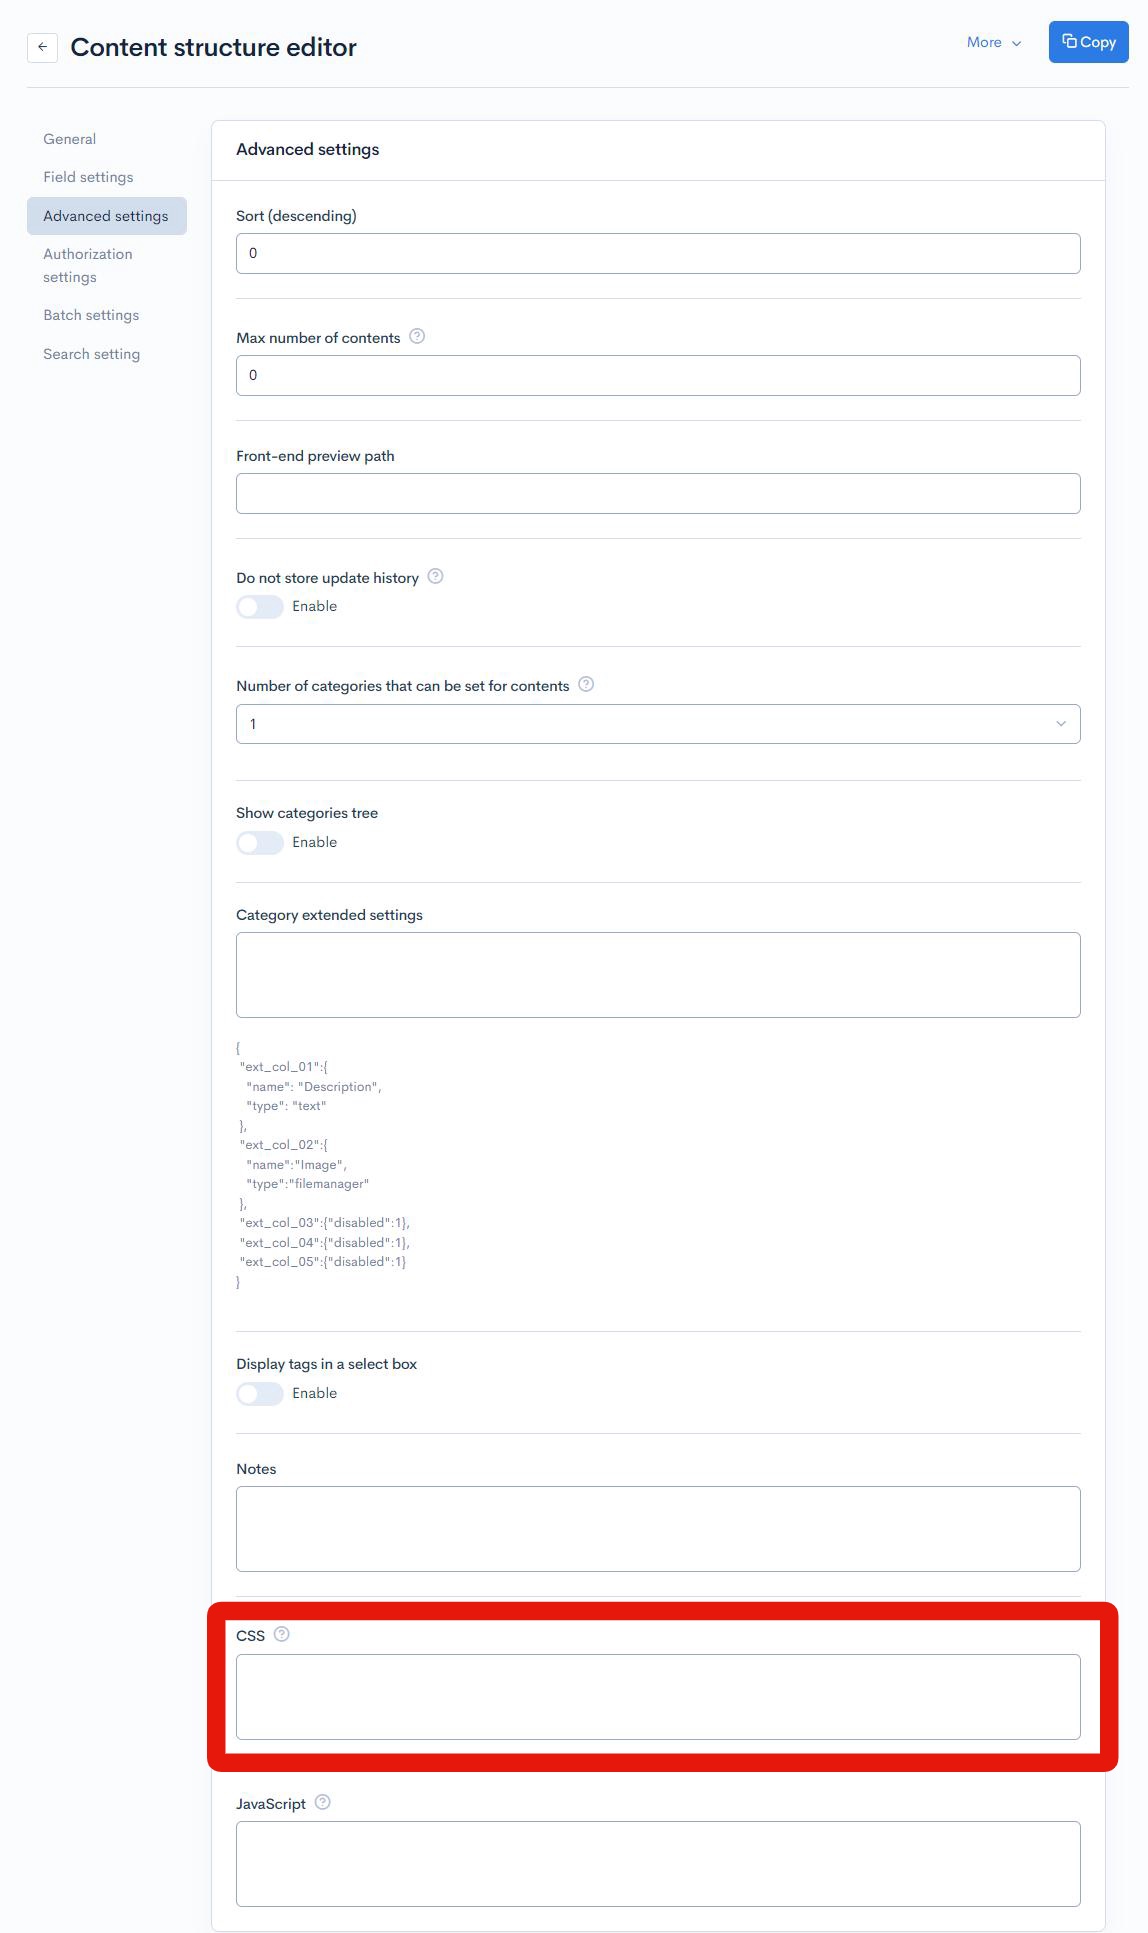
2. Write your custom CSS
The CSS field uses Smarty. Therefore, enclose your CSS code between {literal} {/literal} tags.
For this tutorial, copy the code below into the CSS field and click [Update].
{literal}
#section-topics-edit-details{display:none;}
{/literal}

Also, conditional branching is possible. For example, if you want to apply CSS only to groups with a group ID of 10, you can enter the following
{if '10'|rcms_in_array:$smarty.session.arrGroup_id}
{literal}
#section-topics-edit-details{display:none;}
{/literal}
{/if}
Verifying the display of the content editor screen
Navigate to the content editor screen. Now the "Advanced settings" section should be hidden.
Note
- Smarty is enabled. Therefore, make sure to enclose any instances of
{ }in{literal} {/literal}tags. - We cannot guarantee the functionality of the management screens after modifications with your custom CSS/JavaScript.
- Any problems caused by CSS/JavaScript modifications can be investigated for a fee.
Related Documents
Support
If you have any other questions, please contact us or check out Our Slack Community.