Configuring e-commerce settings from the admin panel
This tutorial explains how to build an e-commerce site with Kuroco. Building an e-commerce site with Kuroco involves three main tasks:
- Configuring e-commerce settings from the admin panel (this page)
- Configuring the APIs required to build an e-commerce site
- Creating the front-end
This tutorial explains how to configure shop information and add products from the e-commerce menu in the Kuroco admin panel.
Shop information settings
To build an e-commerce site, first configure the following information.
| Item | Description |
|---|---|
| Shop information | Set the information about the shop operator. |
| Payment method | Set the payment methods available at purchase. |
| Sales method | Set how products are sold. |
Configure shop information
Click [EC] -> [Shop information settings] to open the Shop information settings page.
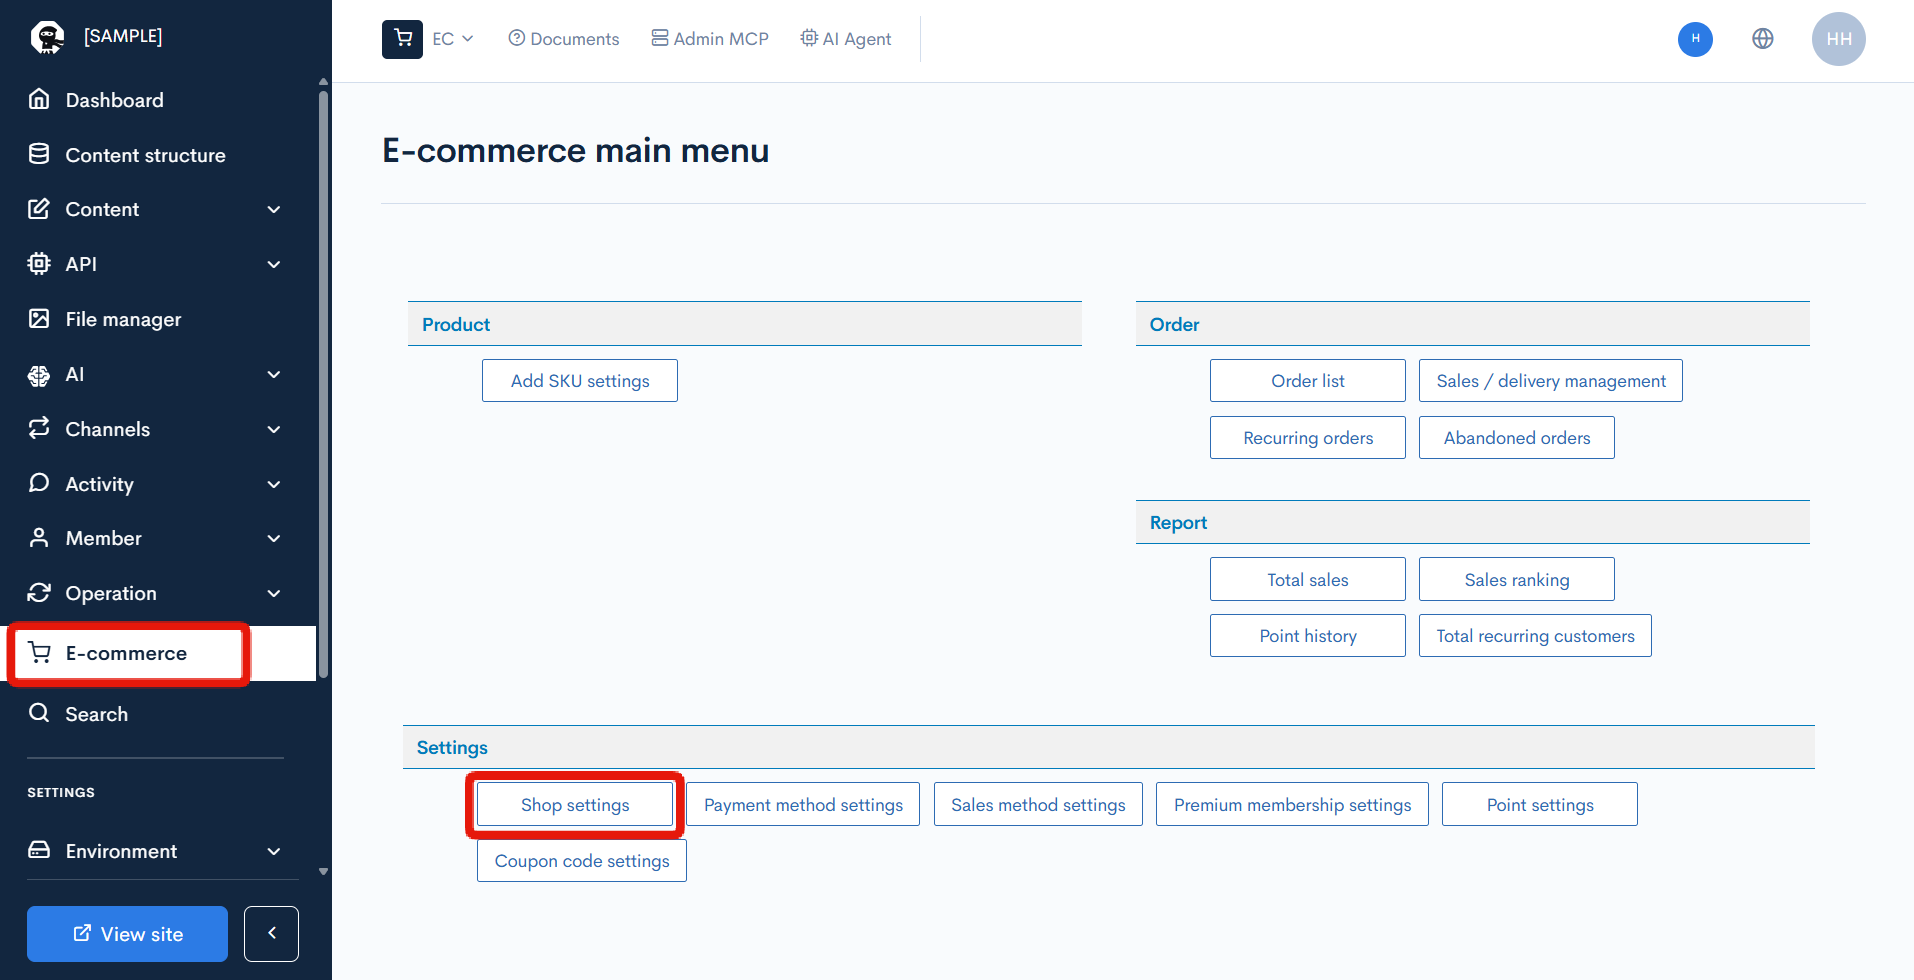
On the Shop information settings page, configure items such as free shipping conditions and integration with a payment service (Paygent).
In this example, register the following settings.

| Item | Value |
|---|---|
| Company name | Kuroco EC Inc. |
| Order notification (to administrator) email address | no-reply@example.com |
| Currency | JPY (yen) |
| Bulk delivery | Don't use |
| Free shipping condition | 1000 |
| Delivery fee calculation | Calculate per cart |
| Payment service | No payment service used |
For details on shop information settings, see Admin panel manual -> Shop information settings.
Configure payment methods
Click [EC] -> [Payment method settings] to open the payment method settings list page.
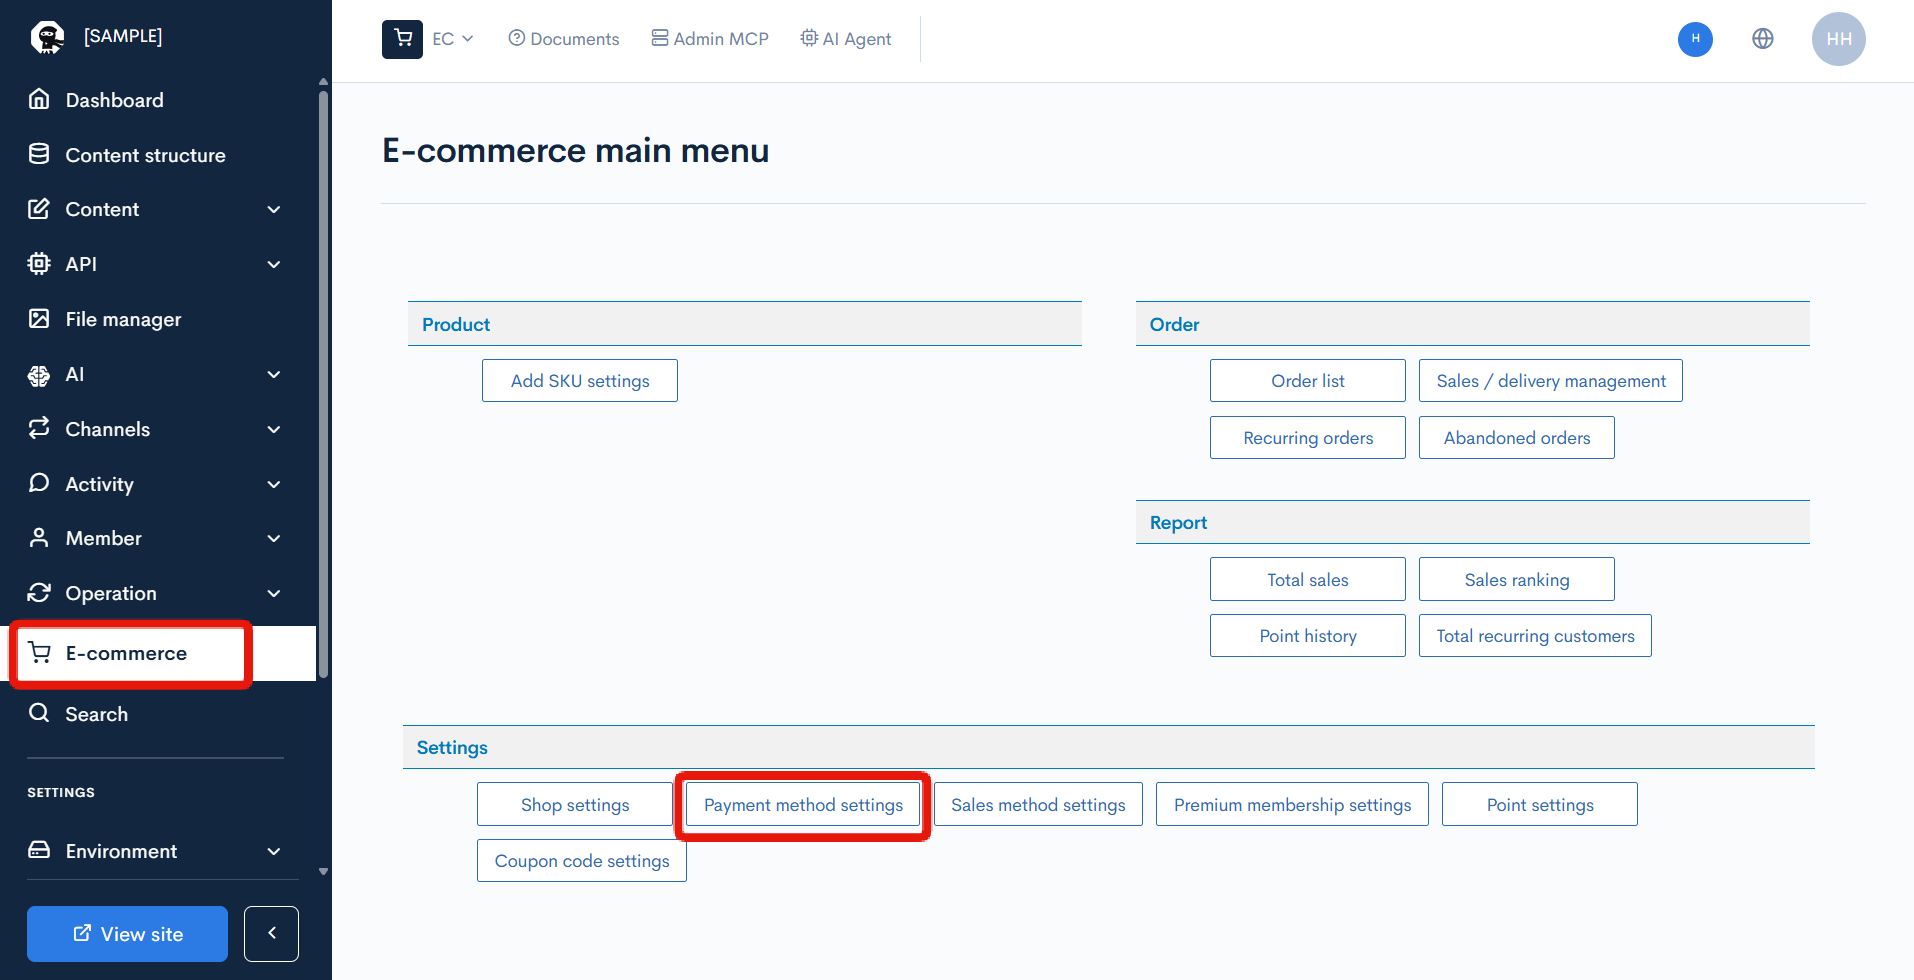
On the Payment method settings list page, click [Add].

Here, configure bank transfer as follows and click [Add].
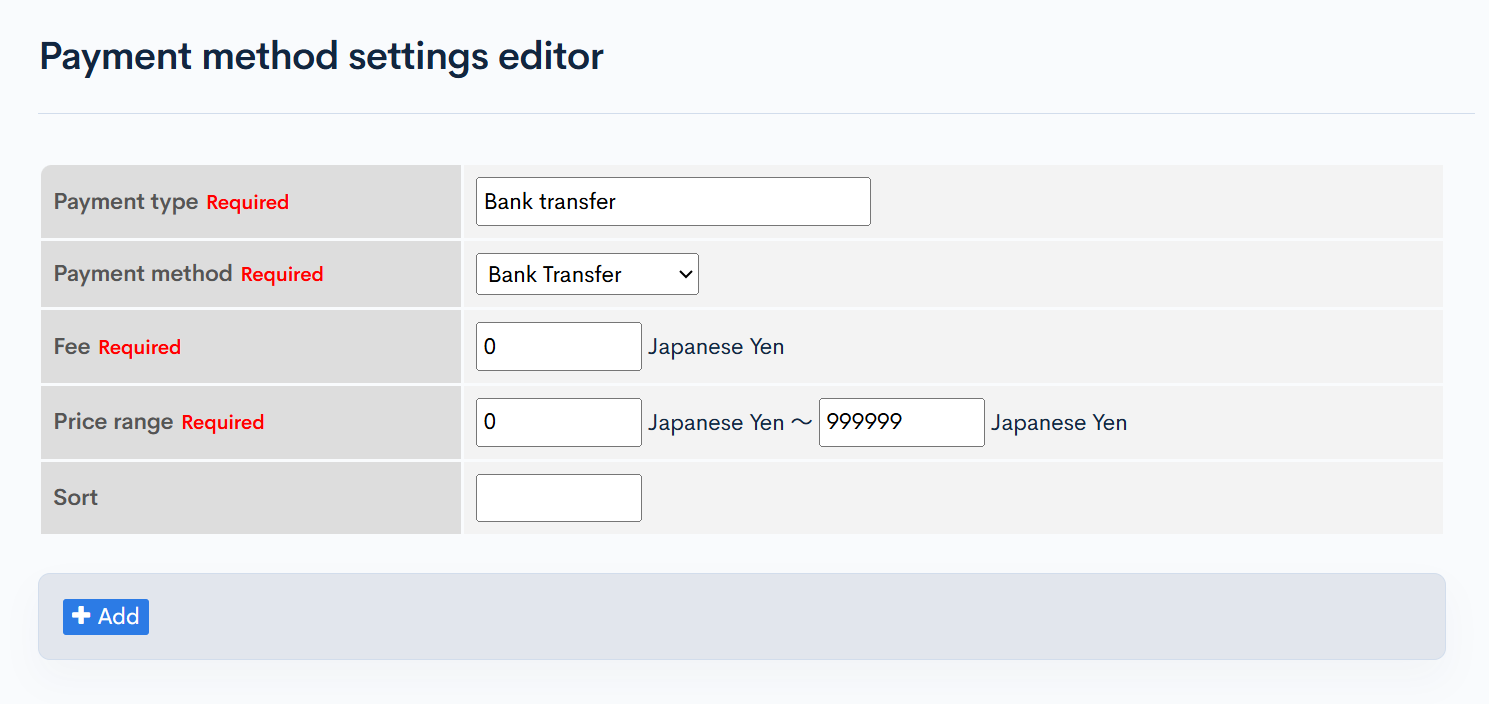
| Item | Value |
|---|---|
| Payment type | Bank transfer |
| Payment method | Bank Transfer |
| Fee | 0 |
| Price range | 0 - 999999 |
| Sort order | (blank) |
For details on payment method settings, see Admin panel manual -> Payment method edit.
This tutorial uses bank transfer, so no external payment service is used. However, Kuroco supports Paygent as the default payment service. For details on Paygent settings, see Integrating with Paygent.
Configure sales methods
Click [EC] -> [Sales method settings] to open the sales method settings list page.
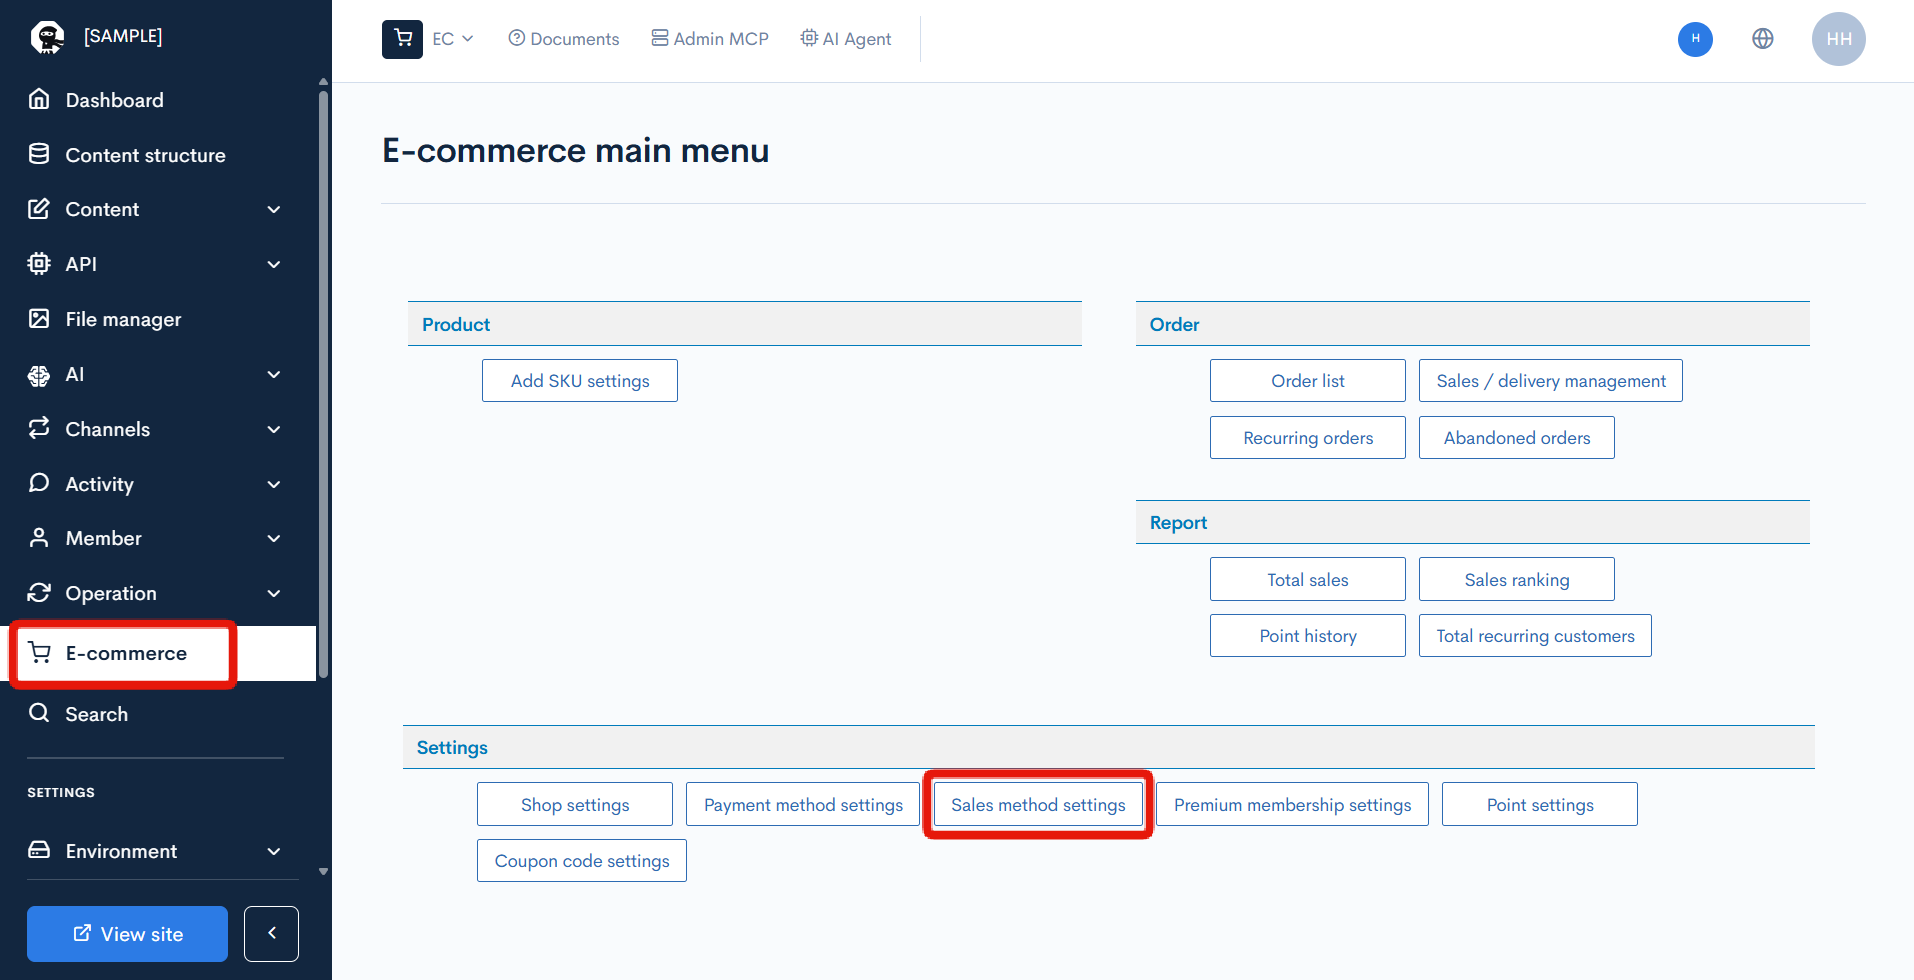
On the sales method settings list page, click [Add].

Configure the settings as follows and click [Add].

| Item | Value |
|---|---|
| Sales method | General products |
| Payment method | Bank transfer |
| Product type | Delivery |
| Service name / Delivery company name | (blank) |
| Description | (blank) |
| Service charge / delivery fee | 220 |
| Service charge / delivery fee (by delivery destination) | (blank) |
| Exclude from free delivery condition | (blank) |
For details on sales method settings, see Admin panel manual -> Sales method settings edit.
This completes the shop information settings.
Adding products
This section explains how to register products for sale. Here, we set up SKU settings named "Clothing" and "Shoes" and add products to each.
Configure content structures and SKU settings
First, configure the SKU settings.
In Kuroco, products are defined in a content structure, and prices, delivery methods, and stock are managed in the product settings. Therefore, configure the content structure first.
A content structure and an SKU setting are linked one-to-one.
On the content structure page, click [Add].

Add a "Clothing" content structure. Configure the following settings and click [Add].

| Item | Value |
|---|---|
| Group name | Clothing |
| Sort order | 1000 |
For details on content structures, see Admin panel manual -> Content structure editor.
Add a "Shoes" content structure in the same way.

| Item | Value |
|---|---|
| Group name | Shoes |
| Sort order | 900 |
The "Clothing" and "Shoes" content structures have now been added.

Next, configure the SKU settings.
Click [EC] -> [Add SKU settings] to open the Add SKU settings page.
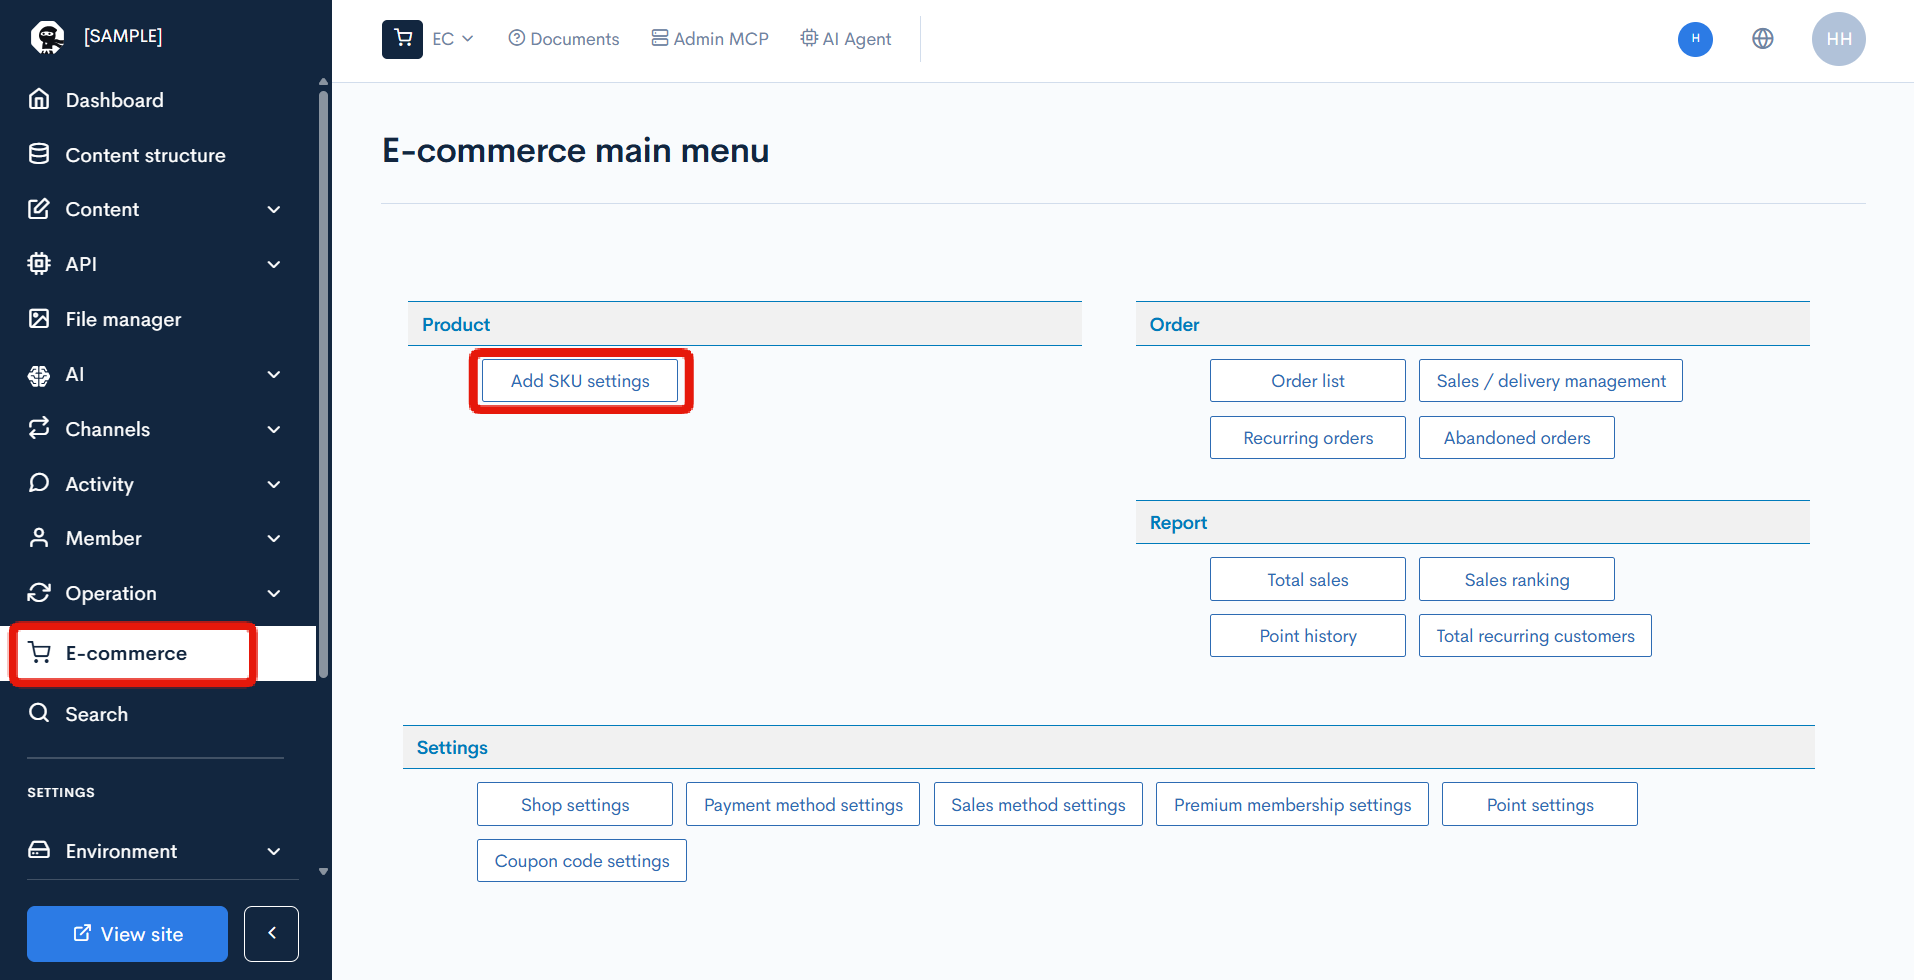
Add an SKU setting linked to the "Clothing" content structure created earlier. Configure the following settings and click [Add].
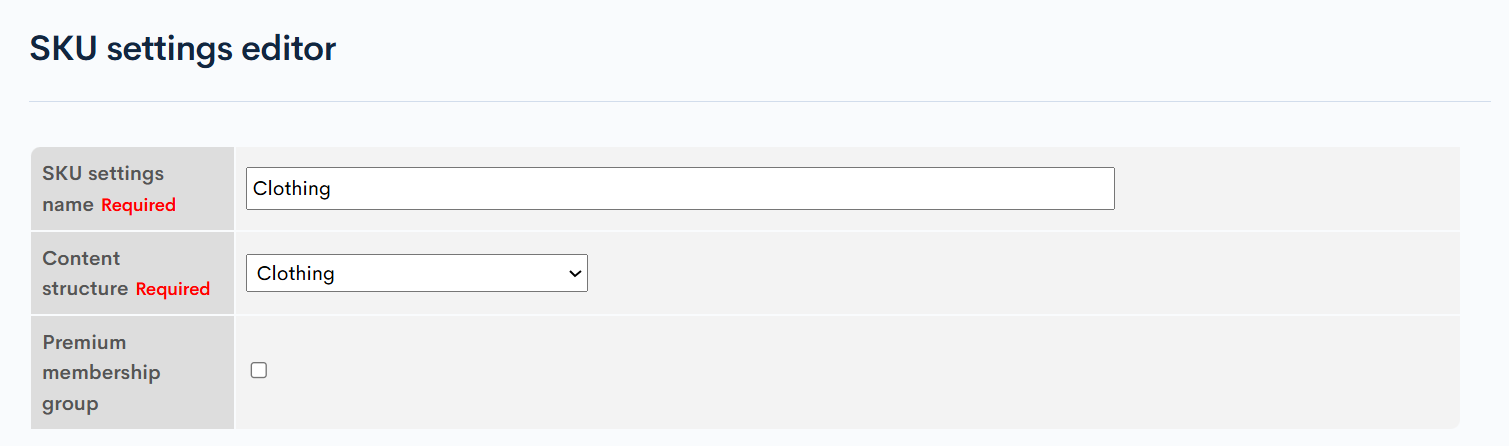
| Item | Value |
|---|---|
| SKU settings name | Clothing |
| Content structure | Clothing |
For details on SKU settings, see Admin panel manual -> SKU settings.
The "Clothing" SKU setting is now complete.
Add the "Shoes" SKU setting in the same way. This completes adding the SKU settings.

Add SKUs
Next, add SKUs that identify each product item.
In this example, an SKU is a combination of product specifications (color (red, black, etc.) and size (S, M, L, etc.)).
From the [E-commerce main menu], click the [EC] dropdown and then [SKU setting list].
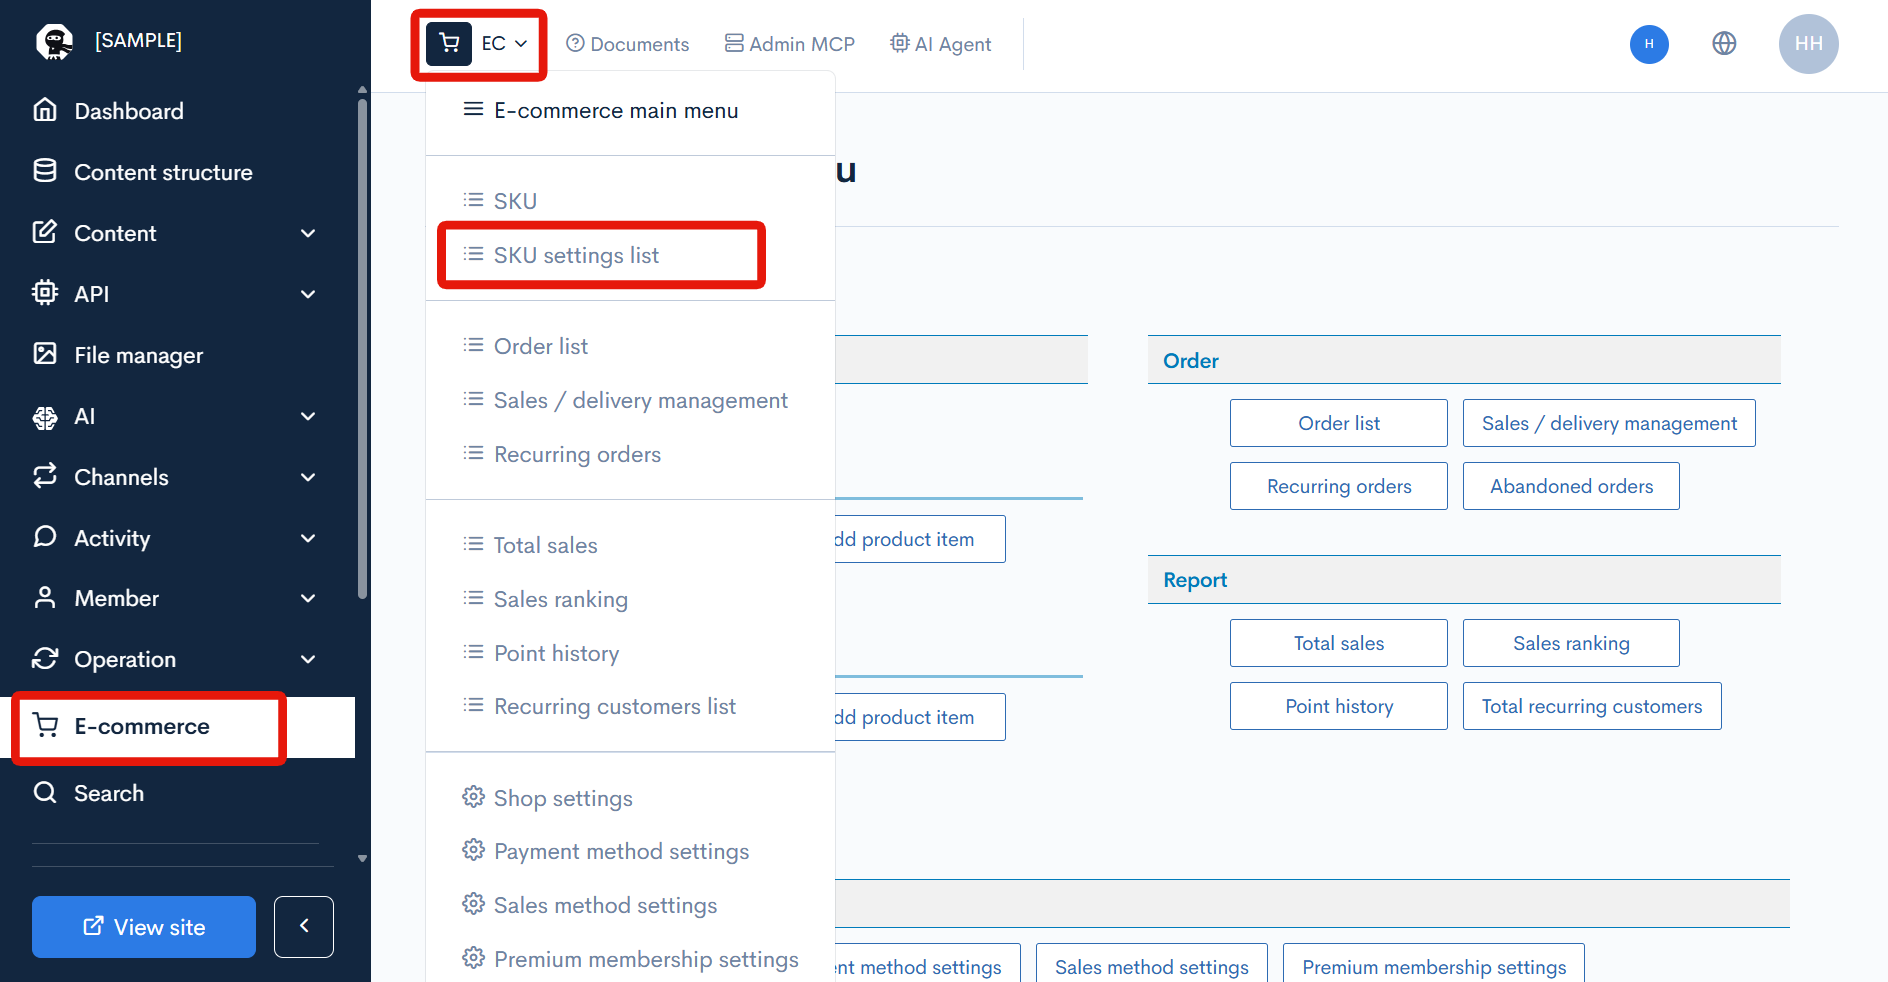
On the SKU setting list page, click [Settings] for "Clothing".

Click [SKU/Specification].
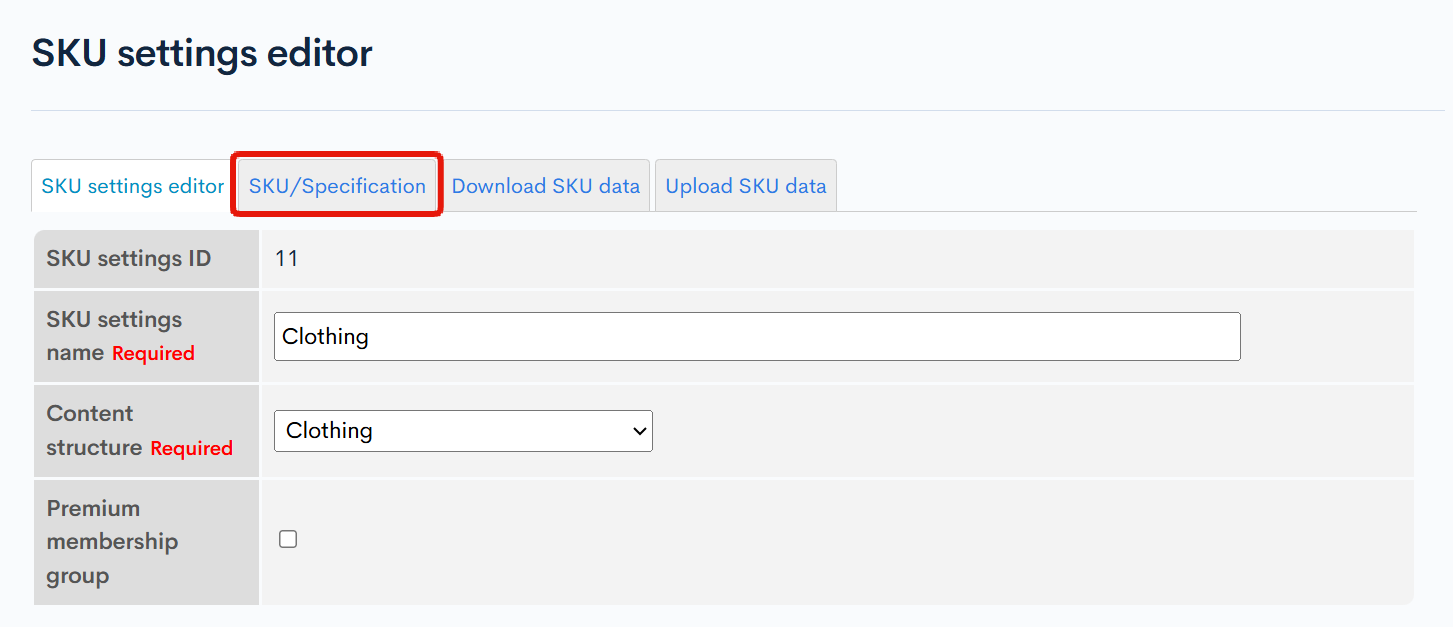
Click [Add specification].
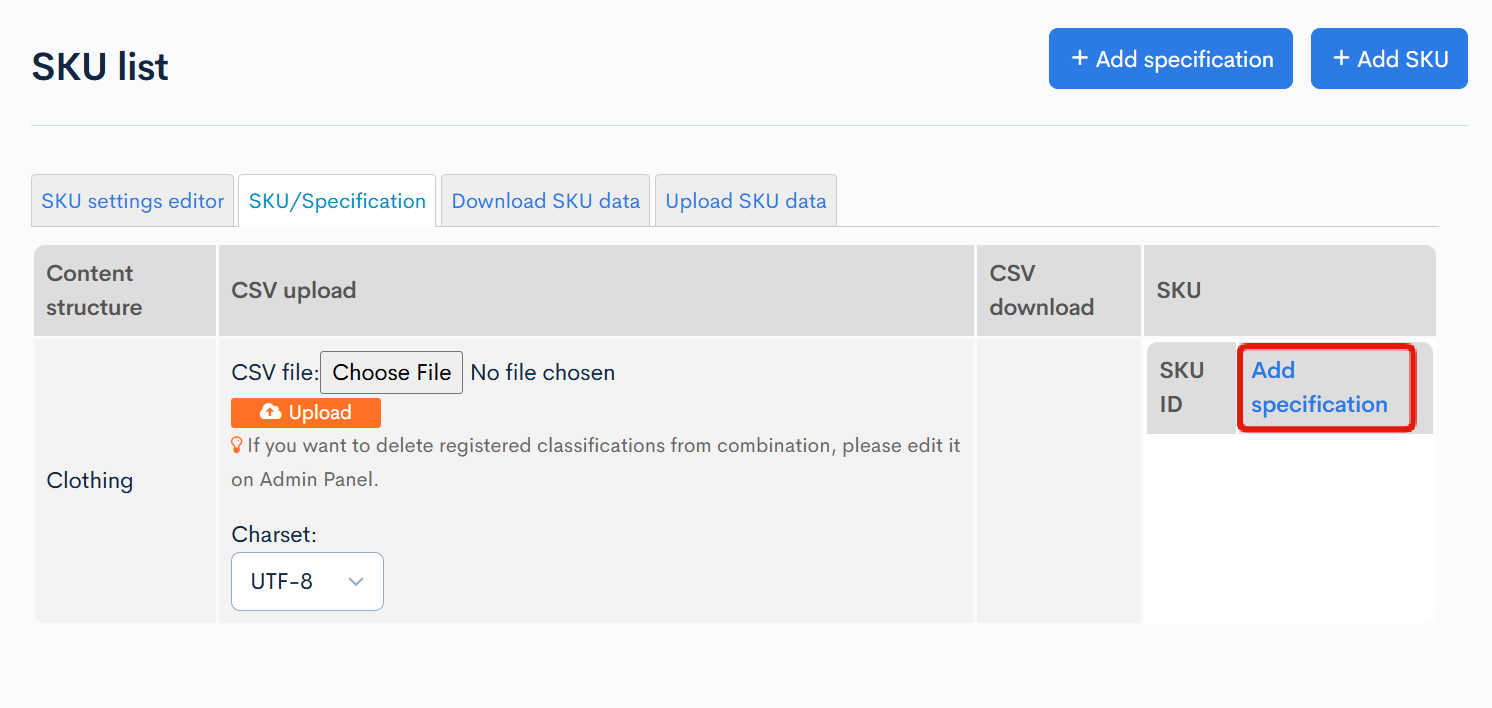
The product specification editor page appears. Add a specification for size.
Configure the following settings and click [Add].
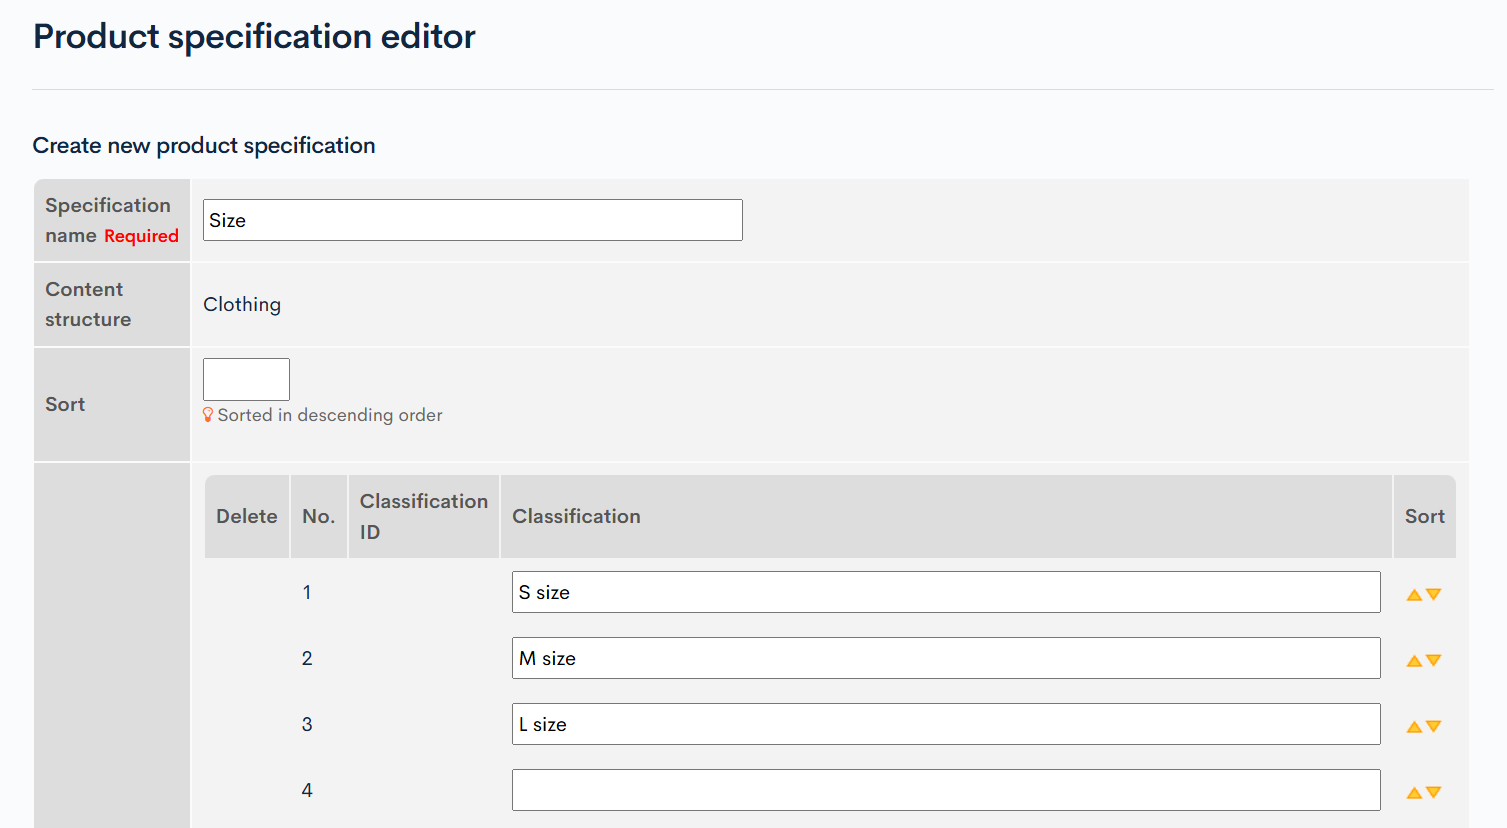
| Item | Value |
|---|---|
| Specification name | Size |
| Classification | S size M size L size |
Add a specification for color in the same way, with the following settings.
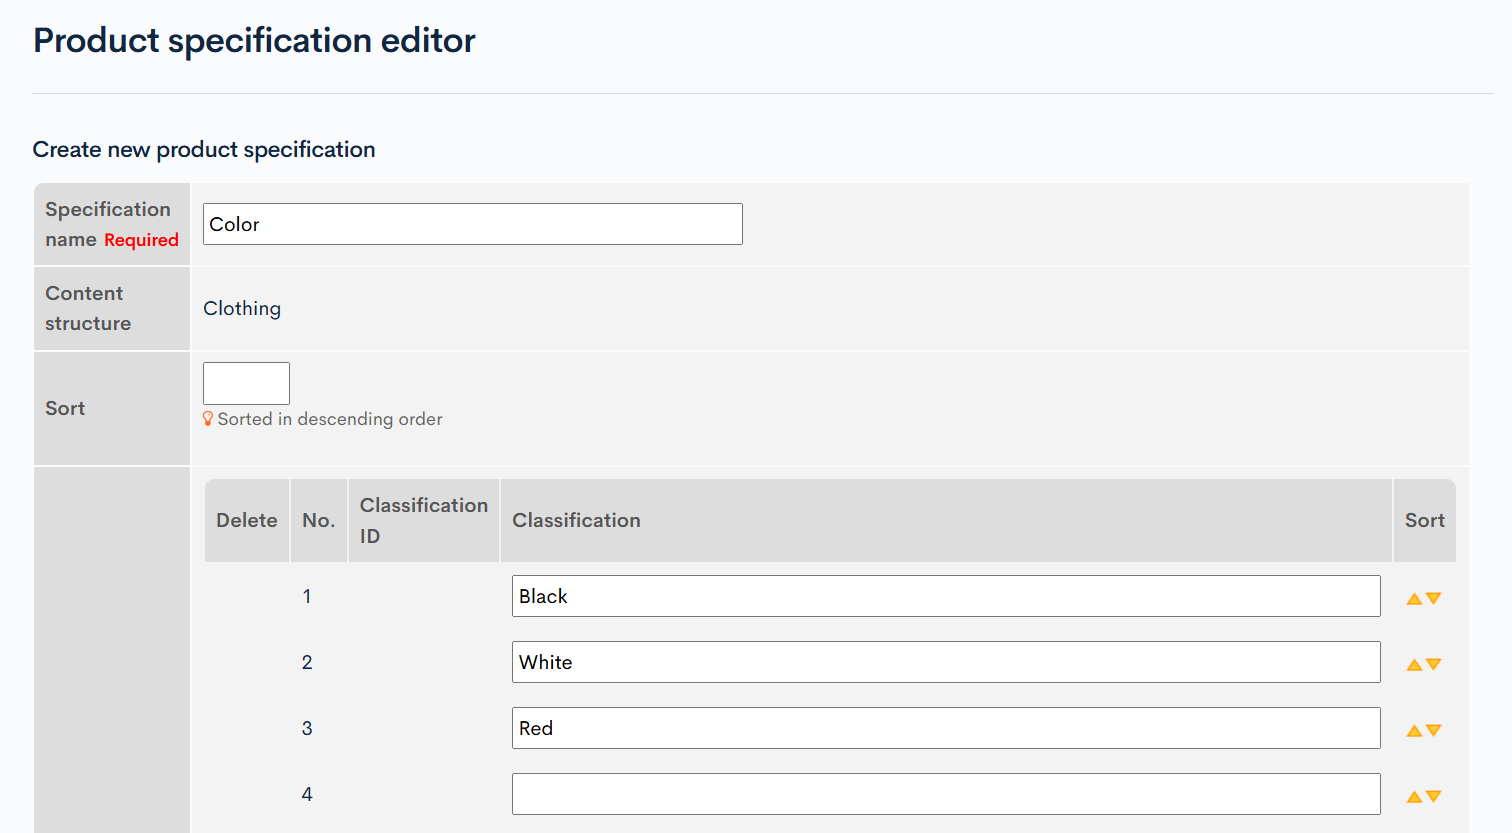
| Item | Value |
|---|---|
| Specification name | Color |
| Classification | Black White Red |
You can confirm that the specifications have been added.
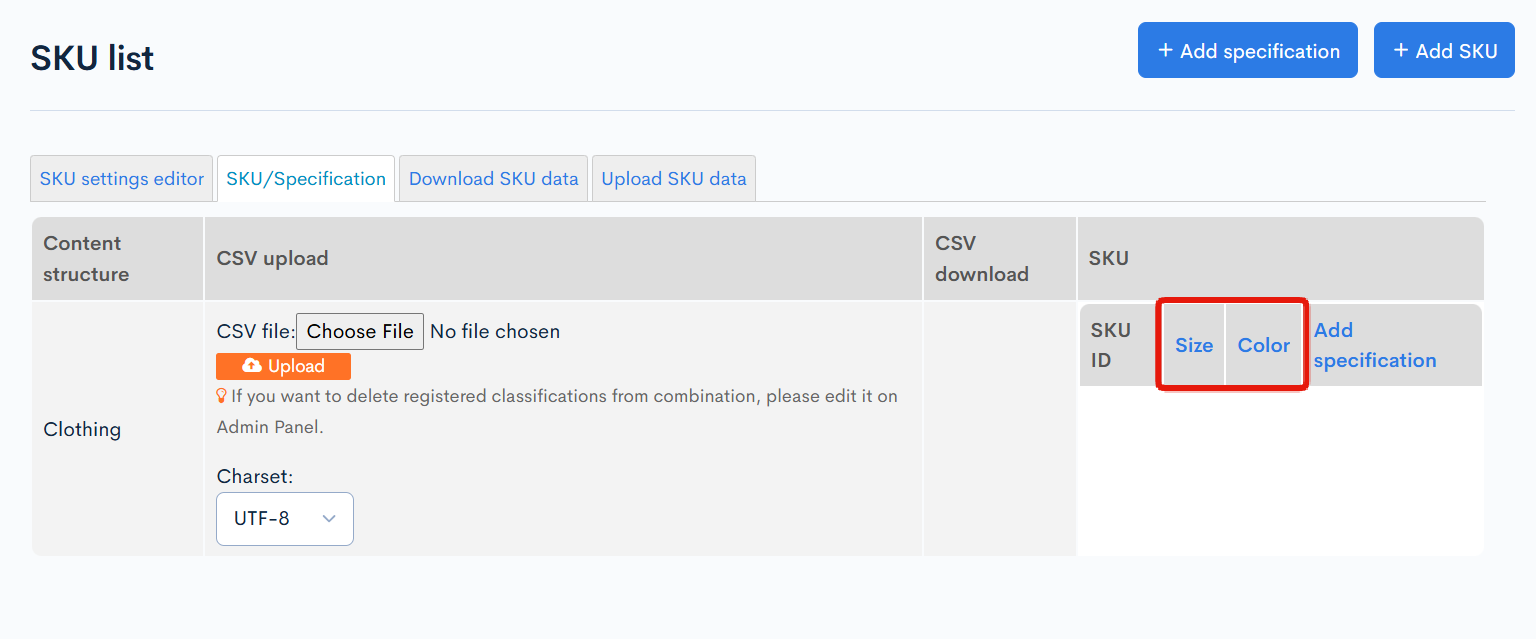
For details on the product specification editor, see Admin panel manual -> Product specification edit.
Next, add SKUs. Click [Add SKU].

The product specification SKU editor page appears. Set the combination of specifications as follows and click [Add].
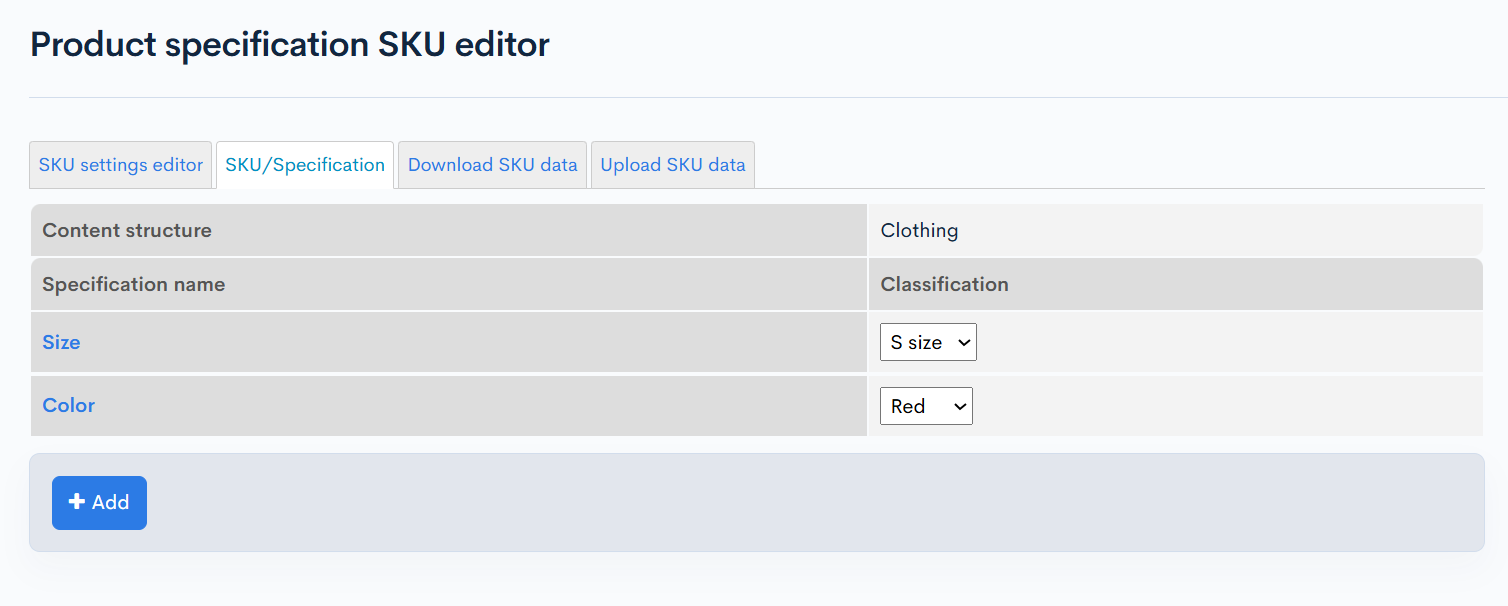
| Item | Value |
|---|---|
| Size | S size |
| Color | Red |
Add SKUs for the other patterns you need in the same way.
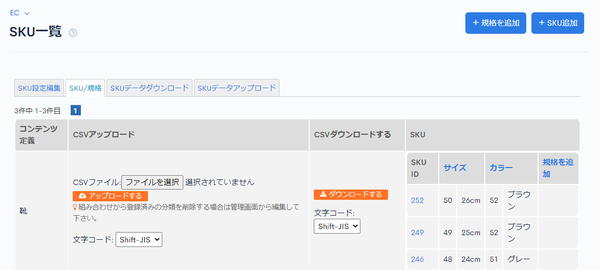
The added SKUs are shown in the [SKU list] as follows.

You can also use the button for creating all SKU patterns on the Product specification edit page and the CSV upload on the SKU list page.
Add specifications and SKUs for "Shoes" in the same way.
Add products
Next, add products. In Kuroco, you can create a product for each SKU of a single content item. In the product settings, you configure the price, delivery method, stock, and, for download products, the digital data.
In this example, products are added as shown below.
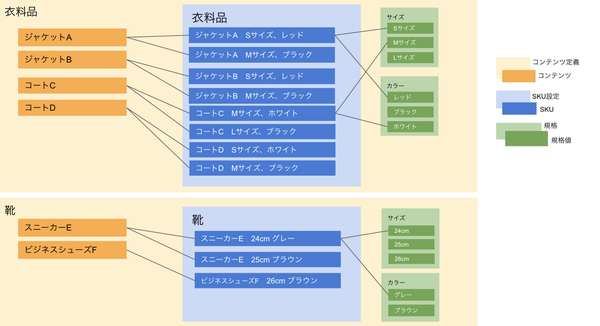
Under Content, click [Clothing], then click [Add] in the upper right.
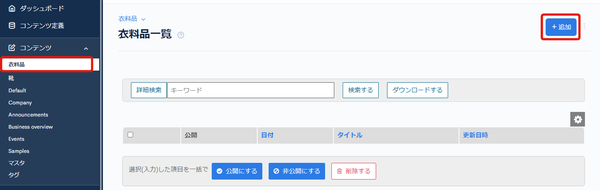
Enter the following and click [Add].
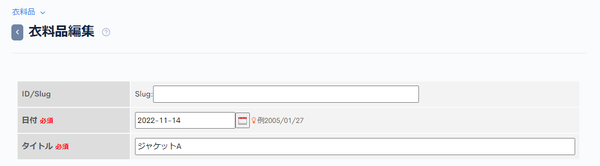
| Item | Value |
|---|---|
| Title | Jacket A |
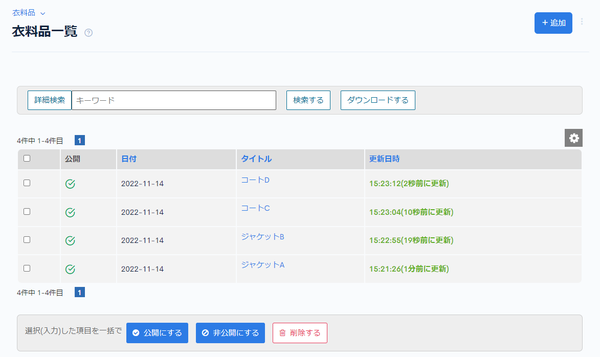
After adding "Jacket B", "Coat C", and "Coat D" in the same way, the clothing list looks like this.
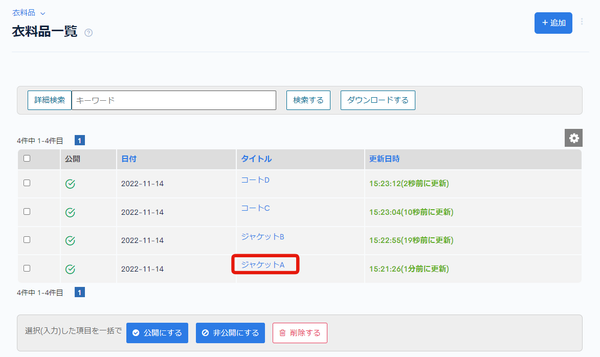
Next, add products (SKUs). In the clothing list, click a title to open its editor page.
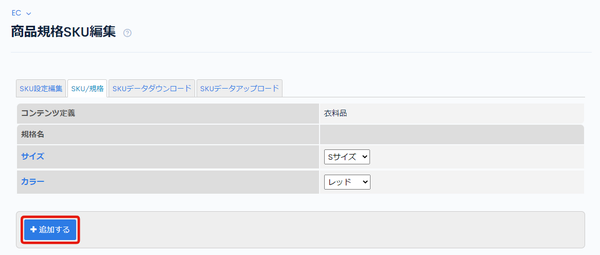
Click [Add] under Product(SKU).
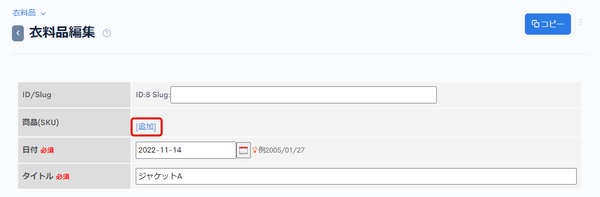
The product specification SKU editor page appears. Set the combination of specifications (size and color) and click [Add].
The product settings editor page appears. Enter the following and click [Add].
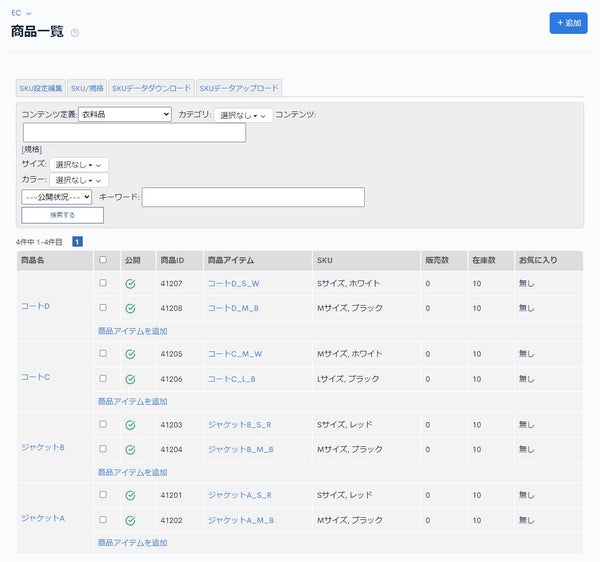
| Item | Value |
|---|---|
| Product name | JacketA_S_R |
| Selling price | 10000 |
| Stock | 10 |
| Sales method | General products |
Add the other products you need in the same way. You can check the added products on the Product list page.
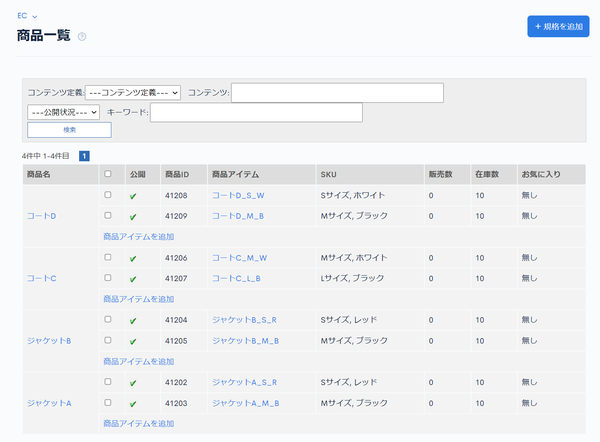 Add products for "Shoes" in the same way.
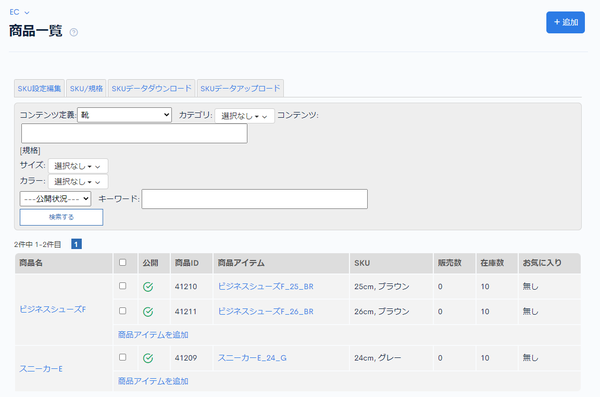
This completes the product registration.
For details on product settings, see Admin panel manual -> Product settings.
Setting up emails
Email notifications are sent to buyers when they purchase a product, when payment is confirmed, and when the product is shipped. Set up the text of these emails.
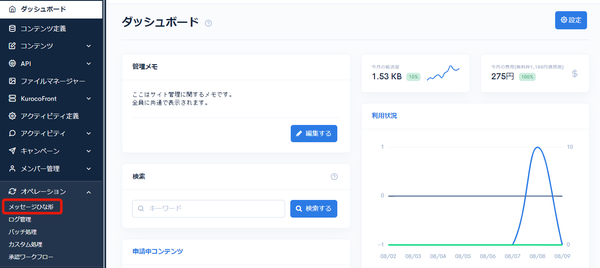
Click [Operation] > [Message template].
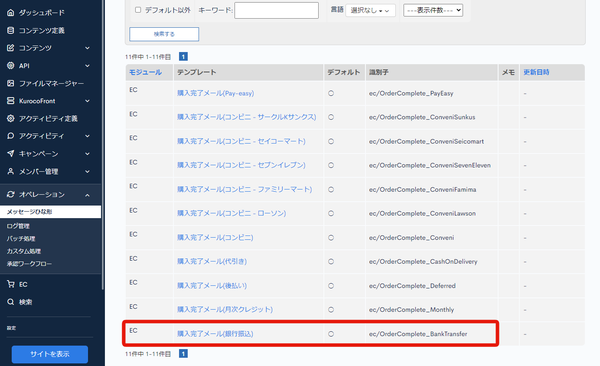
Purchase completion email (bank transfer)
Edit the email sent to the customer when an order is placed.
Click the template name of the purchase completion email (bank transfer).
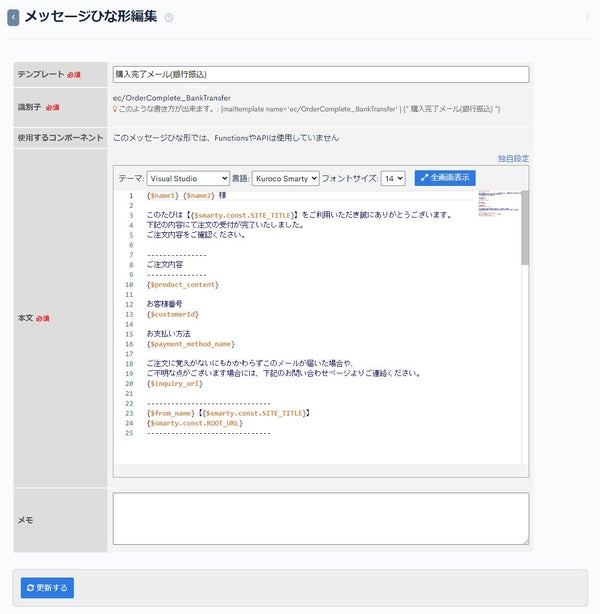
The editor screen appears. Since this example uses bank transfer, add the necessary information such as the bank account number for the transfer.
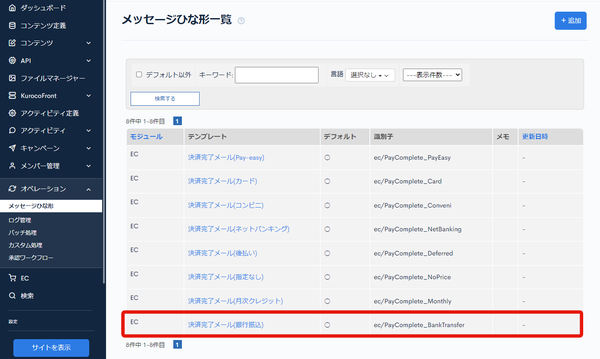
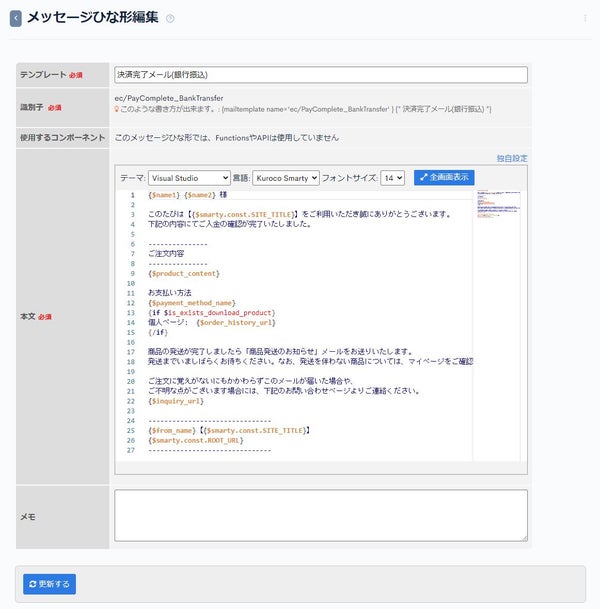
Payment completion email (bank transfer)
Edit the email sent to the customer after payment is confirmed.
Click the template name of the payment completion email (bank transfer).
The editor screen appears. Edit the text as needed.
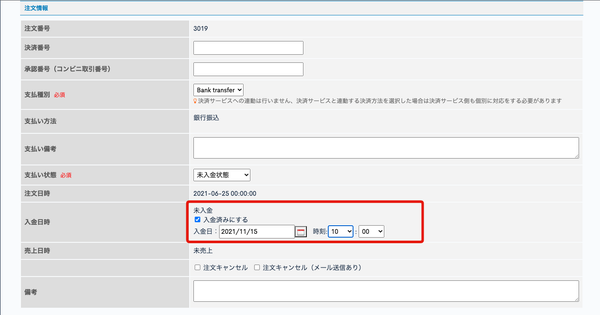
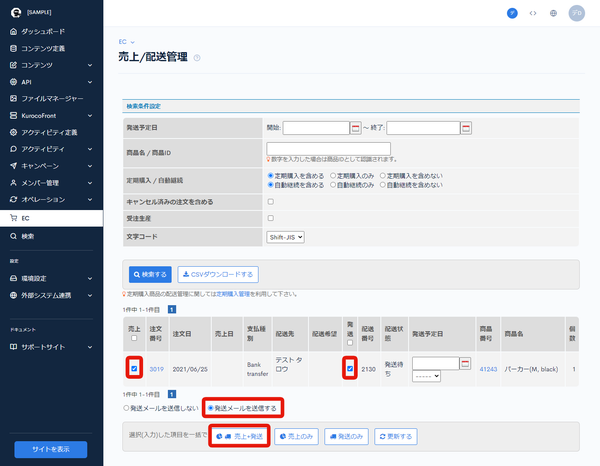
After confirming payment from the customer, check "Update to the status paid" in the Payment date and time field of the order and update it to send the payment confirmation (payment completion) email.
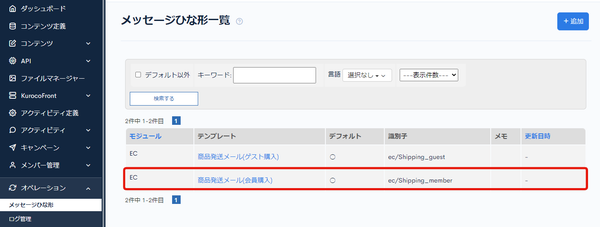
Shipping notification email (member purchase)
Edit the email sent to the customer when the product is shipped.
Click the template name of the shipping notification email (member purchase).
The editor screen appears. Edit the text as needed.
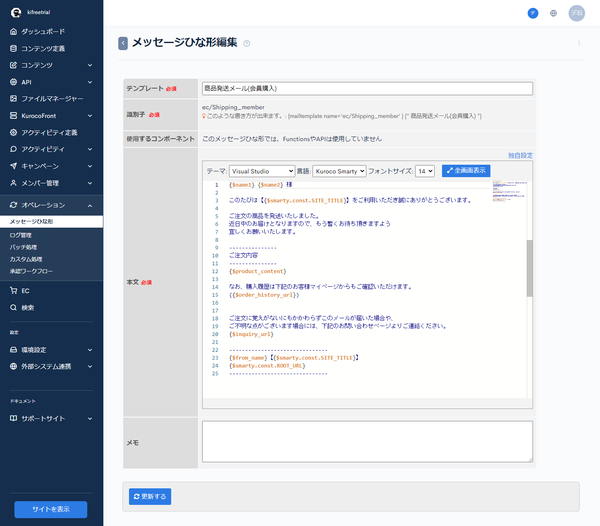
This example assumes a members-only e-commerce site, so only the shipping notification email (member purchase) is edited. If non-members can also purchase, edit the shipping notification email (guest purchase) as well.
Sending emails
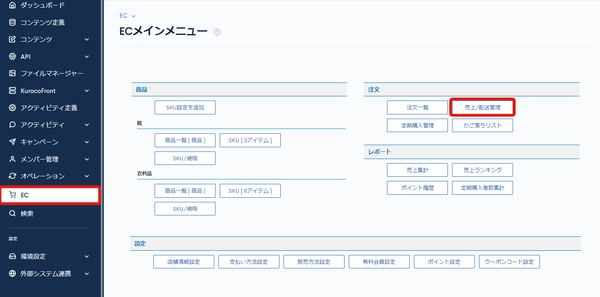
Emails are sent from the "Sales/delivery management" screen. Click [EC] -> [Sales/delivery management].
On the "Sales/delivery management" screen, select "Send delivery mail" and process the delivery to send the shipping notification email.
This completes the settings in the admin panel.
Next, configure the APIs. See Configuring the APIs required to build an e-commerce site.
Related documents
Support
If you have any other questions, please contact us or check out Our Slack Community.