Setting up an API field to input current weather using OpenWeatherMap
Overview
In the API field that can be set in Kuroco's content structure, you can send a request to the endpoint and register the response in the content.
The endpoint can be created in Kuroco or external.
In this tutorial, we will set up an extension field that allows you to input the current weather of a selected city by sending a request to the OpenWeatherMap Weather API as an example of an API field.
What you will learn
You will learn how to set up an API field using the following steps:
- Register with OpenWeatherMap
- Register a master
- Create an API
- Creating Content Structures
- Testing the Functionality
Prerequisites
In this tutorial, we will use OpenWeatherMap to obtain weather information.
Please check OpenWeatherMap for details about the service.
Register with OpenWeatherMap
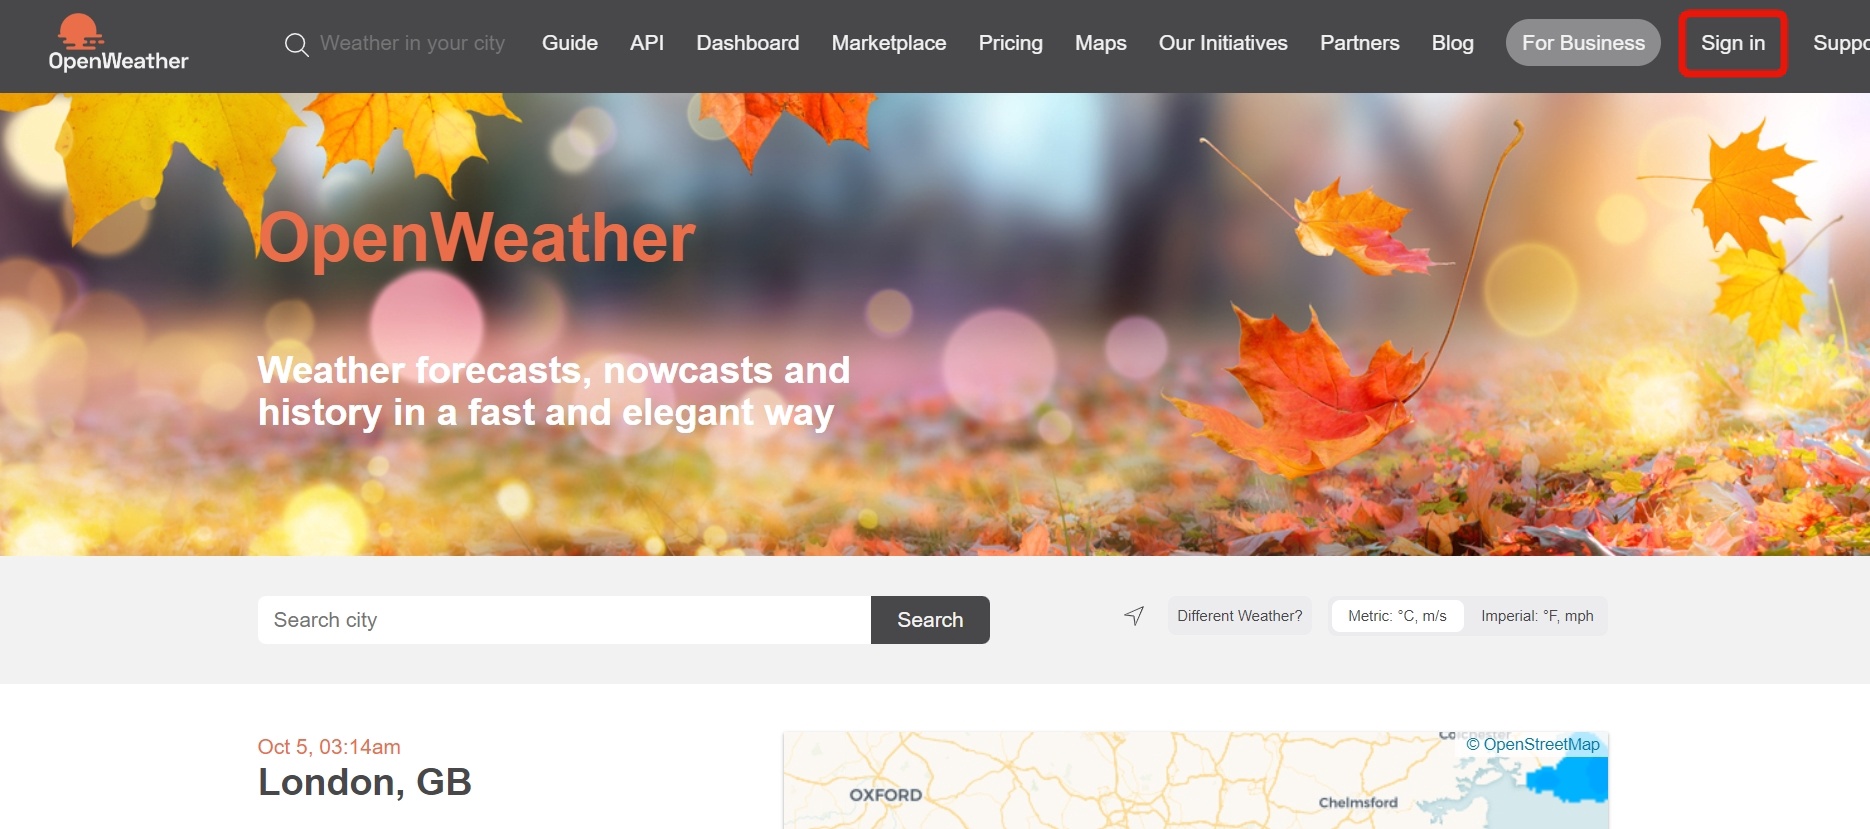
First, access OpenWeatherMap and sign up as a member.
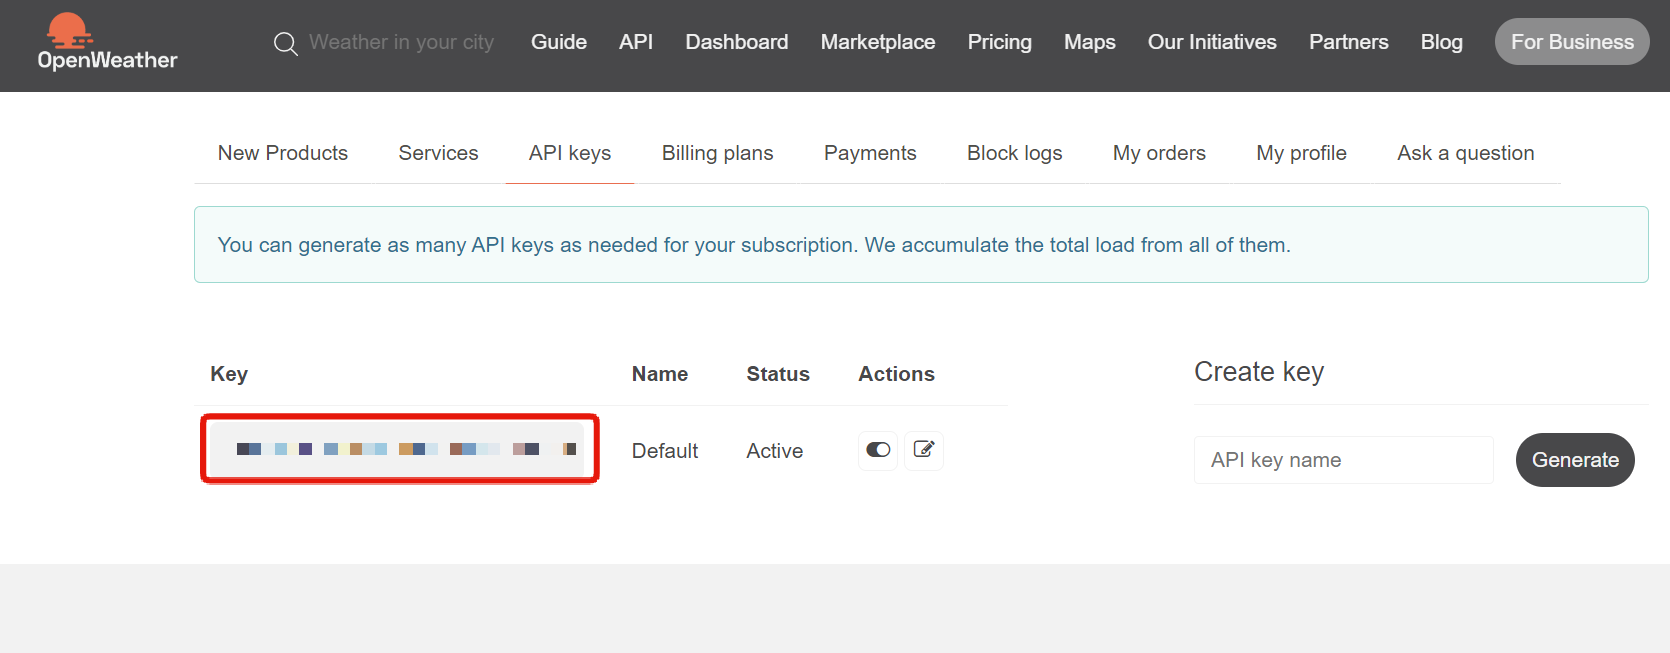
After completing the registration, access My API Keys to confirm your API key.
Register a master
Next, register the cities and their latitude and longitude in the master to obtain weather information.
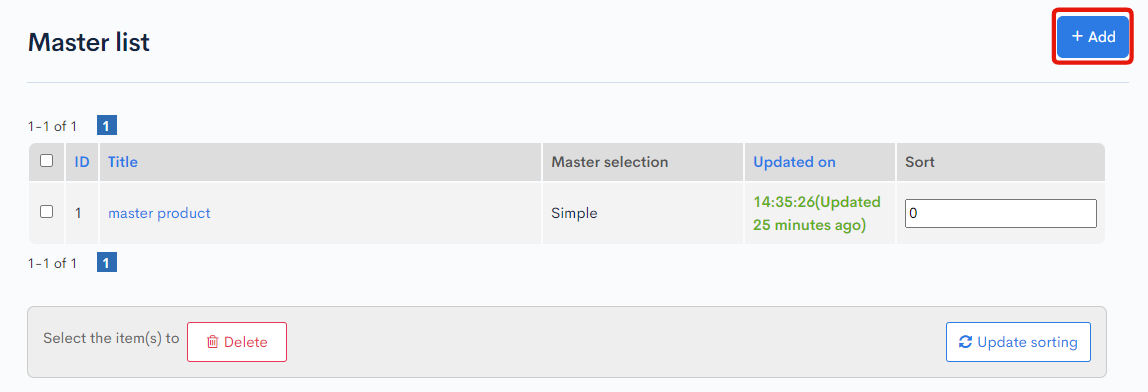
Click [Content] -> [Master].

Click [Add].
Register the cities and their latitude and longitude that can be used to obtain weather information using CSV update.
This time, the following were registered.
| city | lat | lon |
|---|---|---|
| Tokyo | 35.6894 | 139.6917 |
| Kuala Lumpur | 3.139 | 101.6868 |
| New York | 40.7127 | -74.0059 |

Create an API
Create an API for the API field
It is recommended to separate APIs for internal use only in Kuroco.
Therefore, first create an API for use in the API field.
If it has already been added, you can proceed to the next step.
Create an API
Click "Add" from the API in the Kuroco management screen.

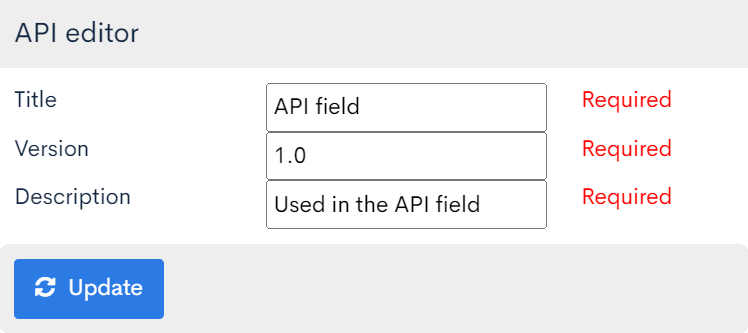
The API creation screen will be displayed, so enter the following and click "Add".
| Item | Setting |
|---|---|
| Title | API field |
| Version | 1.0 |
| Description | Used in the API field |
The API has been created.

Configure CORS
Next, configure CORS. Click [Operatoin CORS].

Click [Add Origin] in CORS_ALLOW_ORIGINS and add the following:
- Management screen URL
Click [Add Method] in CORS_ALLOW_METHODS and add the following:
- GET
Make sure that [Allow Credentials] is checked in CORS_ALLOW_CREDENTIALS.
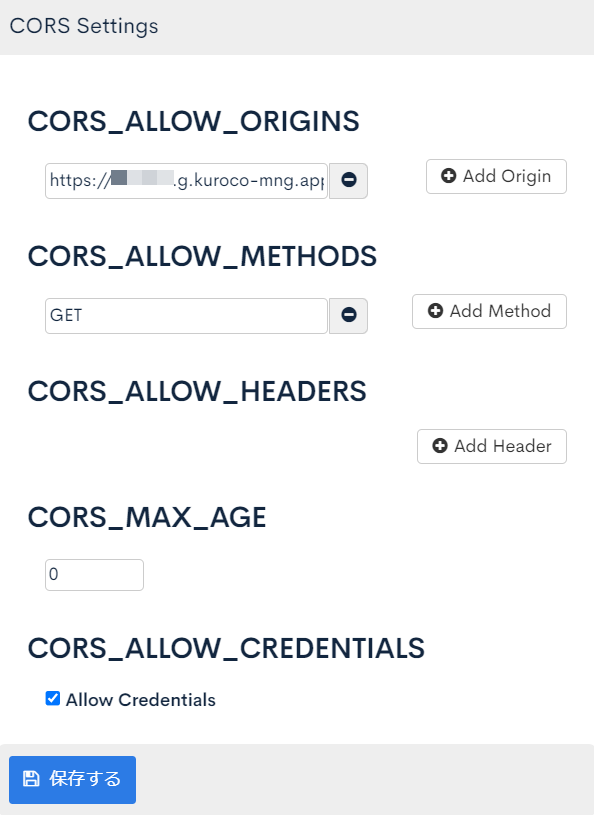
If there are no issues, click [Save].
Creating an Endpoint
Create an endpoint to retrieve the city data registered in the master.
Click [Add new endpoint].

Configure the following settings.
| Field | Setting |
|---|---|
| Path | get_city_master |
| Category | Table |
| Model | Master |
| Operation | List |
| csvtable_id | Master ID to be used (2) |
| outputAs | Select object |
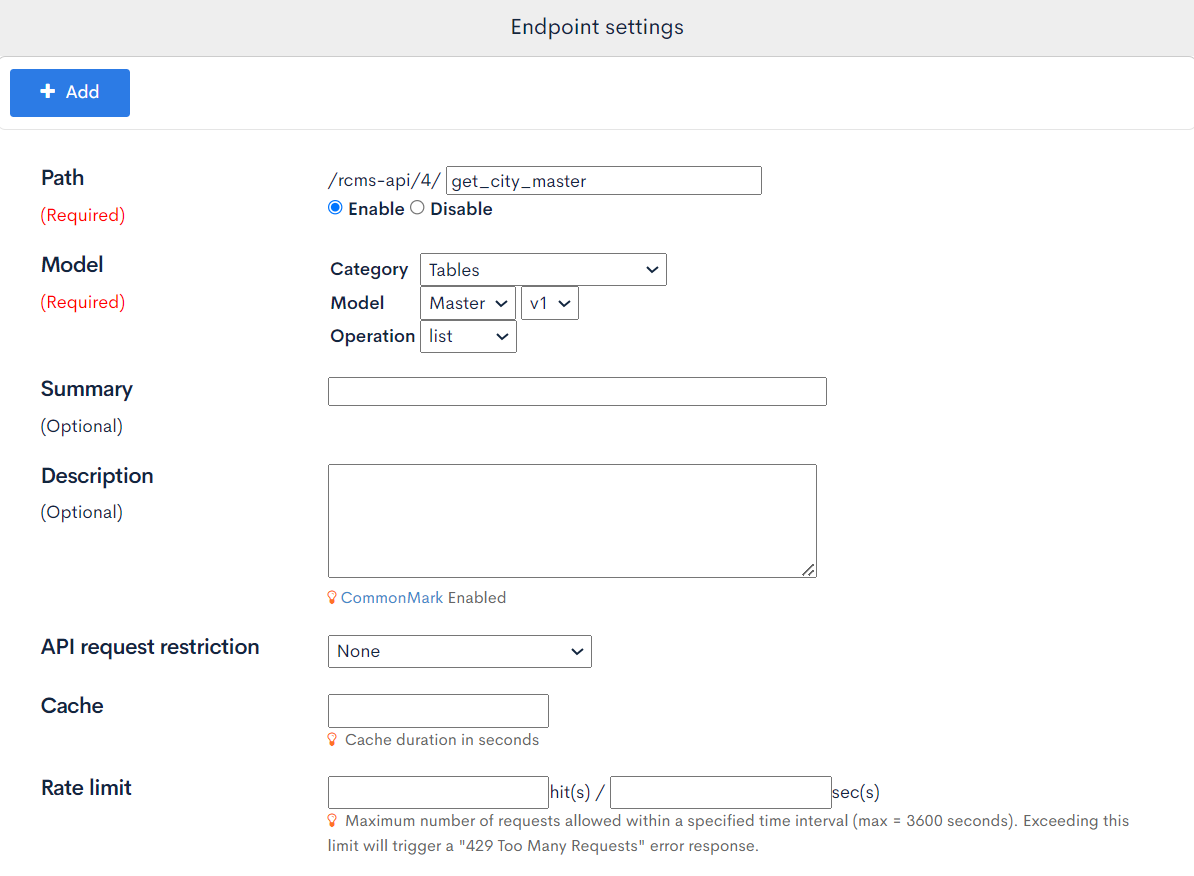
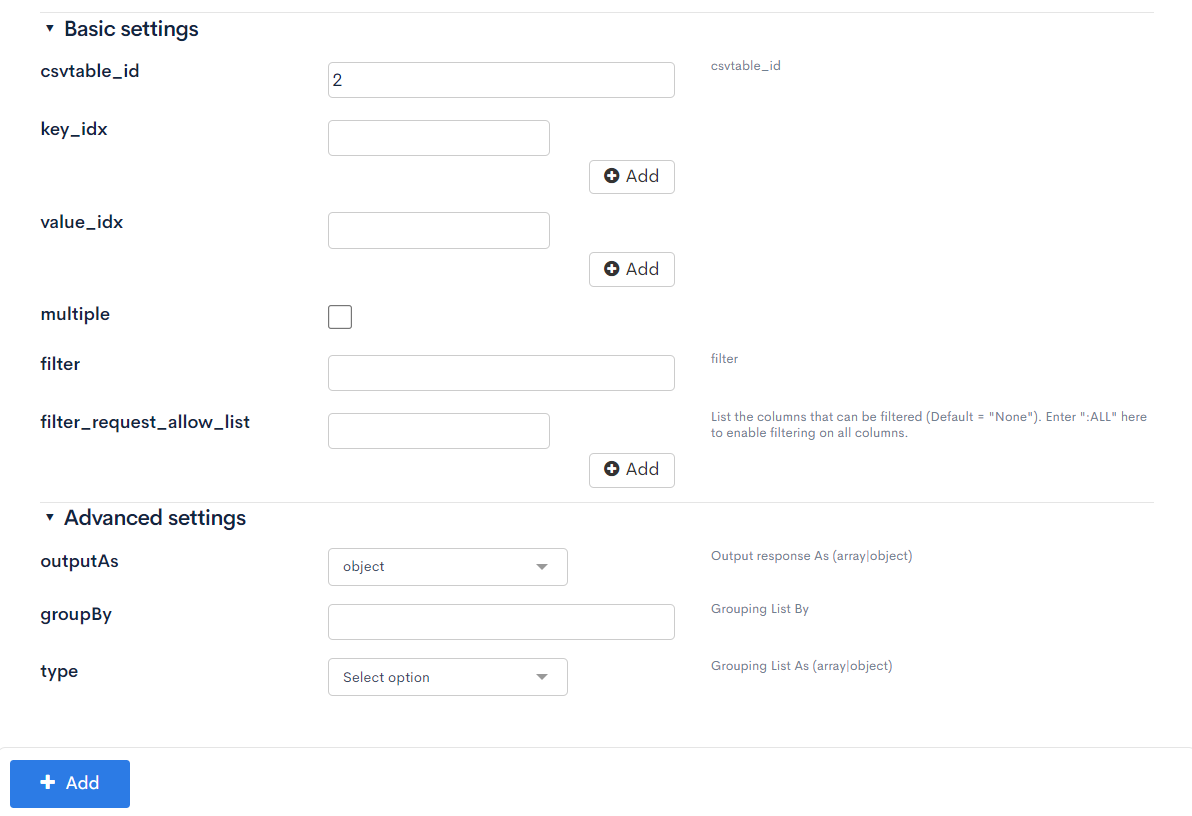
Once the configuration is done, click [Add] to add the endpoint.
Creating Content Structures
Creating a Content Structure
Create a content structure to set up automatic weather input.
Click [Content structures].

Click [Add].

Configure the following settings.
General Items
| Field | Value |
|---|---|
| Name | OpenWeatherMap |

Additional Items
| ID | Item Name | Item Setting | Item Setting Options |
|---|---|---|---|
| 1 | Item Name: Weather Identifier: weather | API Field | As follows |
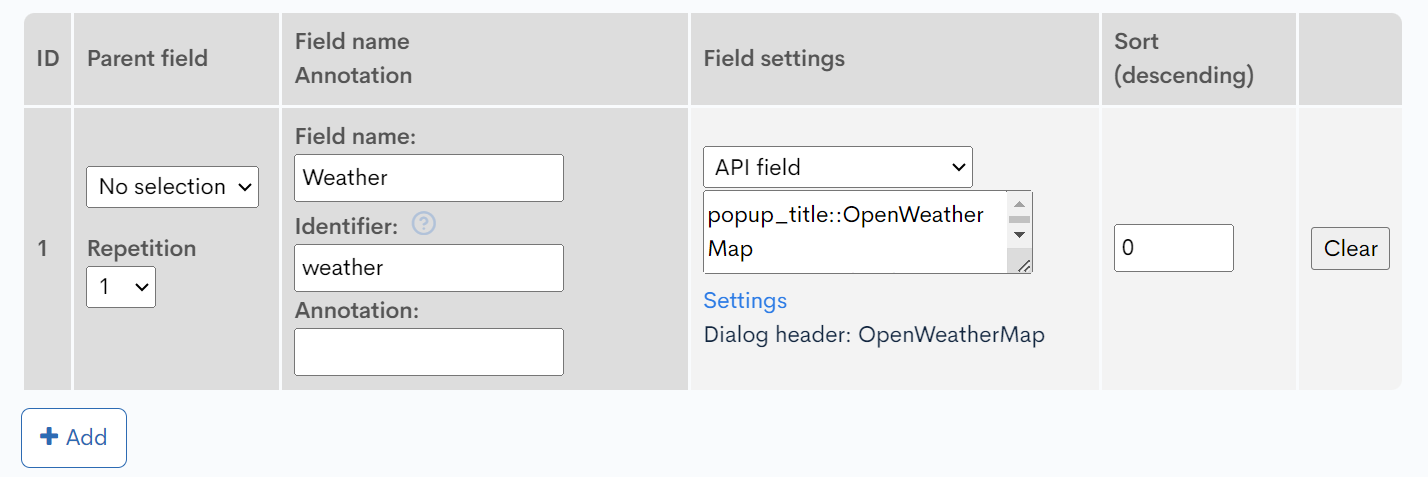
Item Setting Options
| Column | Item | Value |
|---|---|---|
| Column #1 | Title | City |
| URL | API_URL/rcms-api/4/get_city_master | |
| Data List Path | list | |
| Saved Format | ||
| Display Format | %city% | |
| Preview URL | ||
| Column #2 | Title | Weather |
| URL | https://api.openweathermap.org/data/2.5/weather?lat=%lat%&lon=%lon%&appid={API key} | |
| Data List Path | weather | |
| Save Format | %main%,%description%,%icon% | |
| Display Format | %main% %description% | |
| Preview URL | https://openweathermap.org/img/wn/%icon%@2x.png |
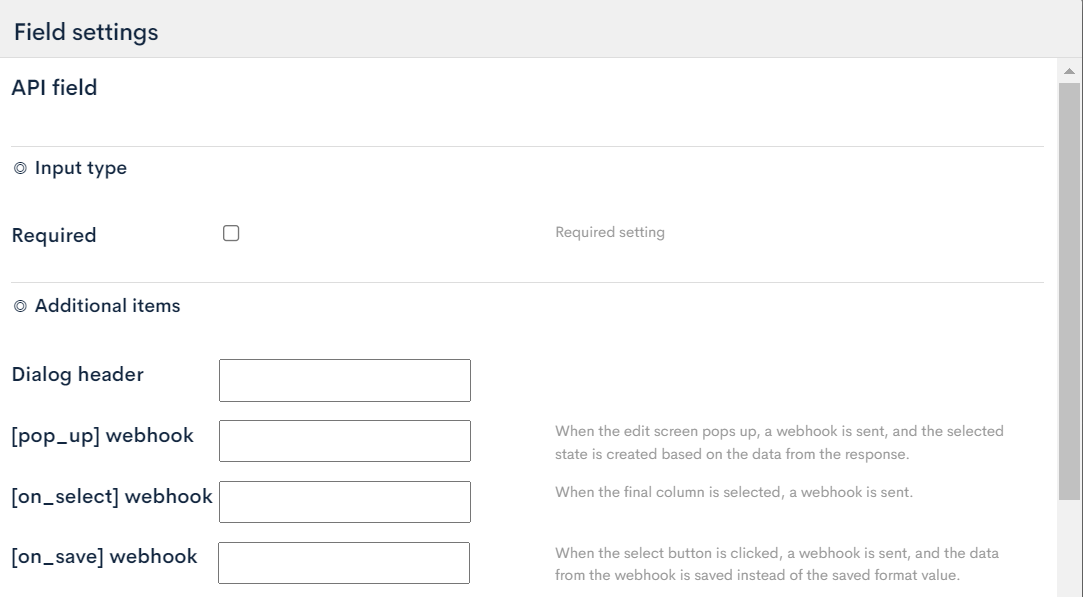


Replace API_URL with your own API URL.
Replace {API key} with the API key obtained in Register with OpenWeatherMap.
Once the configuration is done, click [Add] to add the content structure.
Explanation of API Fields
In the API Fields section, you can send a GET request to the endpoint set in the URL and display the data that is returned in a list format.
In the Data List Path field, you can set the field names to be used from the response and specify how to display the data in a list format using the %key% format.
The JSON response should have the following data structure:
{
  "data":[
    {
    "key1":"value1,",
    "key2":"value2,"
    },
    {
    "key1":"value3,",
    "key2":"value4,"
    }
  ]
}
In the example provided, the following response is obtained for Column #1:
{
  "errors": [],
  "messages": [],
  "list": [
    {
      "city": "Tokyo",
      "lat": "35.6894\t",
      "lon": "139.6917\t"
    },
    {
      "city": "Kuala Lumpur",
      "lat": "3.139\t",
      "lon": "101.6868\t"
    },
    {
      "city": "New York",
      "lat": "40.7127\t",
      "lon": "-74.0059\t"
    }
  ]
}
If the data structure of the response is different from what is expected by the API Fields, or if an API key needs to be included in the header for the GET request, you can use the custom processing set in Api::request_api and the {api} Smarty plugin to retrieve and format the data.
When setting multiple columns, you can use the data from the previous column in the URL field of the next column using the %key% format.
Therefore, in Column #2 of the example, the latitude and longitude of the selected city from Column #1 are sent to the OpenWeatherMap API using the URL https://api.openweathermap.org/data/2.5/weather?lat=%lat%&lon=%lon%&appid={API key} to obtain weather information.
Additionally, you can preview the display in the Preview column by setting a preview URL.
Here again, you can use the content of the response using the %key% format.
The URL specified in the preview URL must allow display in an iframe.
Finally, in the last column, you can set the format in which the data will be saved in the content when [Select] is clicked.
You can use the content of the response using the %key% format.
For explanations of API Fields including other items, please refer to List of Extra Column Available on Content - API Fields.
Testing the Functionality
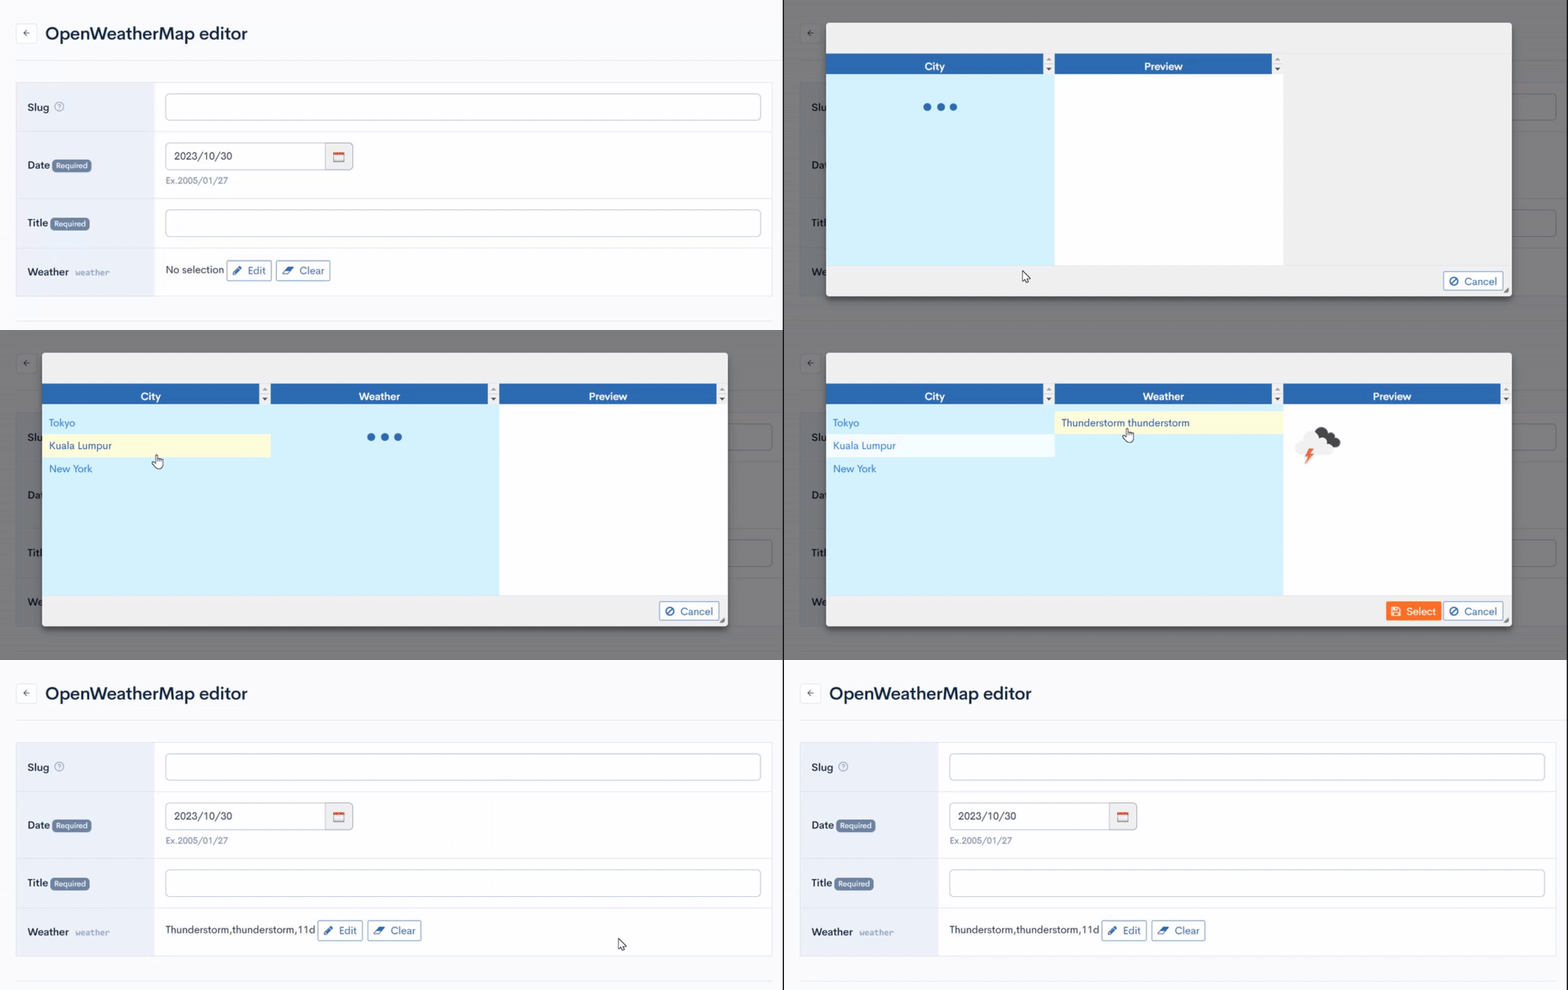
You can test the functionality of the API Fields in the content editing screen of the added content structure.
If the settings are correct, you should be able to enter the current weather of the selected city as shown below:
Related Documentation
Support
If you have any other questions, please contact us or check out Our Slack Community.