Importing WordPress files into Kuroco
Overview
This tutorial explains how to import XML data and media files from WordPress into Kuroco.
What you'll learn
- How to export the post data from WordPress
- Creation of an import content structure
- Import settings in Kuroco
- Verification of the imported content
Before you start
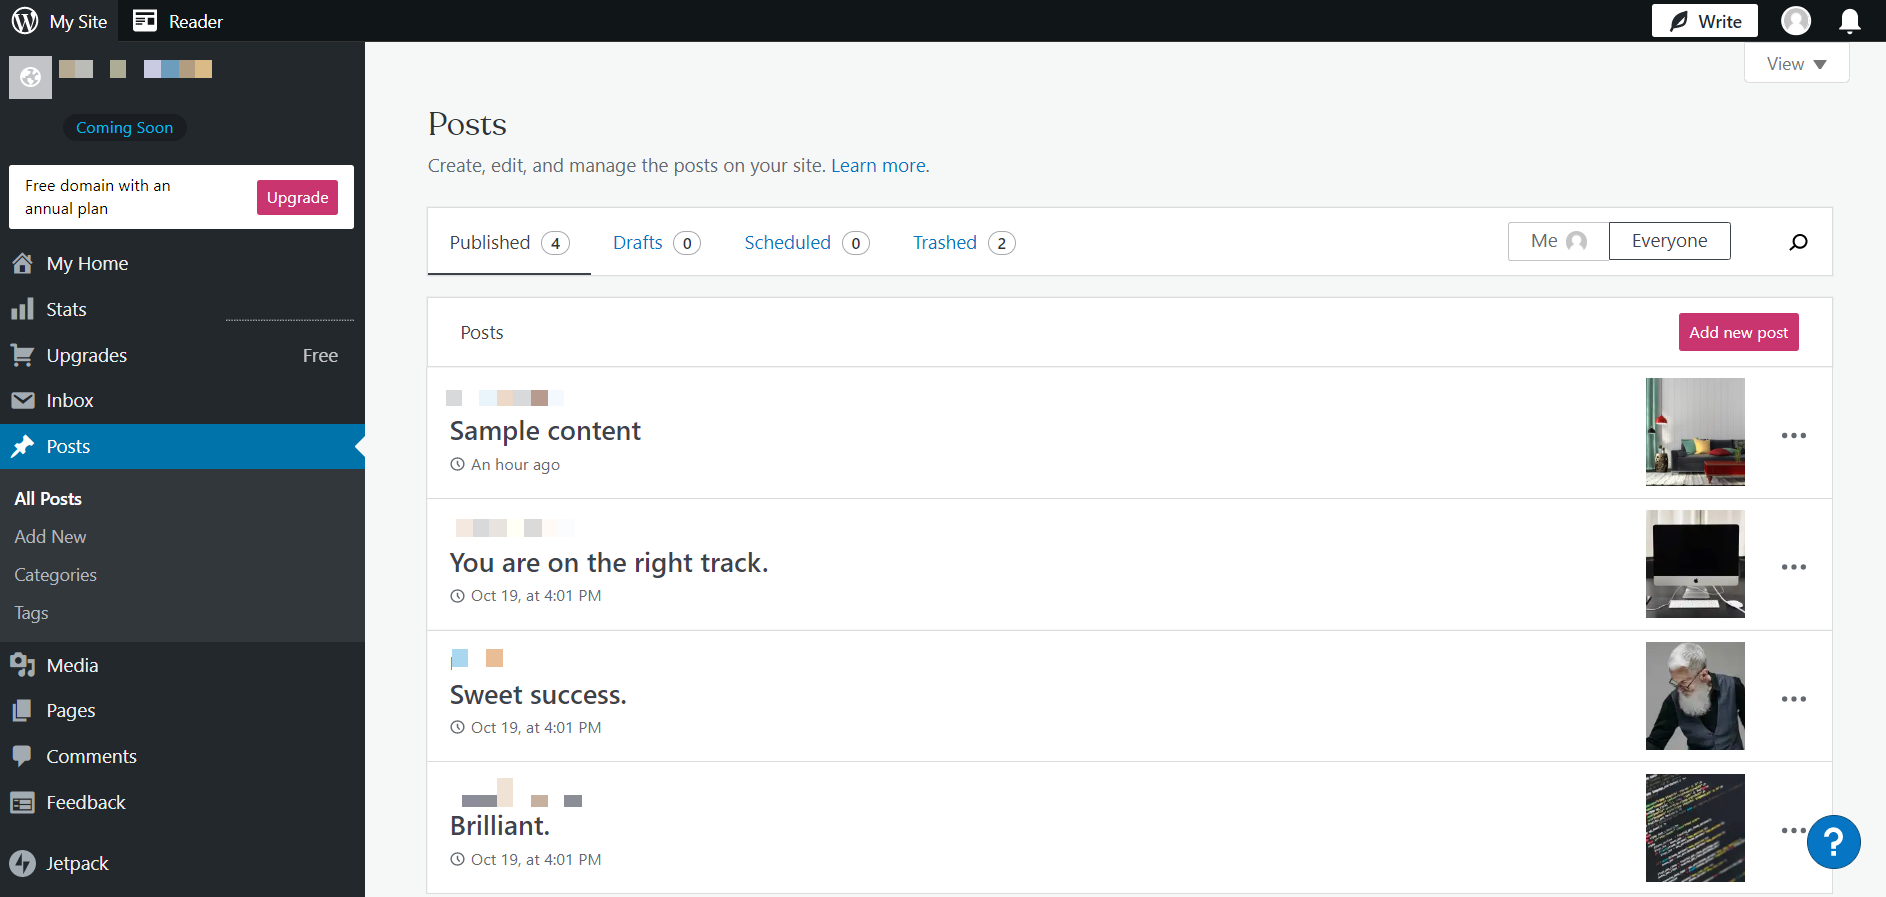
- We will import the following four posts created on Wordpress into Kuroco.
Currently, the import of WordPress media TAR files does not work. To register the files, please compress the exported media files into ZIP format and upload and unzip them on KurocoFiles.
Exporting the post data from WordPress
First, export your post data from WordPress. The steps are outlined below. You can also find more information at WordPress Support: Export Your Website’s Content.
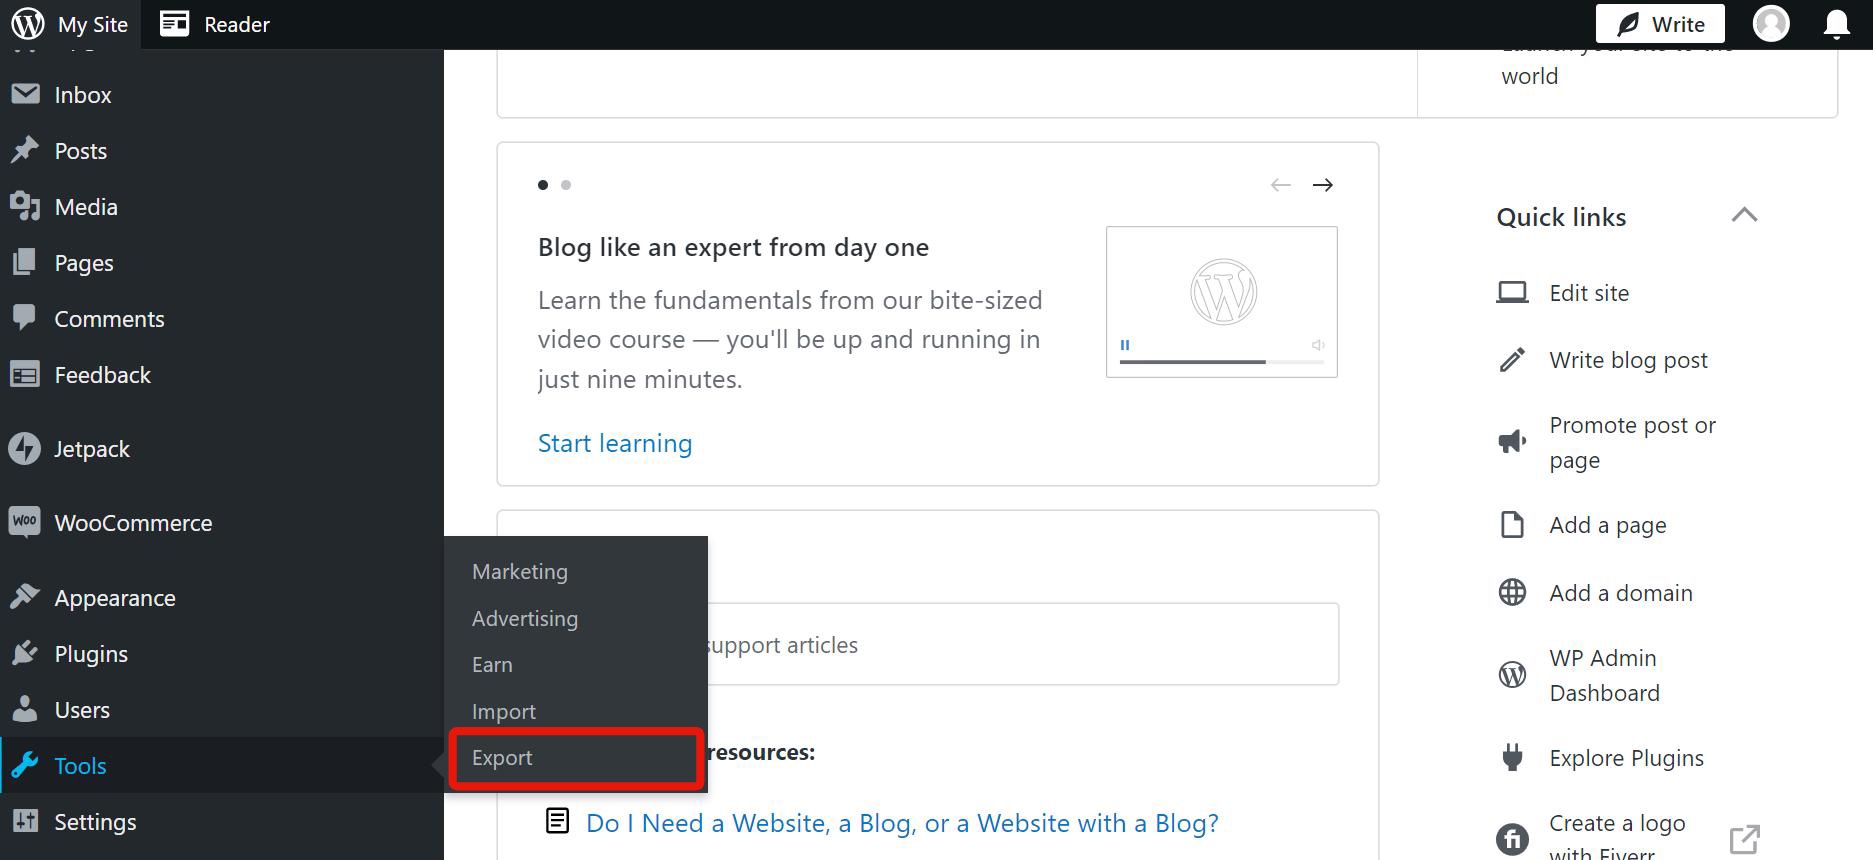
In the side menu of your WordPress dashboard, click [Tools] -> [Export].
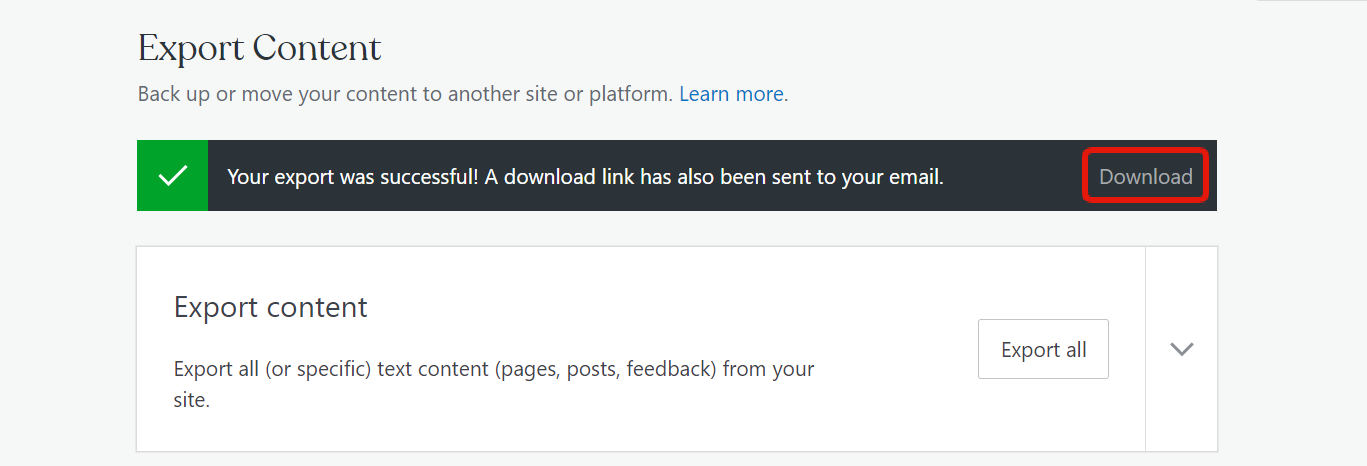
On the Export Content page, under "Export content", click [Export all].

A download link will be generated. Click [Download] to download the content data in XML format.
The content will be downloaded in a ZIP file.
This completes the data export from WordPress.
Preparing a Kuroco content structure for the import
Next, create a content structure in Kuroco to import the WordPress data.
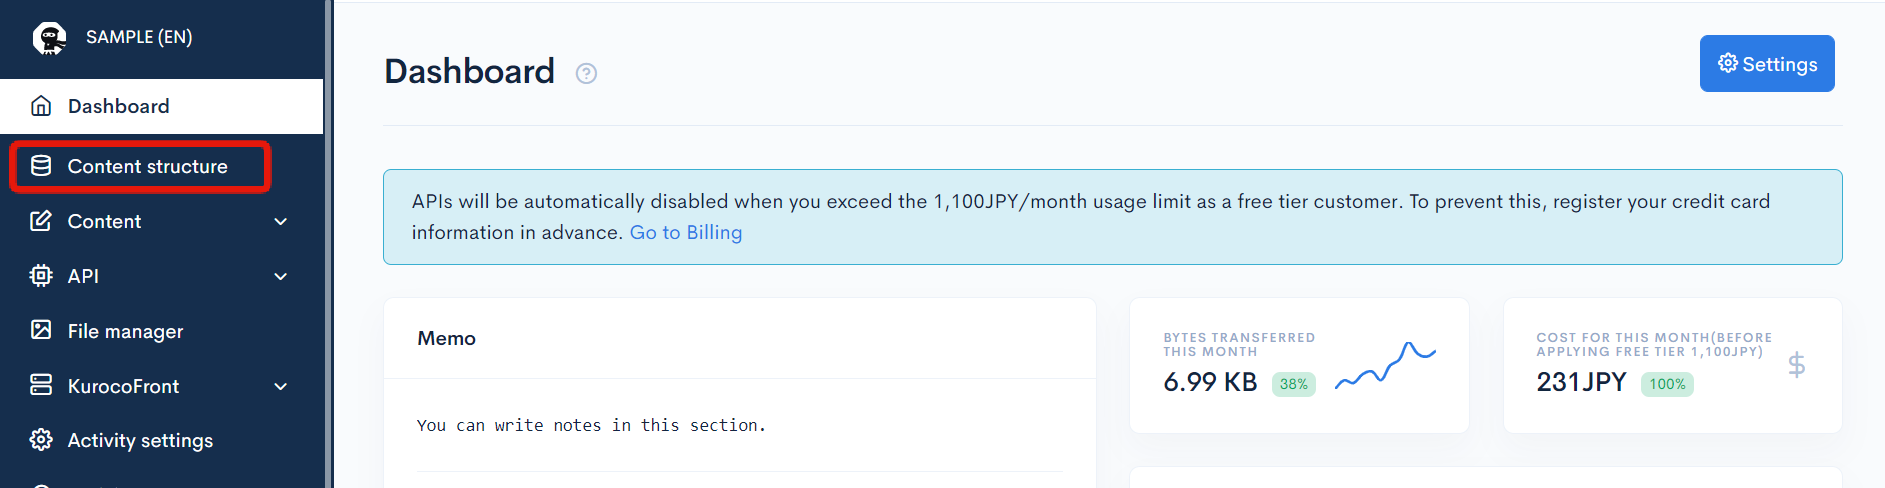
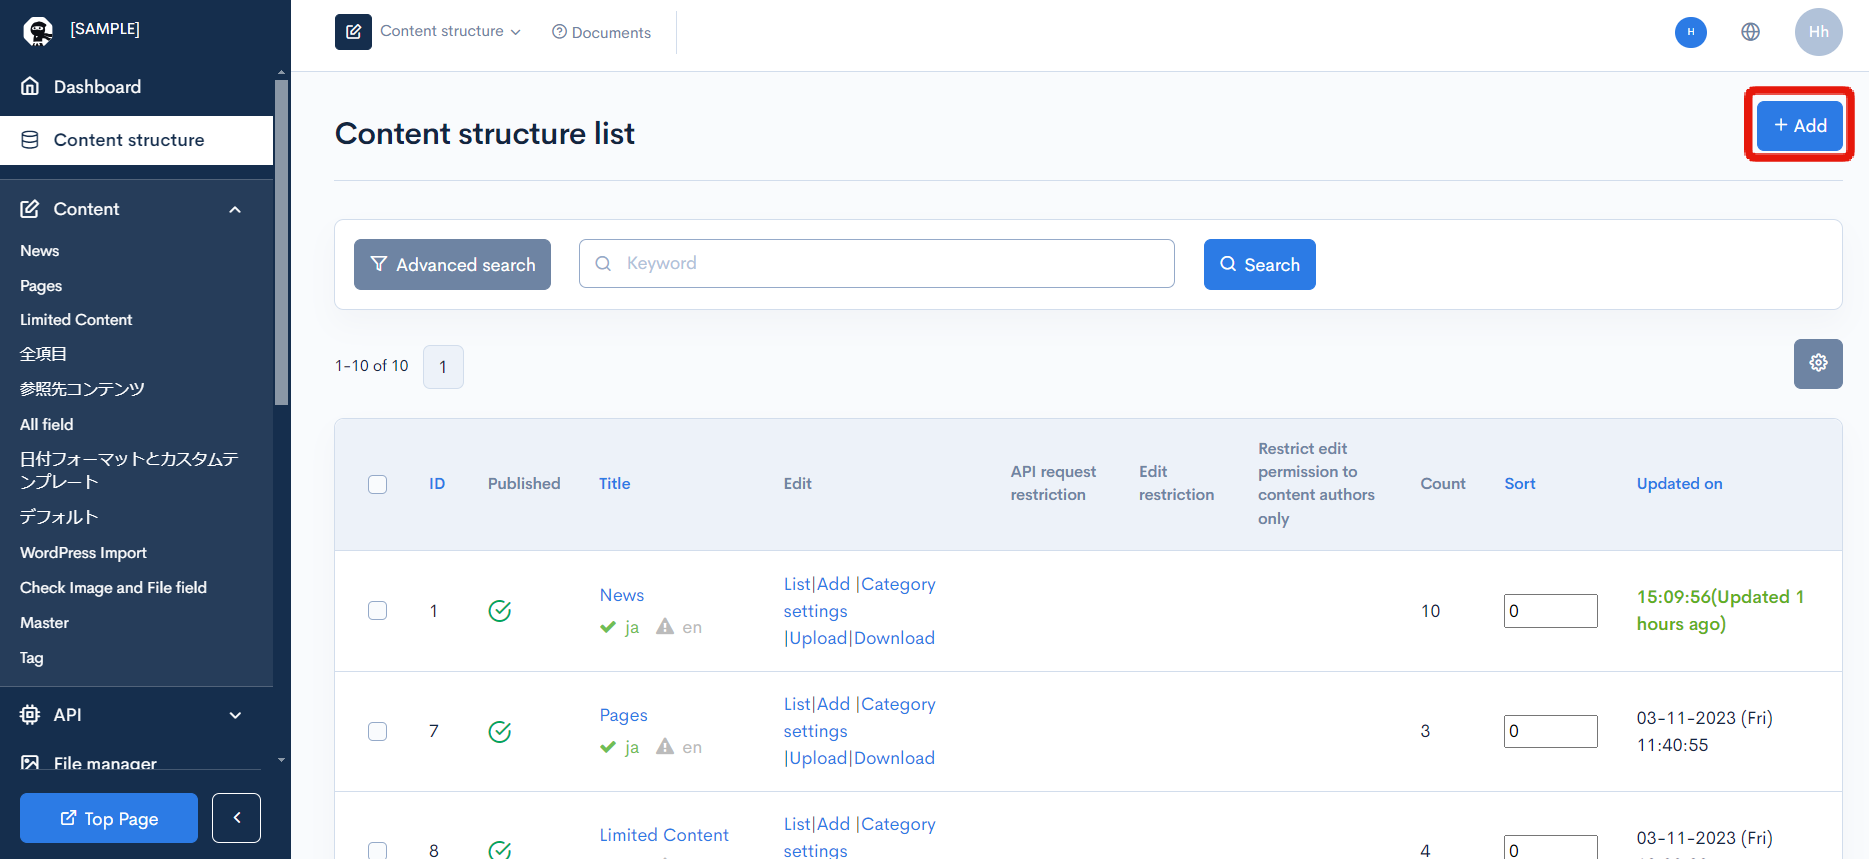
In Kuroco's sidebar menu, select [Content structure].
In the upper right corner of the Content structure list screen, click [Add].
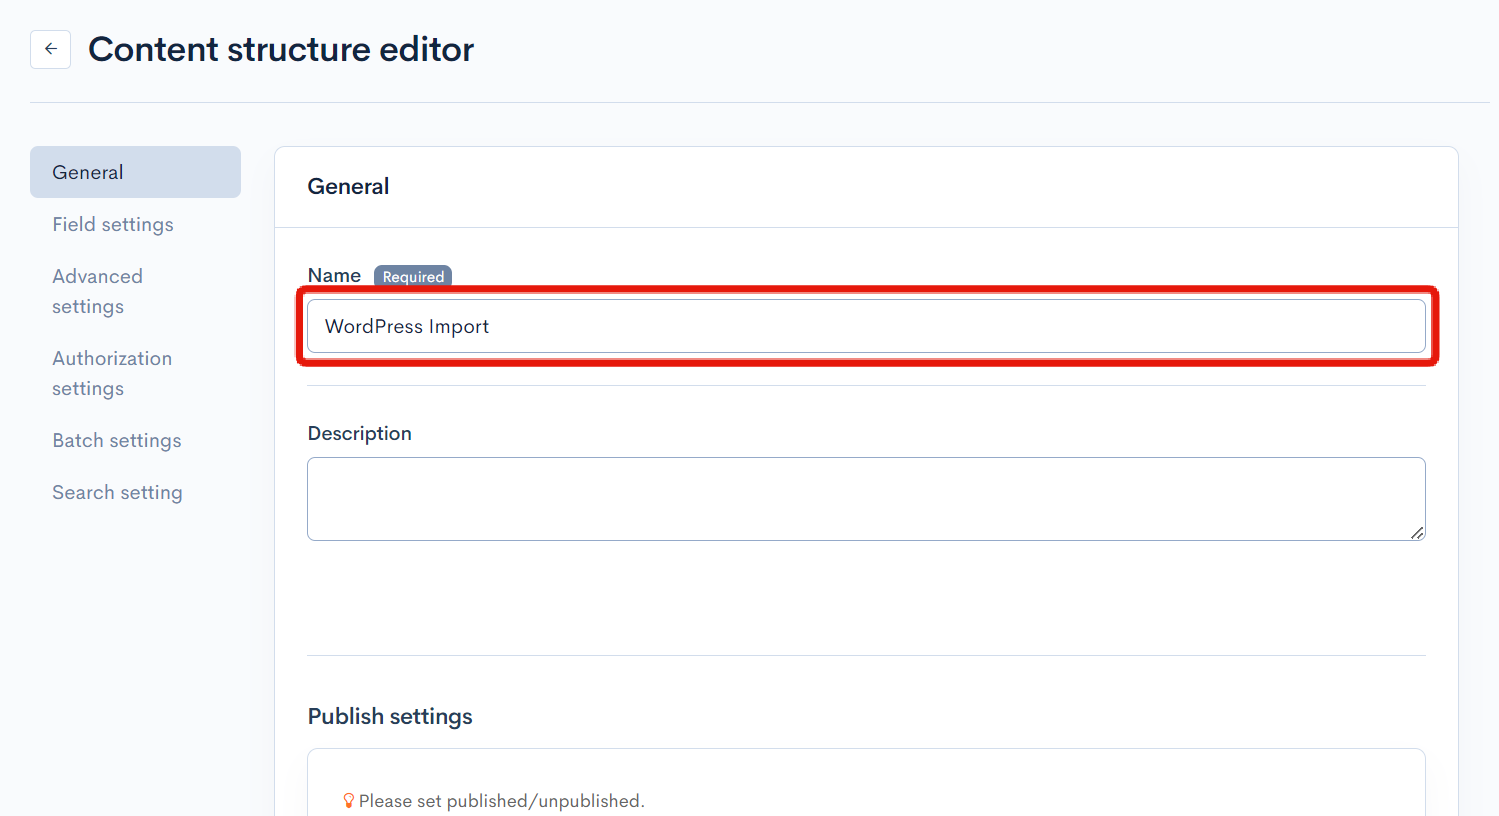
Set up your new content structure as follows and click [Add].
| Field | Value |
|---|---|
| General-Name | (Enter a name for the content structure.) |
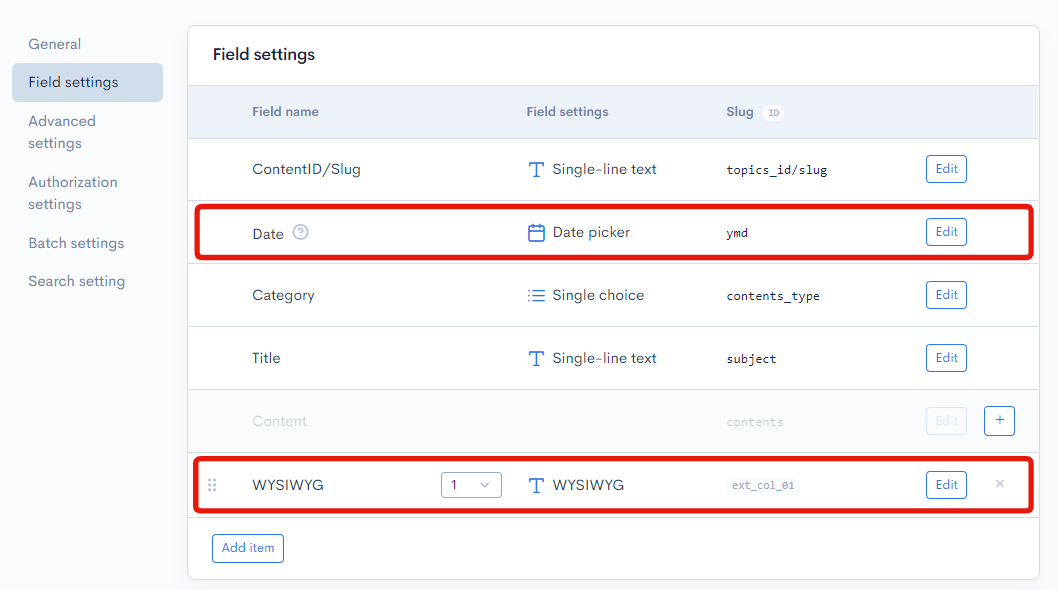
| Field settings-Date/Sort | Use Date |
| Field settings-ext_1 | WYSIWYG |
| Other | Default |
Importing the data into Kuroco
Now you are ready to import the WordPress post data into Kuroco.
In Kuroco's sidebar menu, select [External system integration] -> [WordPress].
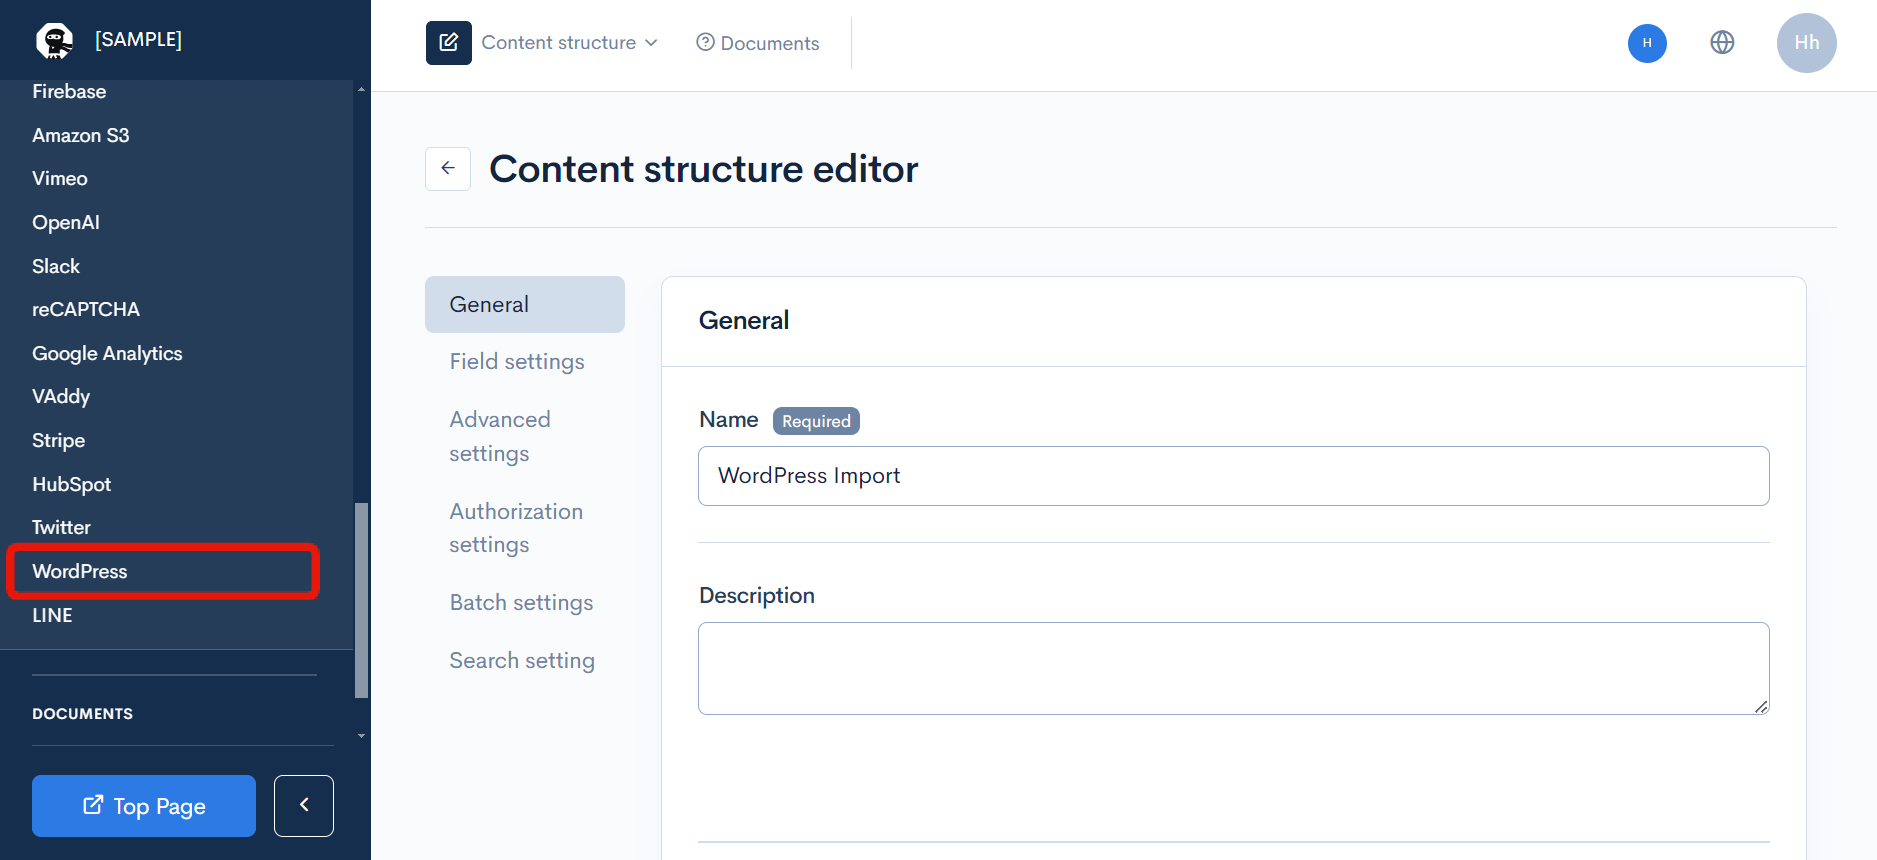
The WordPress importer will appear.
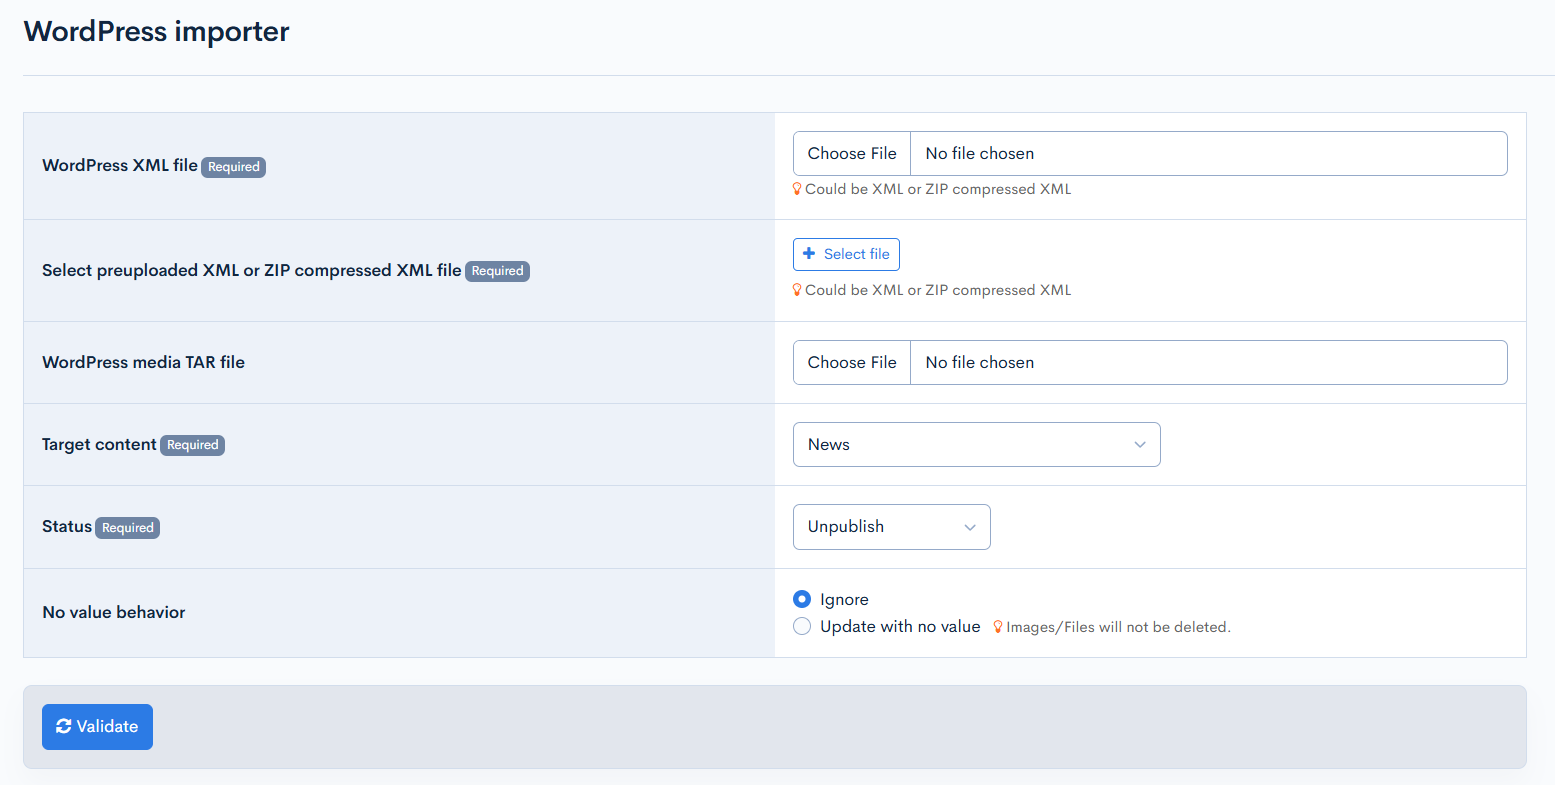
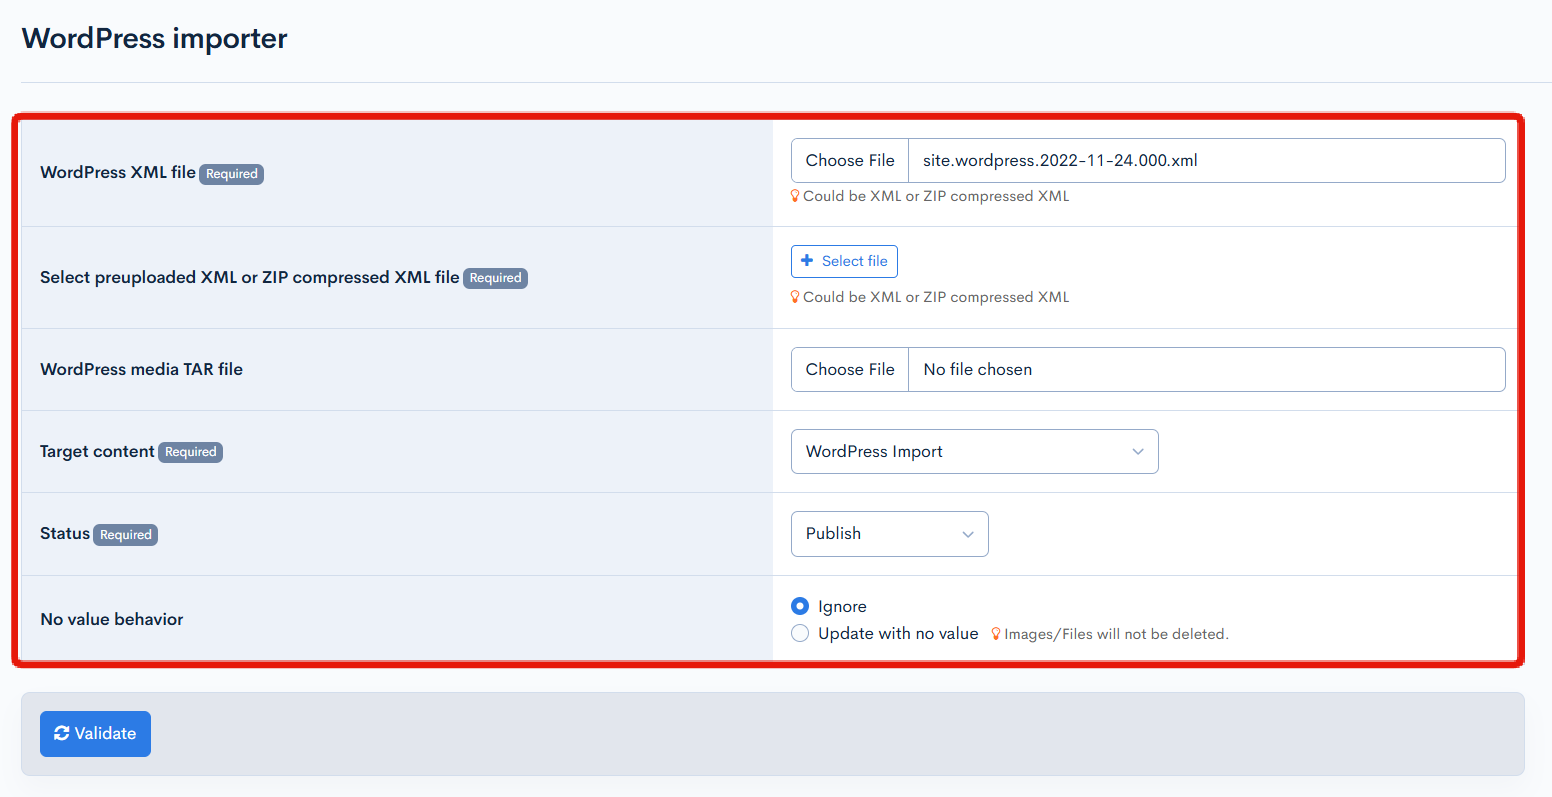
On the WordPress integration screen, make the following selections and click [Validate].
| Field | Value |
|---|---|
| WordPress XMLfile | Select the .xml file exported from WordPress. |
| Target content | Select the content structure you created above. |
| Status | Select the desired status (publish/unpublish) for the content. |
| No value behavior | Select "Ignore". |
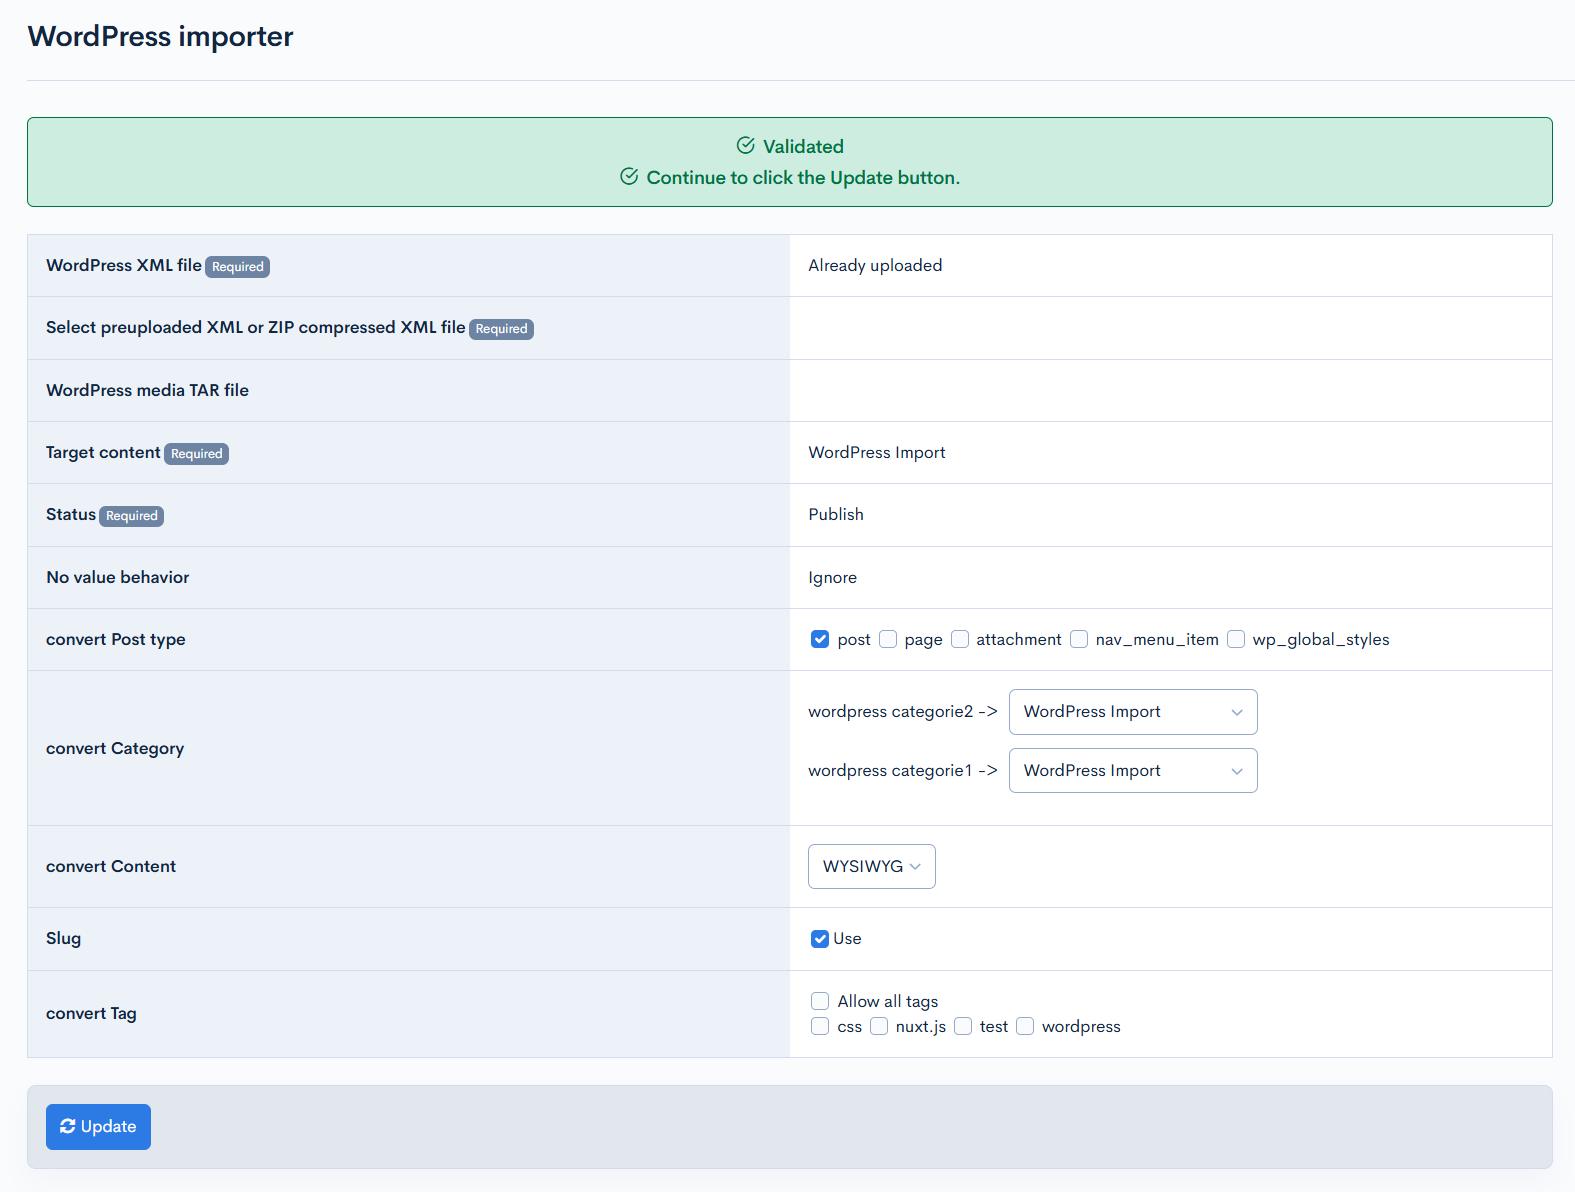
Input validation is performed, so set the Post type to import, category, and content field as follows.
| Item | Setting |
|---|---|
| Convert Post type | Select which Post type's data to import from the XML data.post corresponds to WordPress's posts, so here we select post. |
| Convert category | Select the category that the imported data belongs to. You may choose any category you like. |
| Convert content | Select the item where the imported data will be registered. Here, we will select the WYSIWYG item created earlier. |
| Slug | Check this if you want to import the Slug from the XML as well. Here, we will leave it disabled. |
| Convert Tags | If the imported data contains tags, choose whether to convert them. Here, we will leave it disabled. |
Specify the content item to save the imported content under the [Convert Content] section. Currently, importing into the content (default 'contents' item) is not supported, so please import into an additional item set up in advance.
Click [Update] to add the import process to the batch processing and execute it.
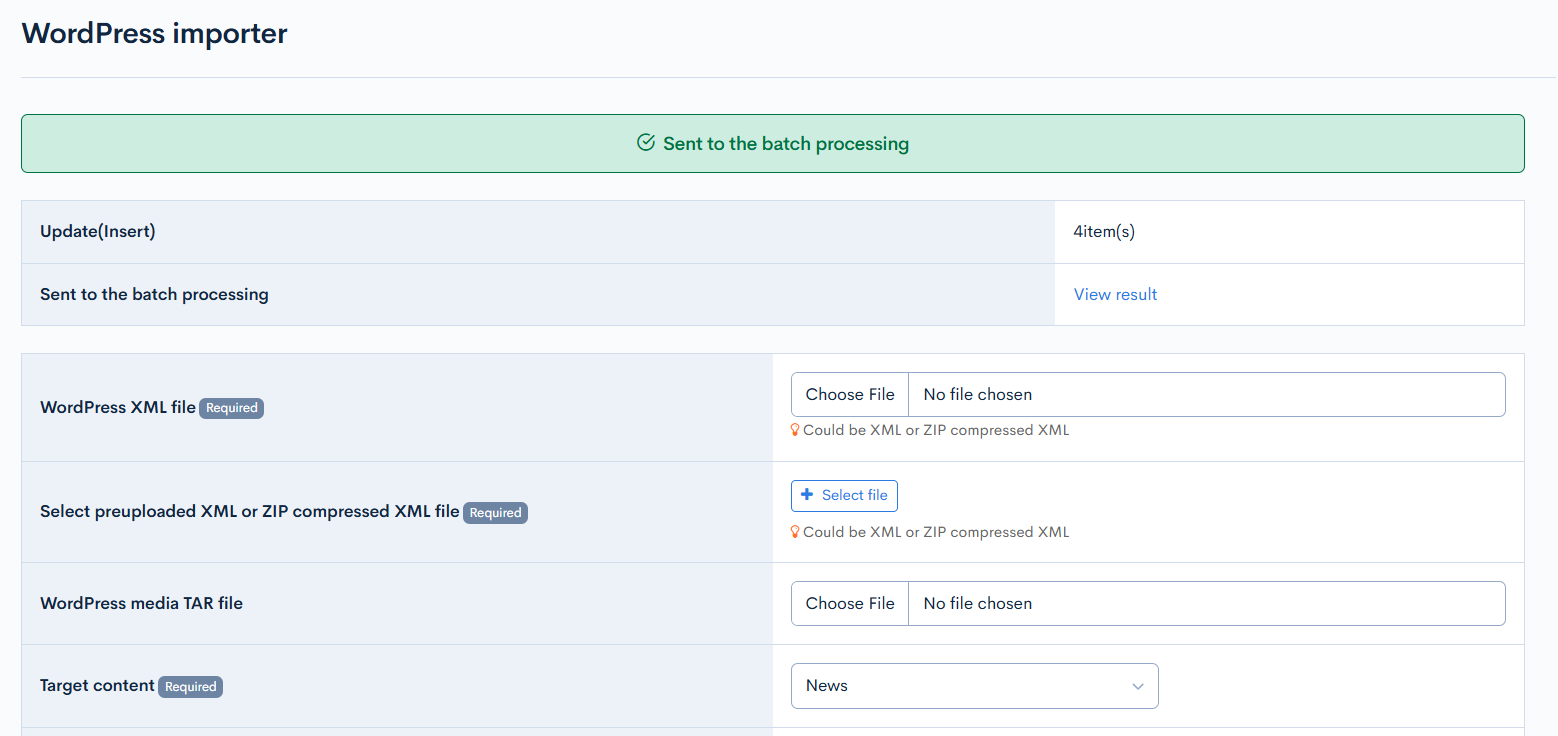
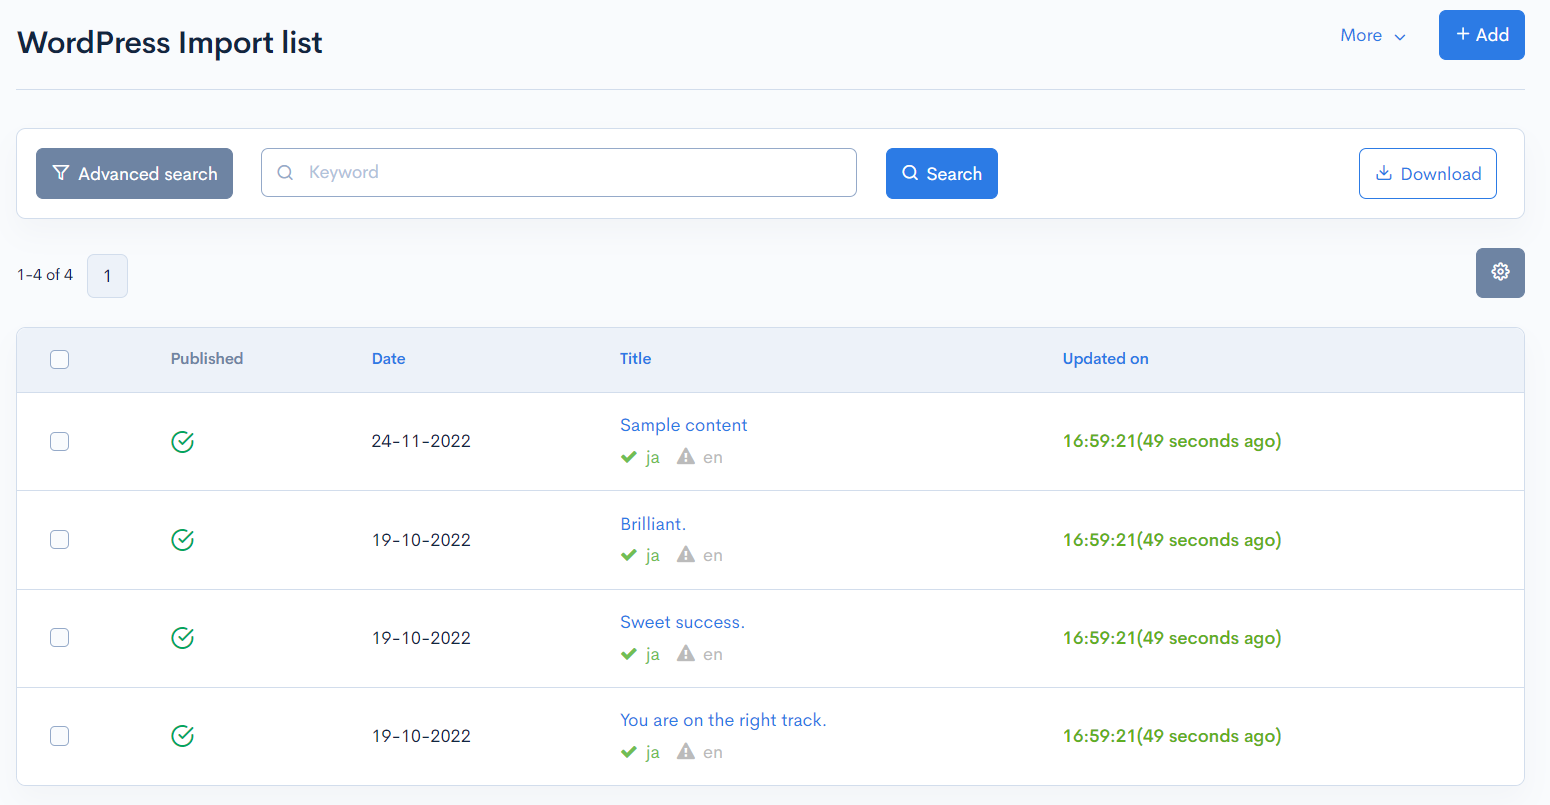
Verifying the import
To view the list of imported post titles, select [Content] in the sidebar menu and select the name of the content structure.
More information
For more information on the WordPress integration function, see:
Support
If you have any other questions, please contact us or check out Our Slack Community.