Setting up X (formerly Twitter) integration and automating posts with content updates
You can integrate X (formerly Twitter) with Kuroco to implement X auto-posting features, such as automatically posting to X after content updates or posting to X via API calls.
This tutorial describes how to set up X integration and automate X posts with Kuroco content updates.
Due to specification changes on X's side, the steps and screens in this tutorial may differ from the actual interface. Please visit the X Developer Platform for the latest information.
The X API uses pay-per-use pricing. Post creation costs $0.015 per post ($0.20 per post if it contains a link). See the X Developer Console for details.
The X API v2 endpoint used by Kuroco (POST /2/tweets) requires the Pay-per-use plan. The Free plan does not support posting.
X settings
1. Sign up for an account
Before integrating X into Kuroco, you must have an X account. If you have not done so yet, please sign up on X.
Visit X's Help Center for more information on how to sign up.
2. Create an app on the X Developer Console
Navigate to the X Developer Console and sign in with your X account. If this occurs during the first login—after users have accepted the Developer Agreement and Policies and provided the required basic information, such as their intended use of the service—please handle it accordingly.
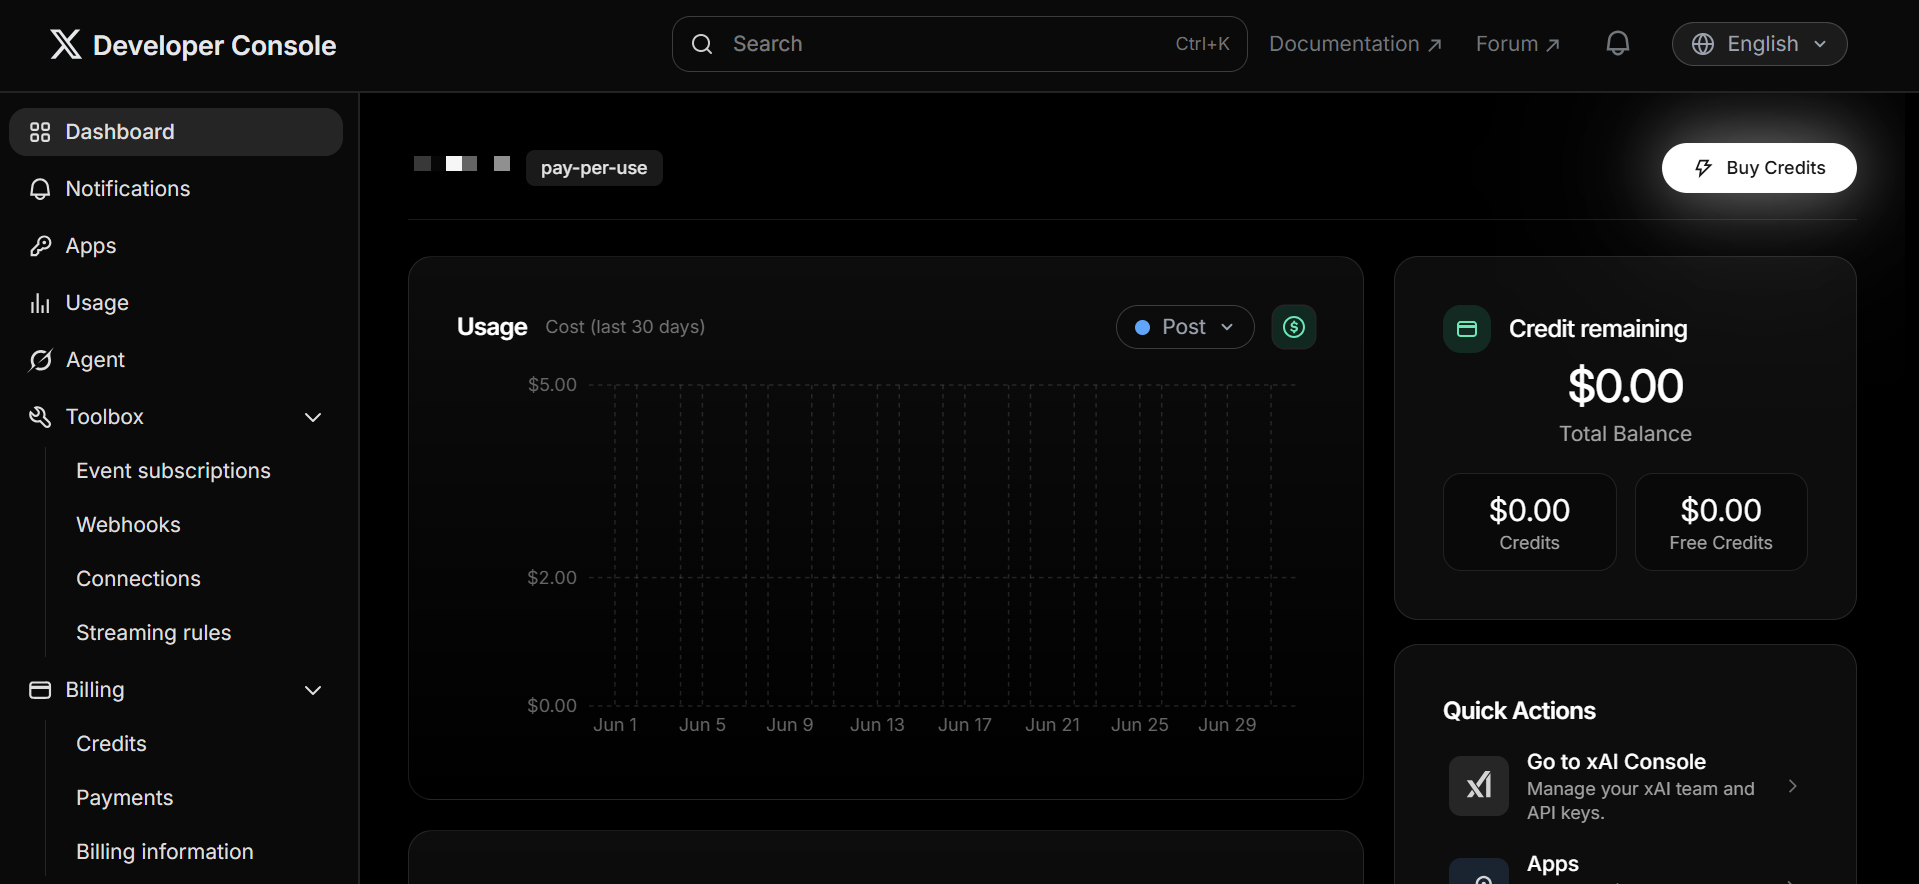
From the Developer Console dashboard, create a Pay-per-use app. Select "App in Pay per use" and click [New App] (or [Create App]).
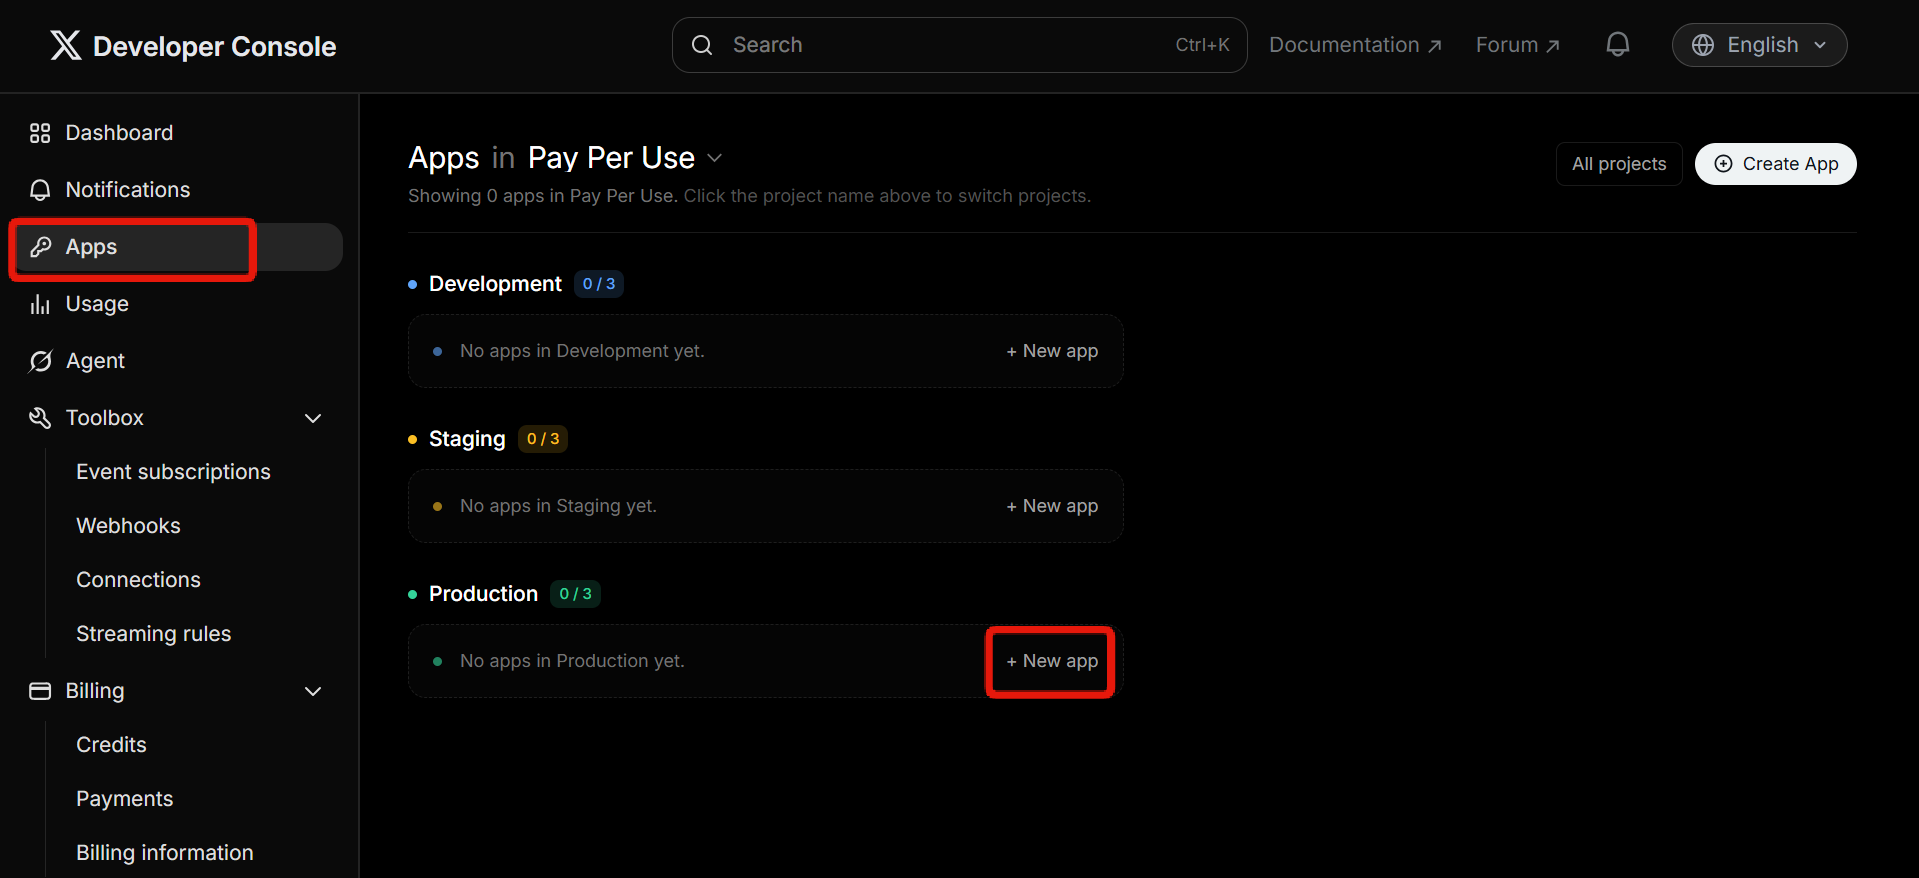
"App in Free" does not have access to the X API v2 post creation endpoint (POST /2/tweets) used by Kuroco.
You can choose from "Development", "Staging", or "Production" environments. Select "Production" for live use.
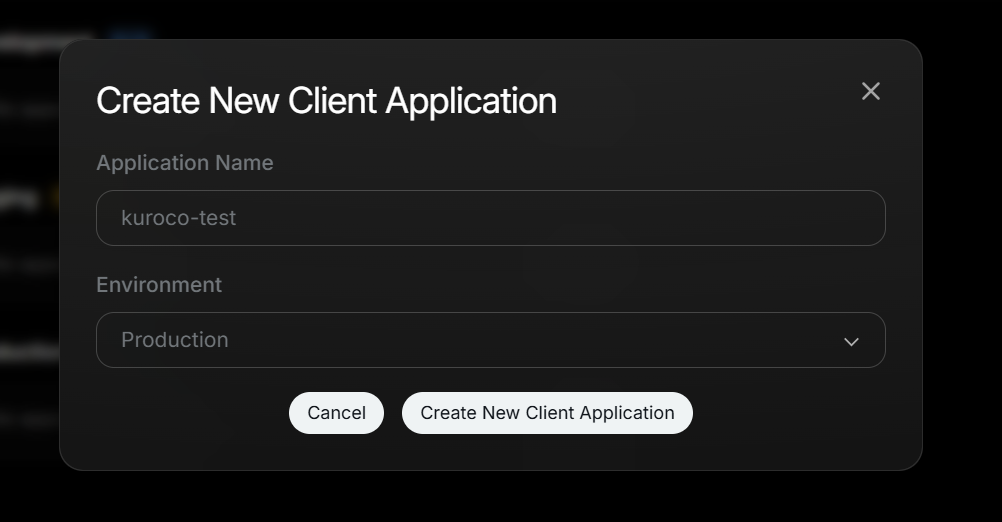
Click Create New Client Application to create a new application.
3. Save your credentials
When the app is created, the following three credentials will be generated:
| Credential | Description | Used in Kuroco |
|---|---|---|
| Consumer Key | Identifies your app. | Yes |
| Secret Key (Consumer Secret) | Identifies your app. | Yes |
| Bearer Token | App-only authentication for reading public data. | No |
Copy the Consumer Key and Secret Key and store them in a safe place.
Credentials are only displayed once. If lost, you will need to regenerate them, which invalidates the previous credentials.

4. Configure app permissions
To post from Kuroco, the app permission must be set to "Read and write".
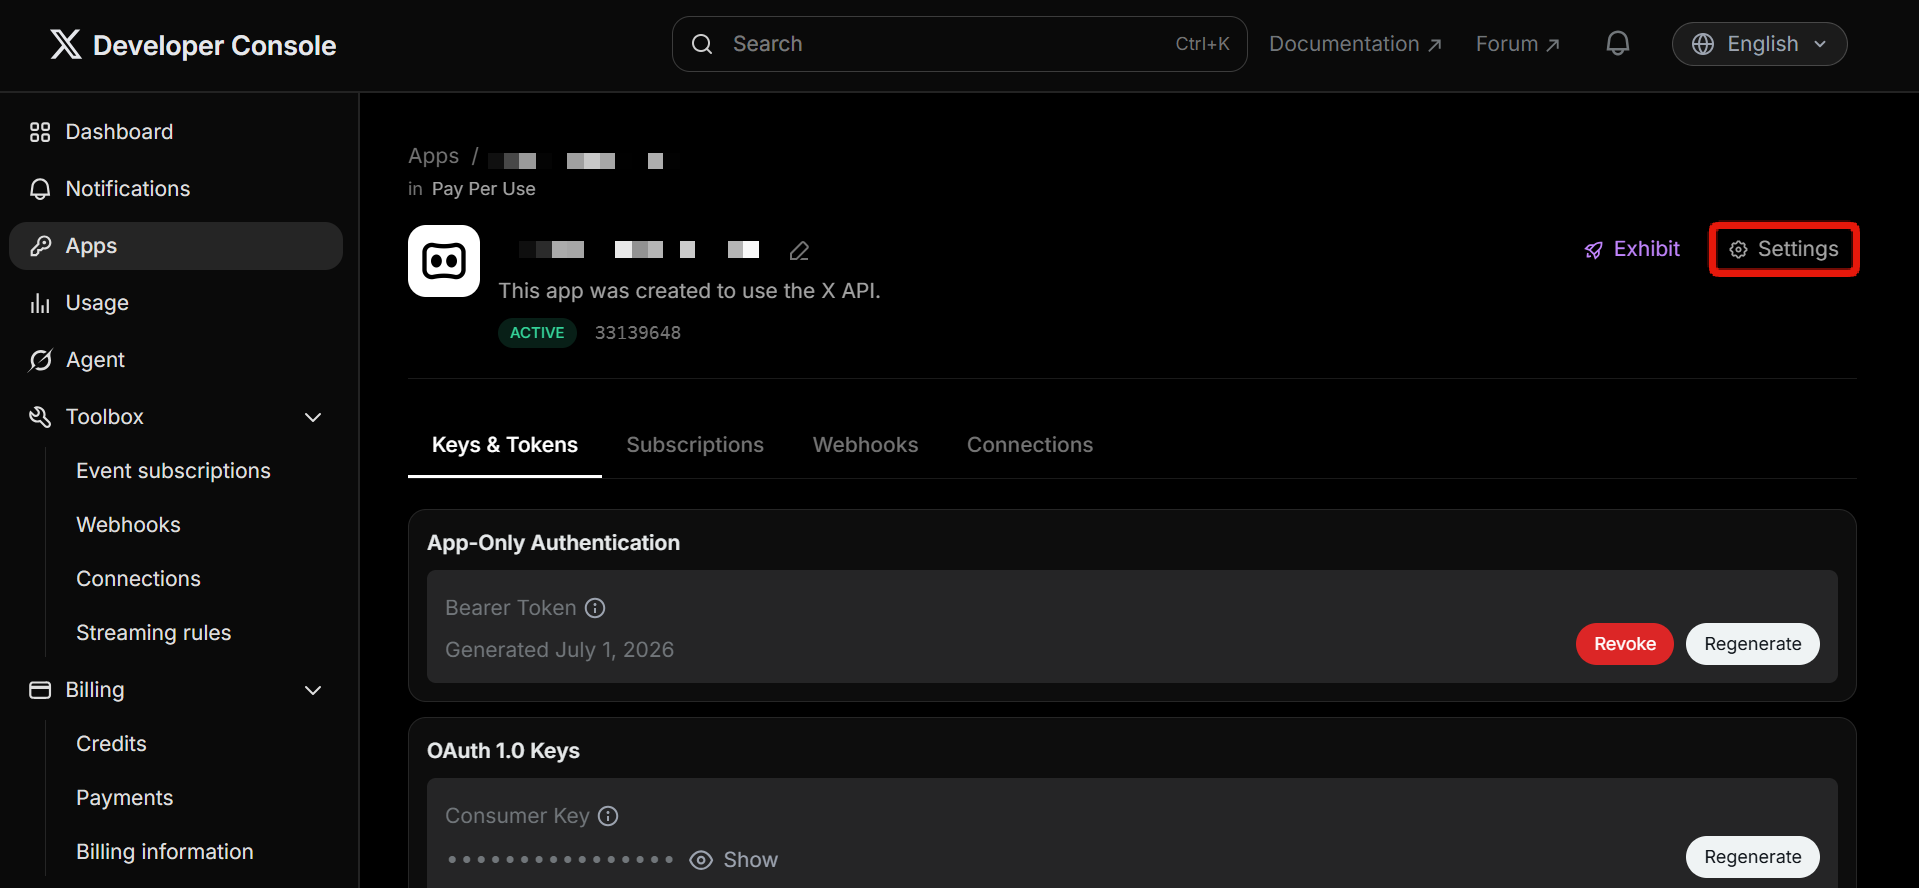
In the Developer Console, open the application's configuration page, then go to Settings.
Under "App permissions", select [Read and write].
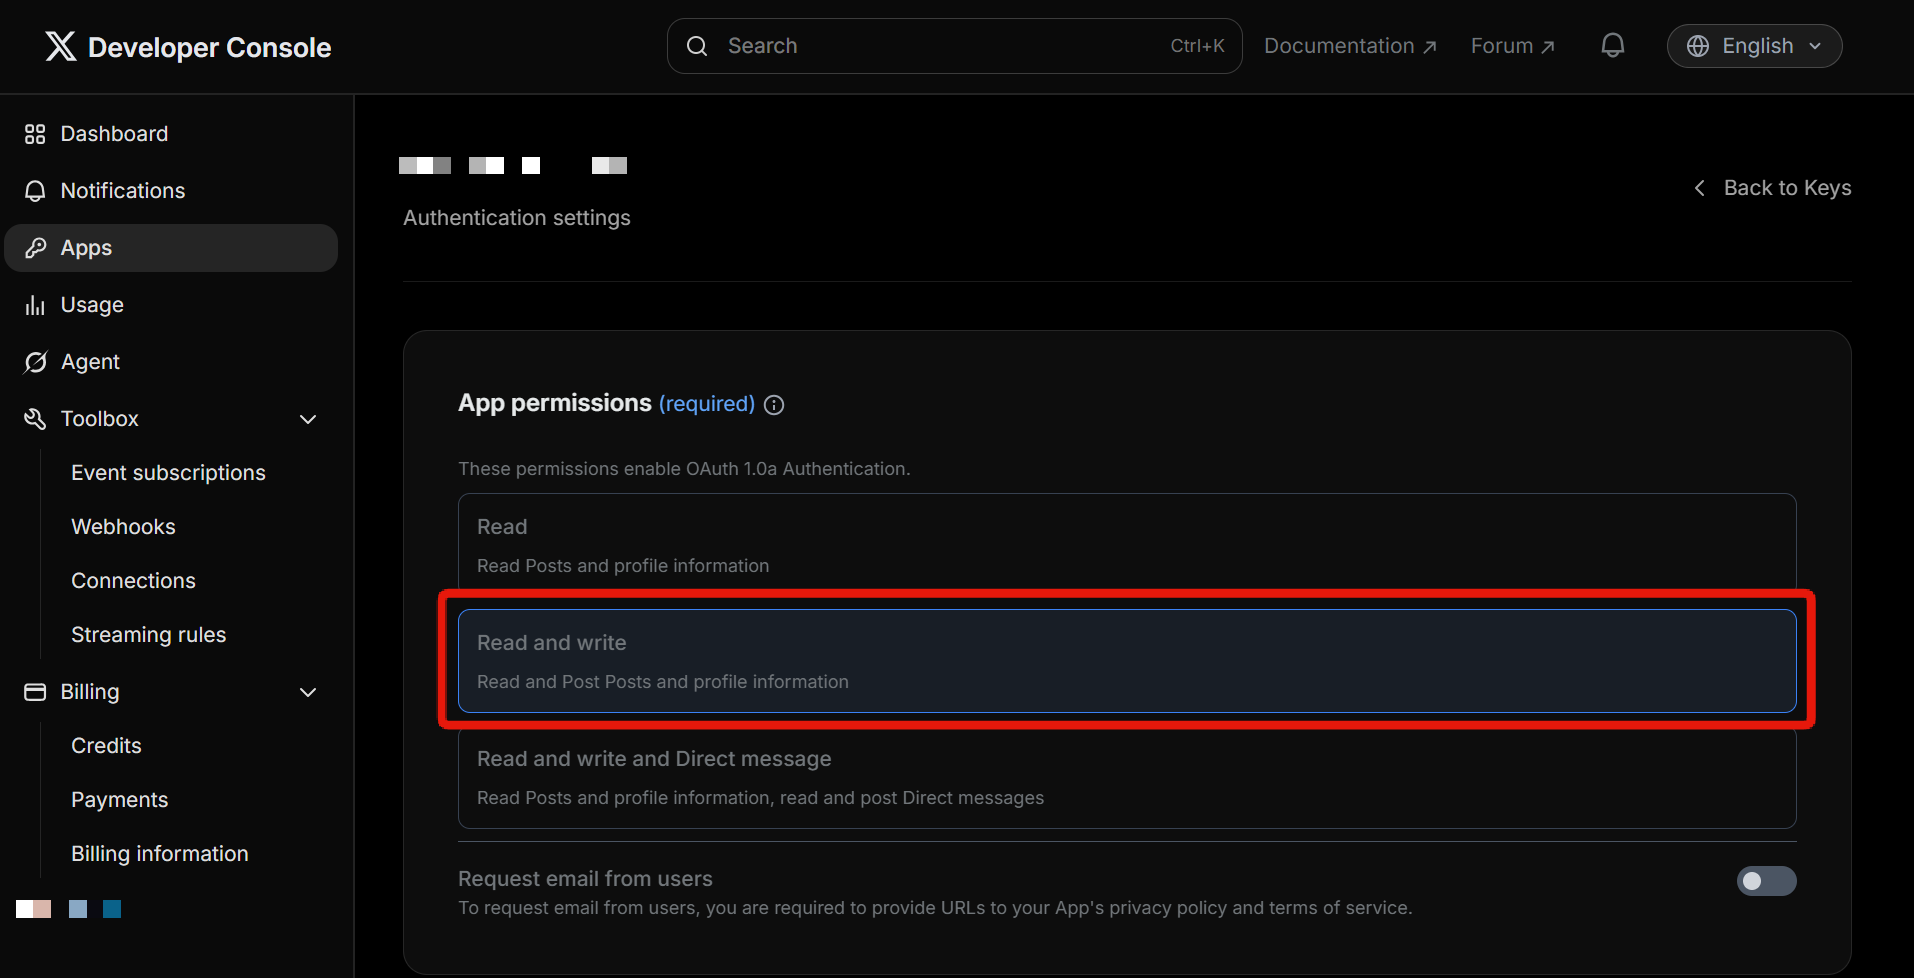
| Permission level | Description |
|---|---|
| Read only | View posts, users, and public data only. Cannot post. |
| Read and write | All read permissions, plus post/delete posts, follow/unfollow users, like and repost. |
| Read, write, and DMs | All read and write permissions, plus send and read Direct Messages. |
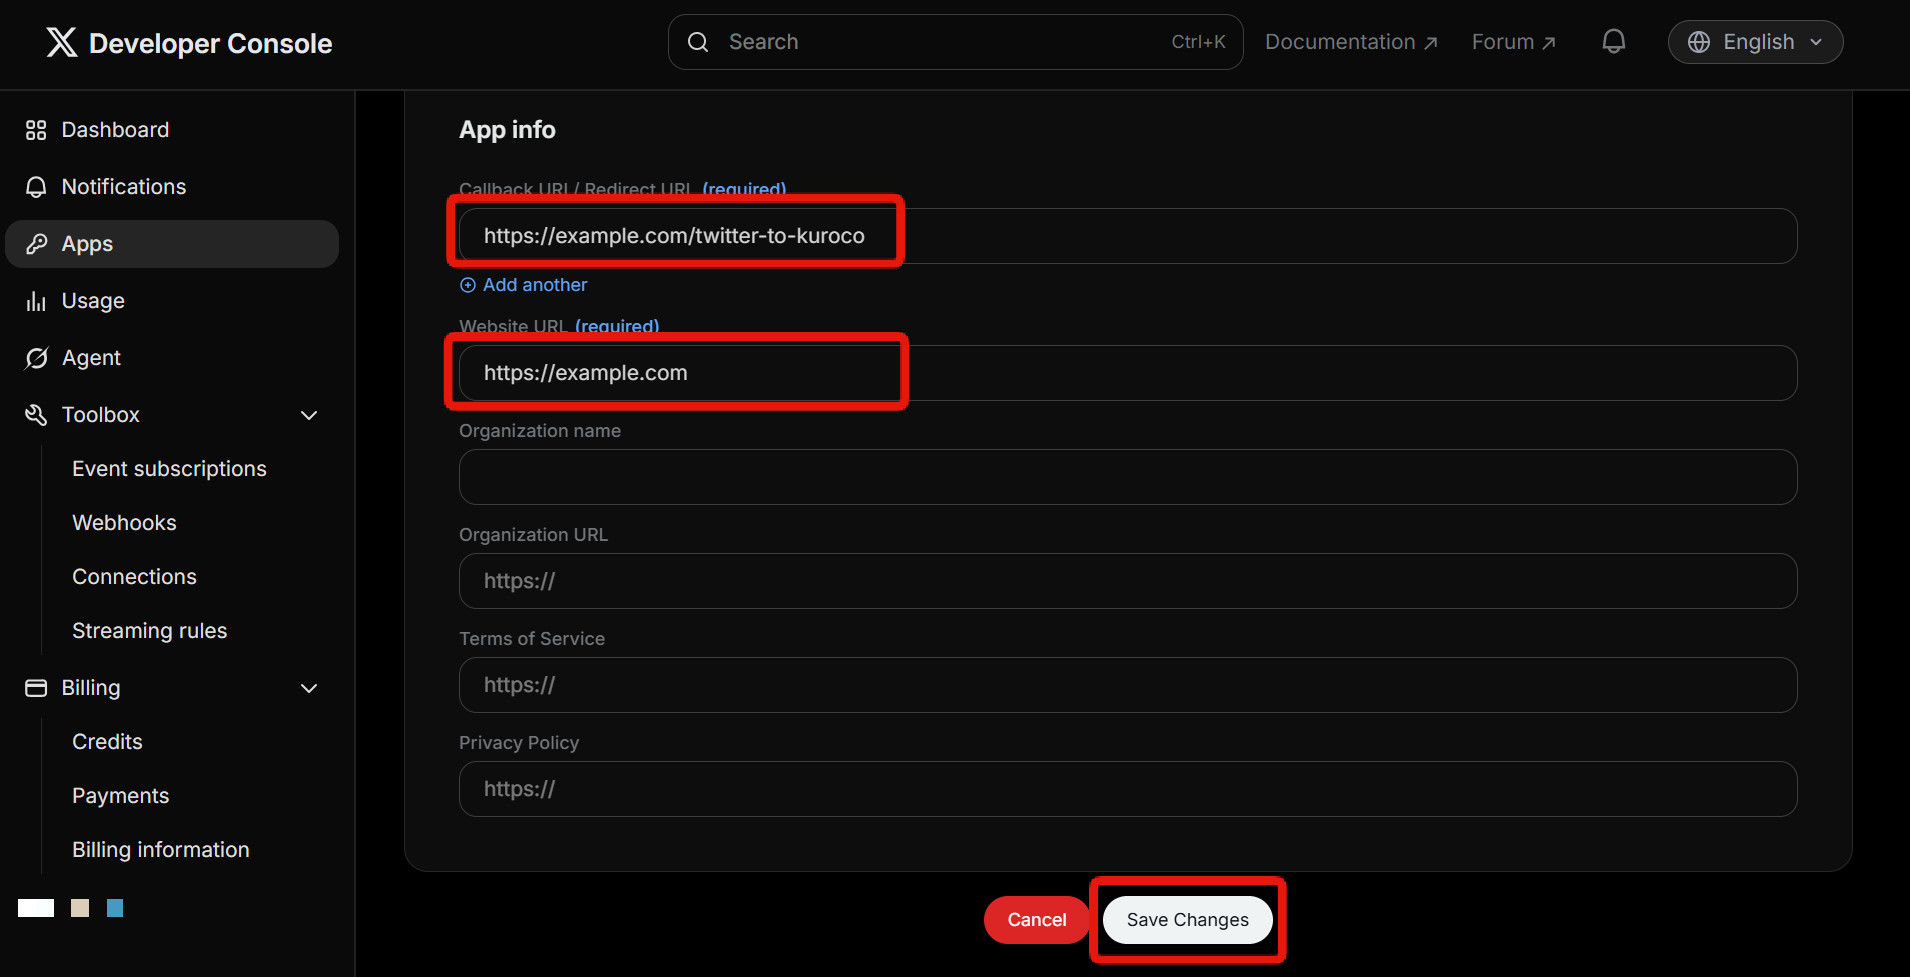
Enter the Callback URL (Redirect URI) and Website URL, then click [Save].
| Field | Sample entry | Description |
|---|---|---|
| Callback URI / Redirect URL | https://example.com/twitter-to-kuroco | Enter the callback URI for post-authorization redirects. |
| Website URL | https://example.com | Enter your site URL here. |
If you change the application's permissions, existing Access Tokens will not reflect the updated permissions. If you change the permissions after integrating with Kuroco, you must regenerate the Access Token and Secret and update the configuration in Kuroco.
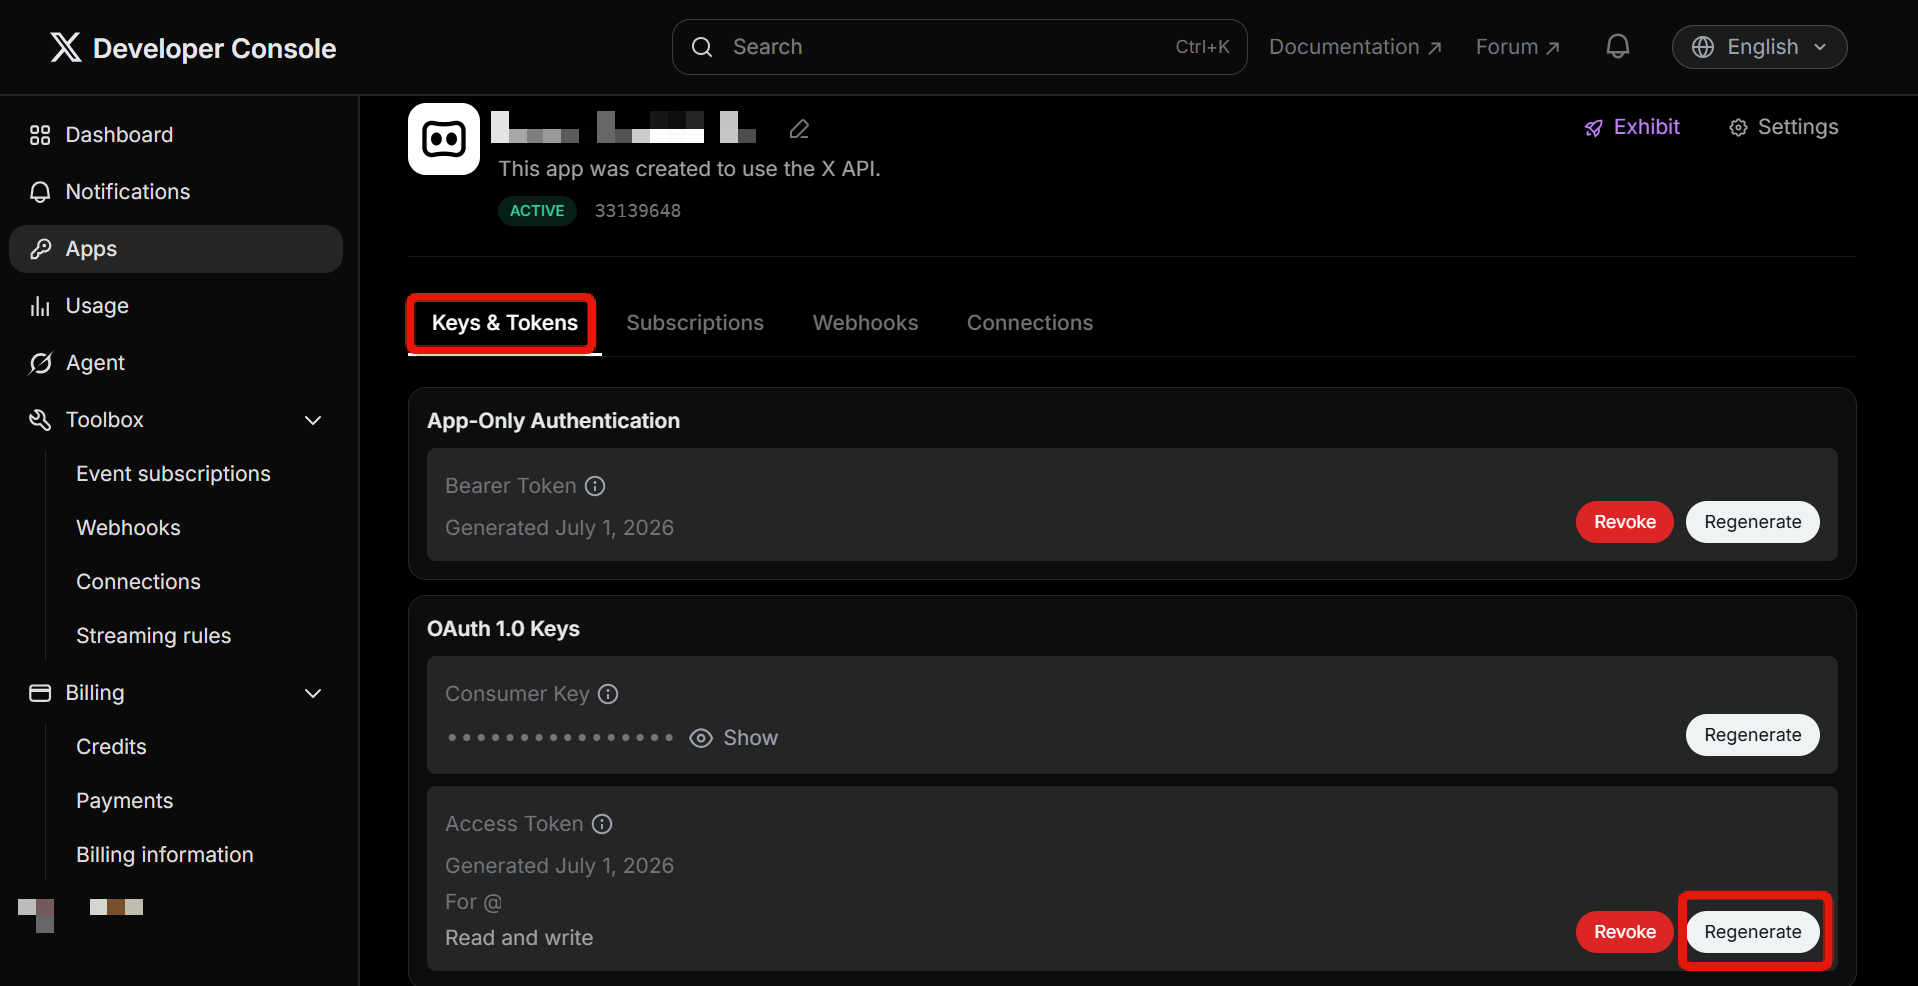
5. Generate your Access Token and Secret
In the Developer Console, open [Keys and tokens] from the app's settings page. On the same [Keys and tokens] screen, click [Generate] next to "Access Token and Secret".
A new access token and access token secret will be generated. Copy the contents and save them in a secure location.
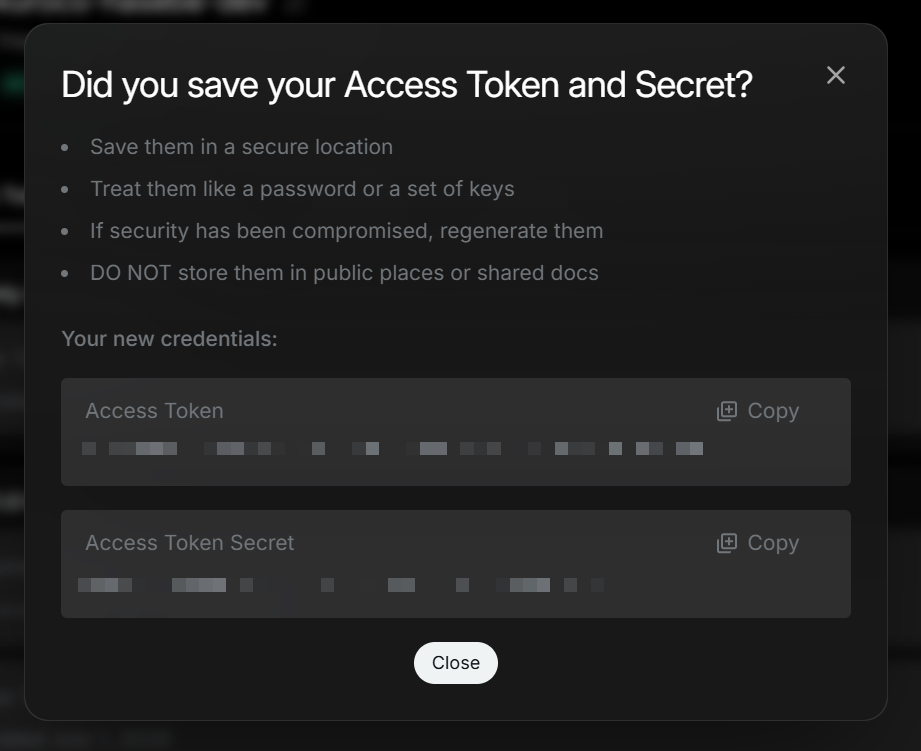
The Access Token is tied to the X account that owns the app. Posts will be made from this account.
This completes the X-side configuration.
Kuroco settings
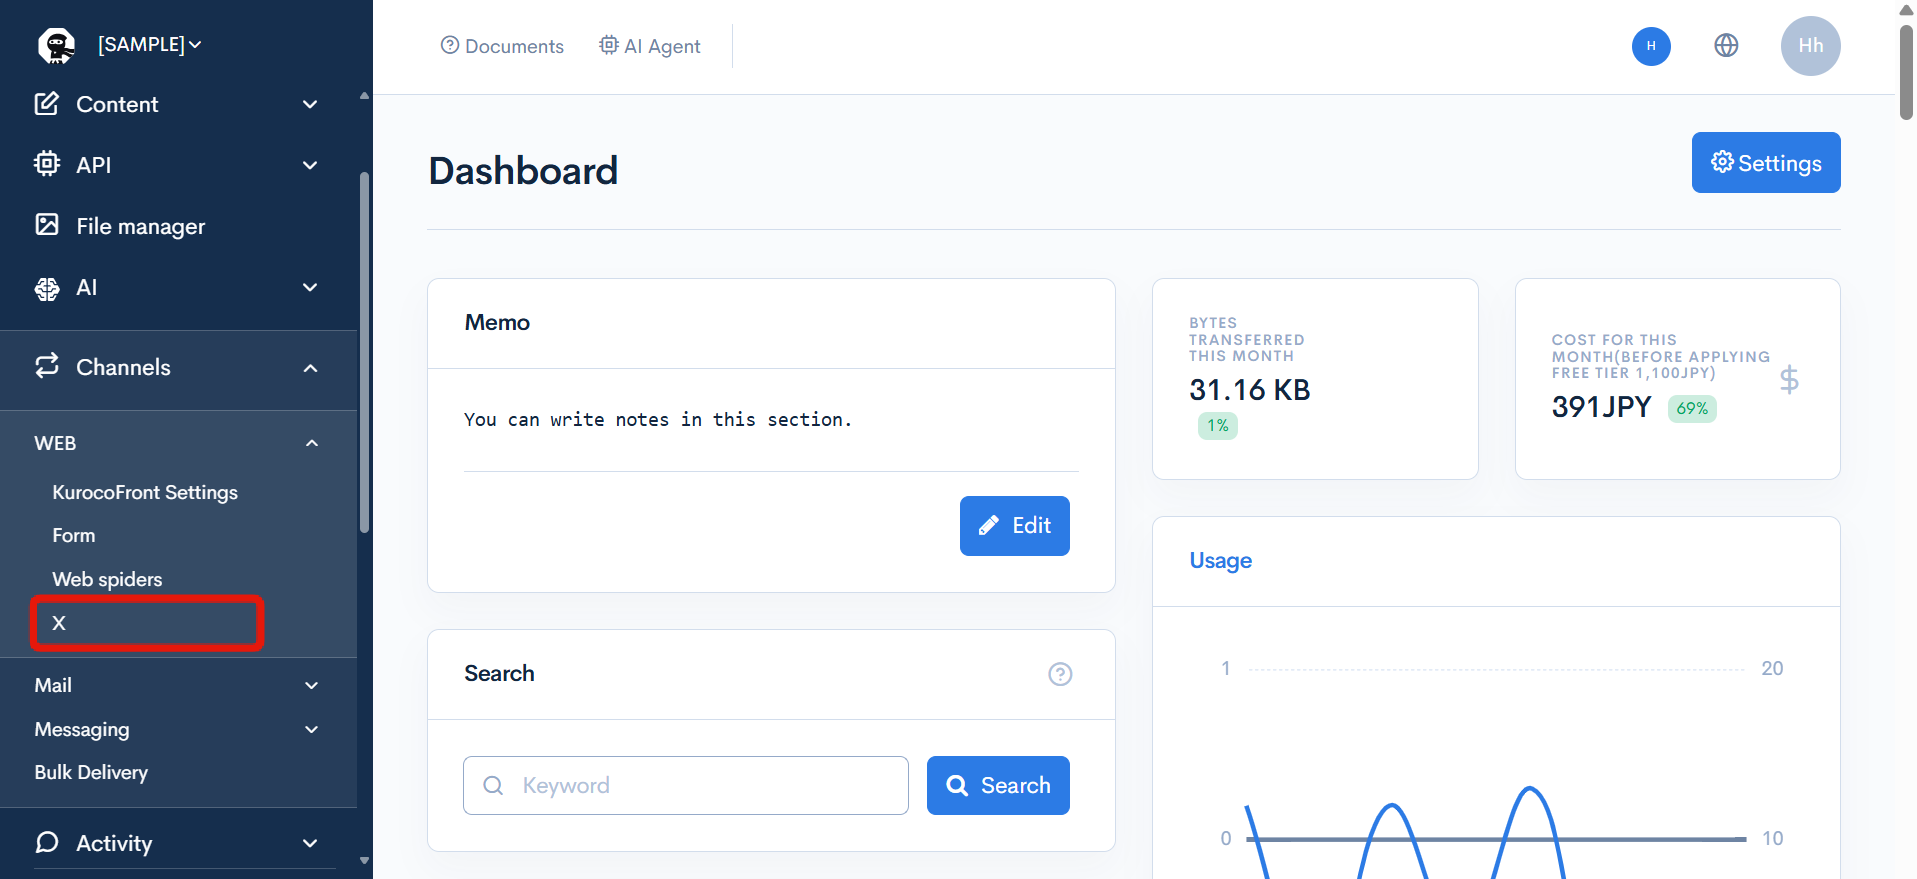
In Kuroco's admin panel sidebar, select [Channels] -> [WEB] -> [X].
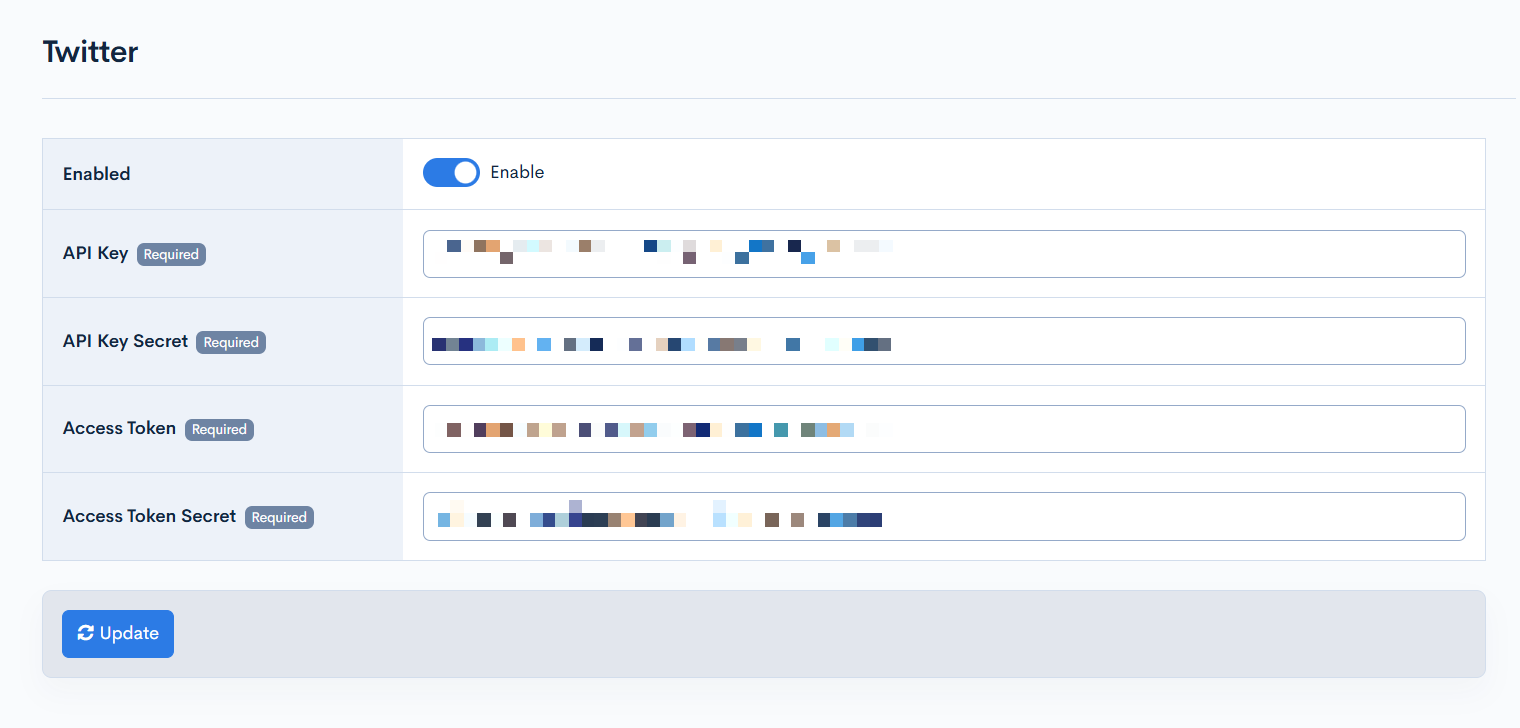
Fill in the information you copied earlier and click [Update]. The X Developer Console labels map to the Kuroco admin panel fields as follows:
| Kuroco admin panel field | X Developer Console label | Description |
|---|---|---|
| Enable | — | Check the "Enable" box. |
| API Key | Consumer Key | Enter the "Consumer Key" from the X Developer Console. |
| API Key Secret | Consumer Secret | Enter the "Consumer Secret" from the X Developer Console. |
| Access Token | Access Token | Enter the "Access Token" from the X Developer Console. |
| Access Token Secret | Access Token Secret | Enter the "Access Token Secret" from the X Developer Console. |
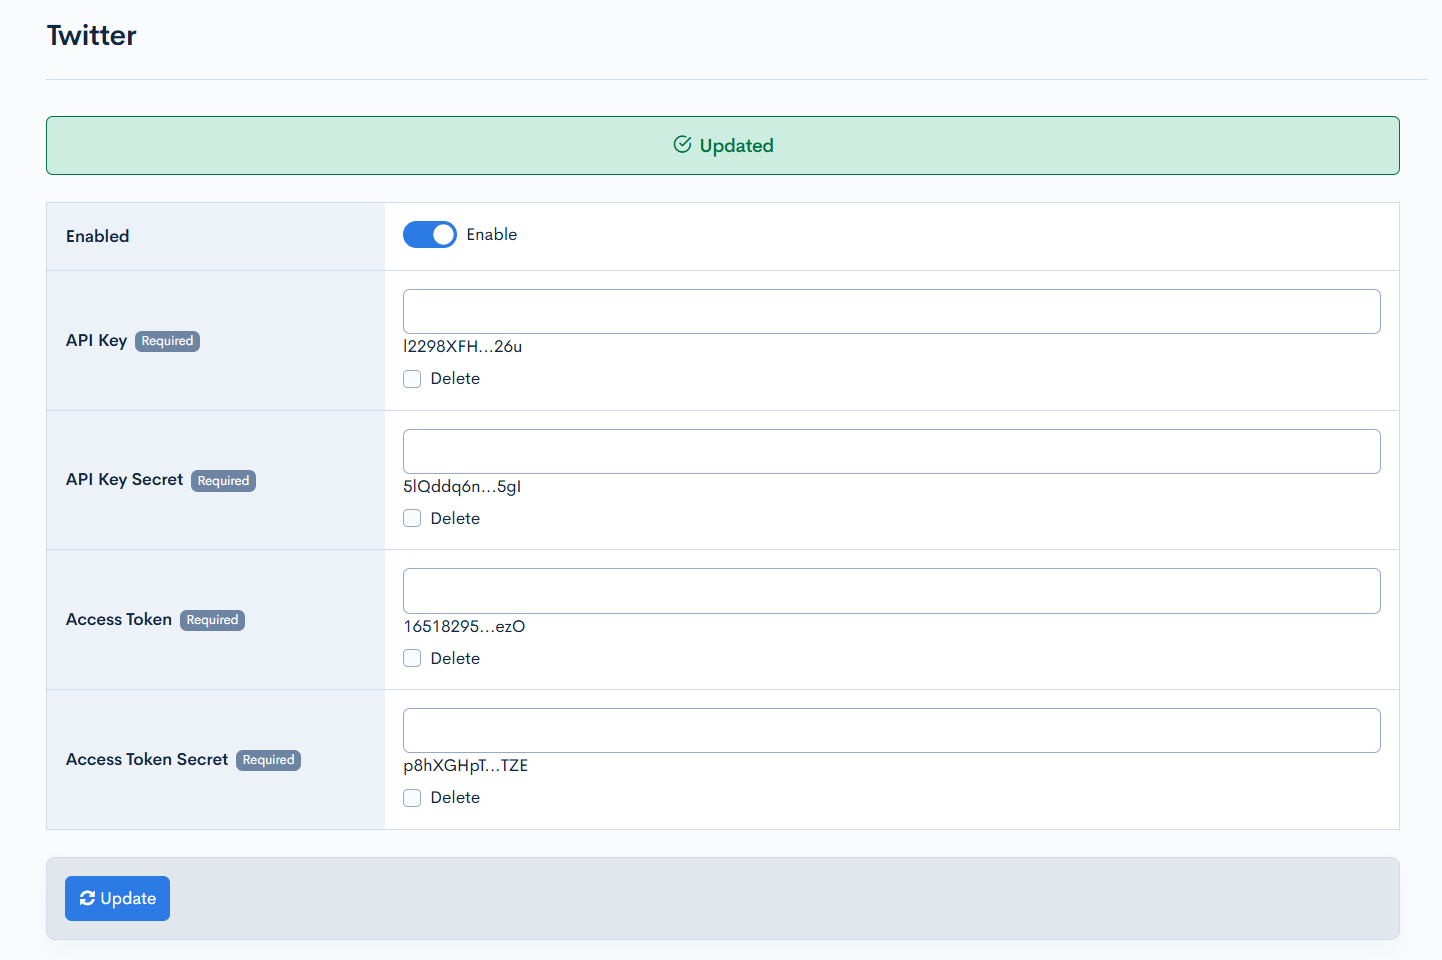
Verify that your keys have been successfully registered.
Usage
Autoposting using a custom function
To automatically post to X when content is added or updated, use a custom function.
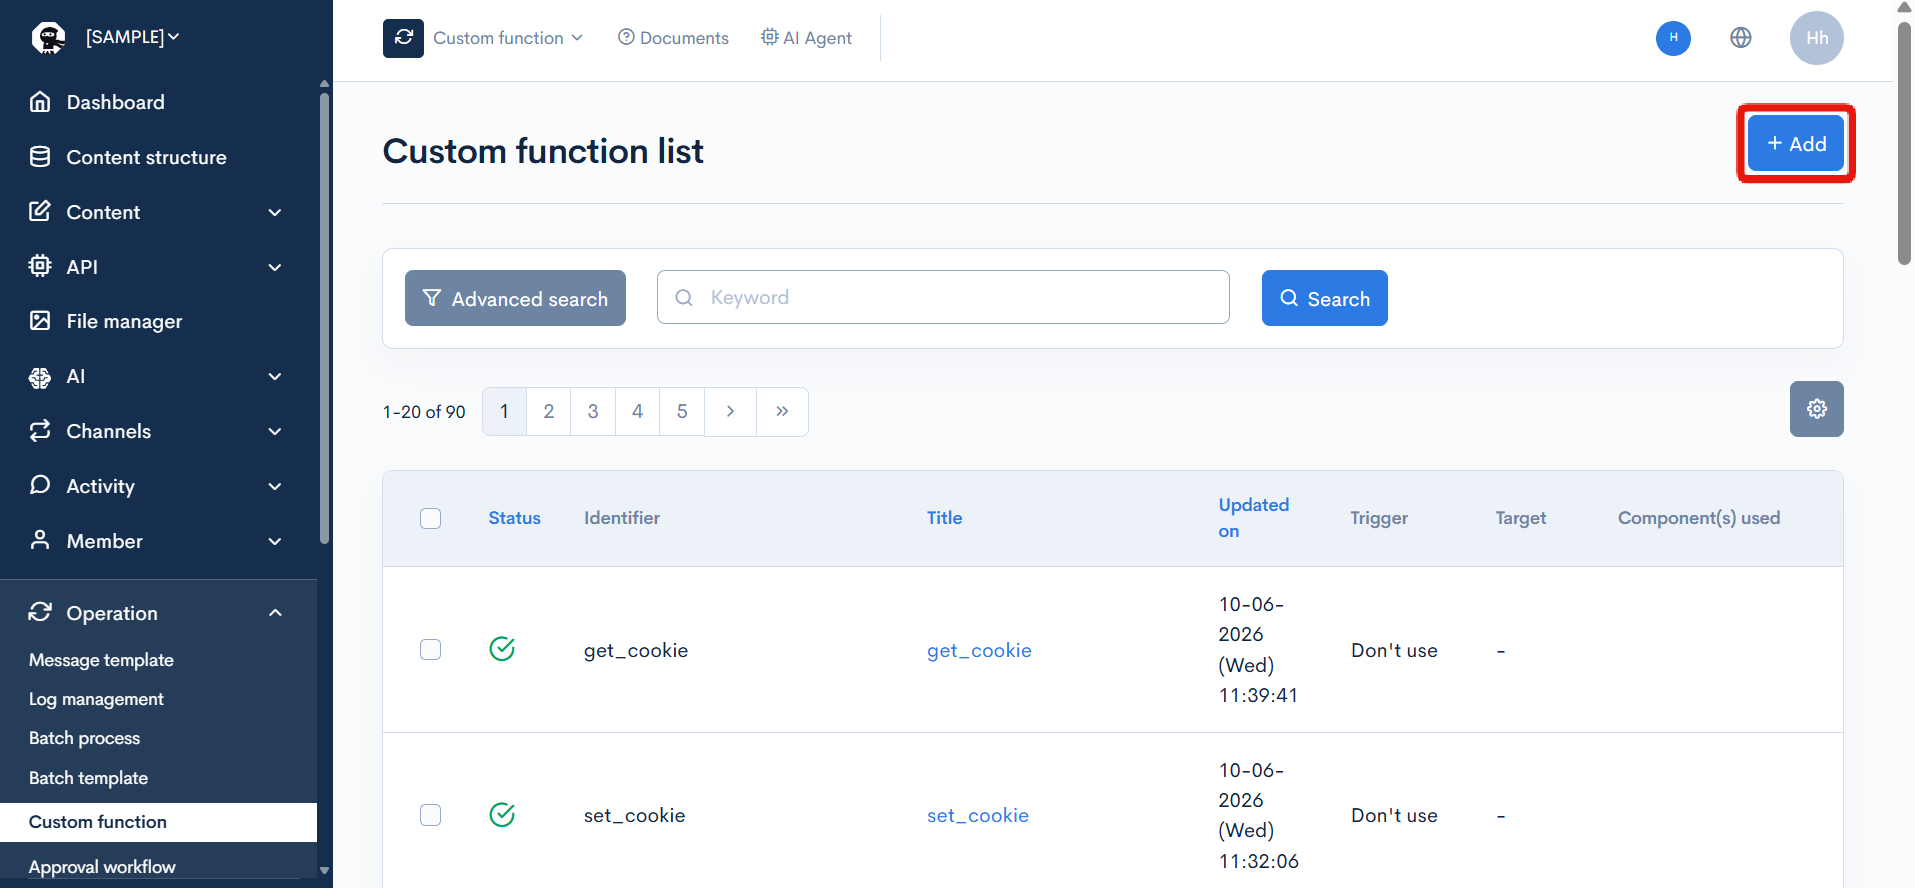
In the left sidebar menu, select [Operation] -> [Custom function].

On the Custom function list screen, click [Add] in the upper right corner.
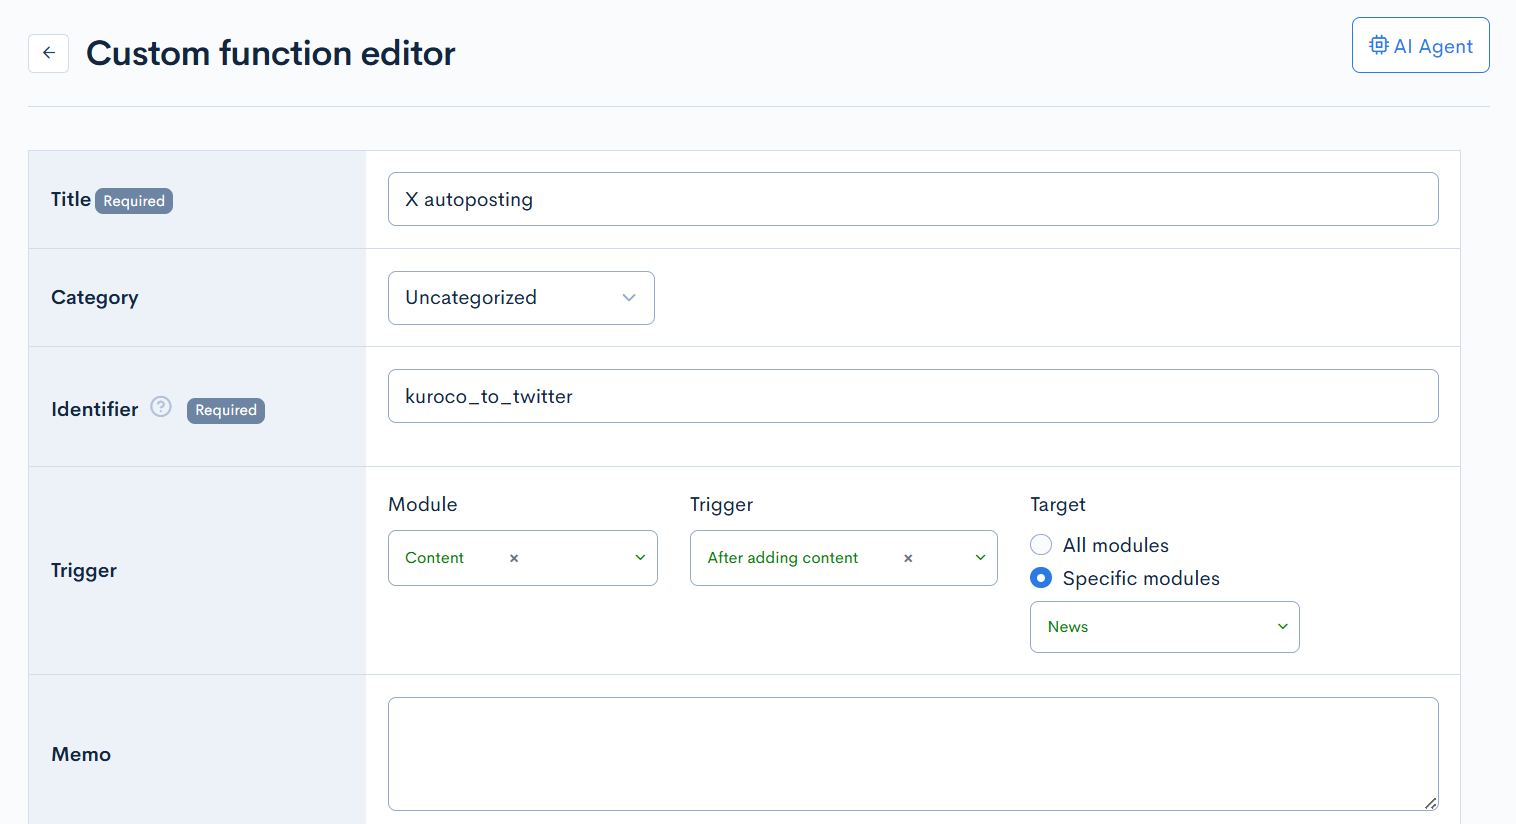
Input the following information in the Custom function editor:
| Field | Description |
|---|---|
| Title | X autoposting |
| Identifier | kuroco_to_twitter |
| Trigger | Trigger: After adding content Target: After adding the content, select the content definition where you want to publish the post. |
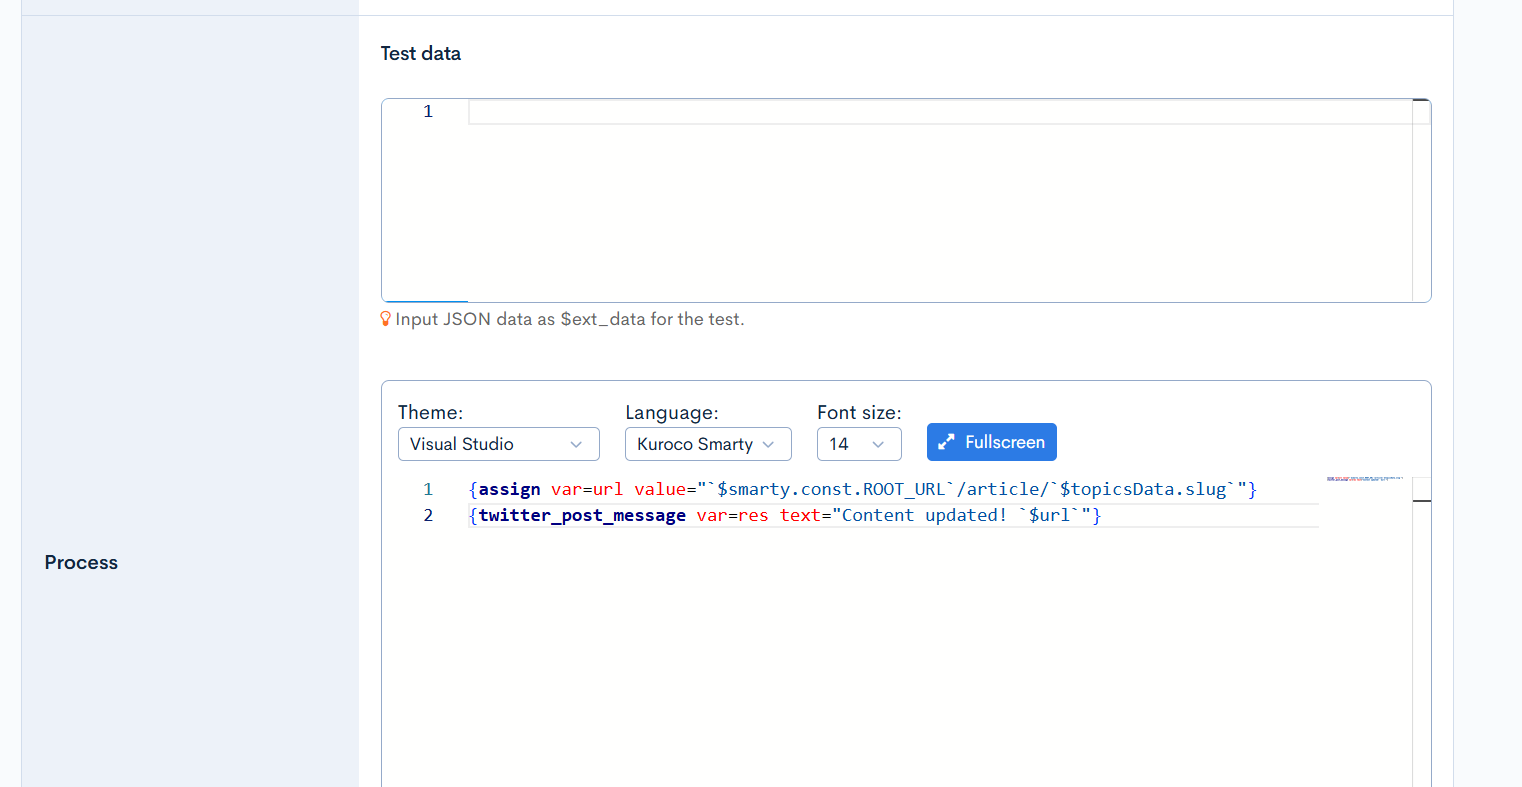
| Process | Paste the source code below into the text area. |
{assign var=url value="`$smarty.const.ROOT_URL`/article/`$topicsData.slug`"}
{twitter_post_message var=res text="Content updated! `$url`"}
After you are done, click [Add] to save the new custom function.
For details on the {twitter_post_message} Smarty plugin used in the custom function, see the Smarty Plugin Reference.
After saving, posting content to the target content definition will trigger a post to X with the message configured in the custom function.
Due to the X API's pay-per-use pricing, charges will be incurred for test posts as well. Posts containing links cost $0.20 per post, so please be mindful during testing.
Posting to X via email
With X integration enabled, you can post to X by sending an email to an address in the format @tweets.twitter.r-cms.jp from a custom function's email sending action. The email body will be posted as a tweet.
This works in the same way as existing email-based integrations for LINE (@text.line.r-cms.jp) and Chatwork.
Destination format
<twitter_id>@tweets.twitter.r-cms.jp
<twitter_id> can be any identifier. The post will be made using the X integration credentials (API Key / Access Token) configured for the site.
Configuration example
In the custom function's email sending action, specify @tweets.twitter.r-cms.jp as the destination. The email body will be posted directly to X.
| Field | Value |
|---|---|
| To | <twitter_id>@tweets.twitter.r-cms.jp |
| Body | Text to post to X |
Related documents
Support
If you have any other questions, please contact us or check out Our Slack Community.