How to implement OAuth based SSO using Microsoft
This tutorial explains how to use Kuroco as OAuth SP and implement Login with Microsoft functionality.
This is for implementation of the OAuth SP Login with Microsoft functionality which will be enable any user to login/register to Kuroco.
For user flow controlled SSO using Active Directory B2C, please refer to Use IDaaS to Implement Microsoft Entra External ID (formerly Azure AD B2C) SSO
With OAuth authentication, any user with an account on the IdP (Identity Provider) can log in, regardless of their organization. Therefore, if you are using SSO for admin panel login, we recommend using SAML authentication, which allows access control on a per-organization basis.
This tutorial uses the admin panel as the target domain for ease of verification, but for production use of SSO login to the admin panel, please consider SAML authentication.
OAuth SSO is well-suited for frontend use. To implement it on your frontend, use the OAuth SP configuration from this tutorial, then refer to Using Single Sign-On Login in Frontend to implement access token issuance.
Prerequisites
It is required that you have a Microsoft Account.
Add SP settings on Kuruco management page.
First of all, add SP settings on Kuroco's management page.
1. Access SSO OAuth SP setting page
Refer to SSO OAuth SP Edit to access the OAuth SP edit page and add a new Service Provider.
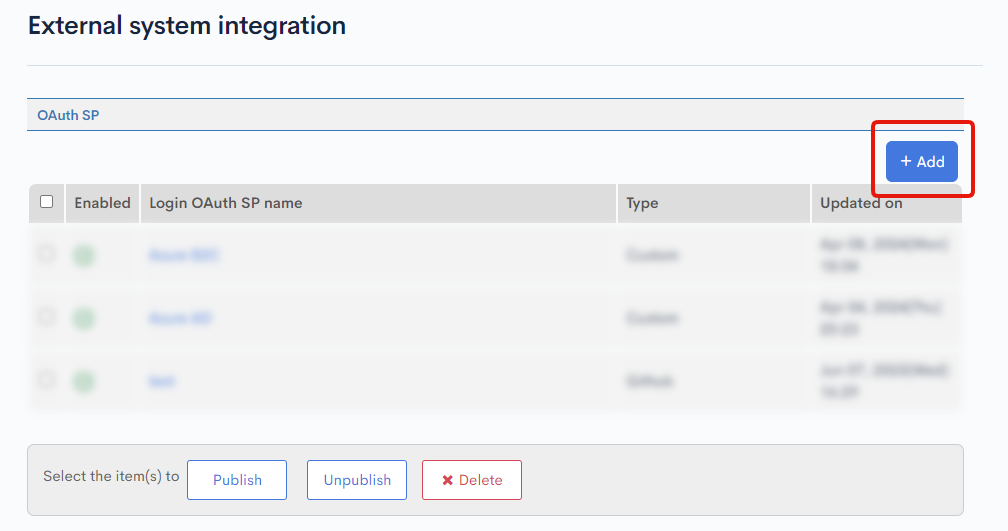
2. Add SP setting
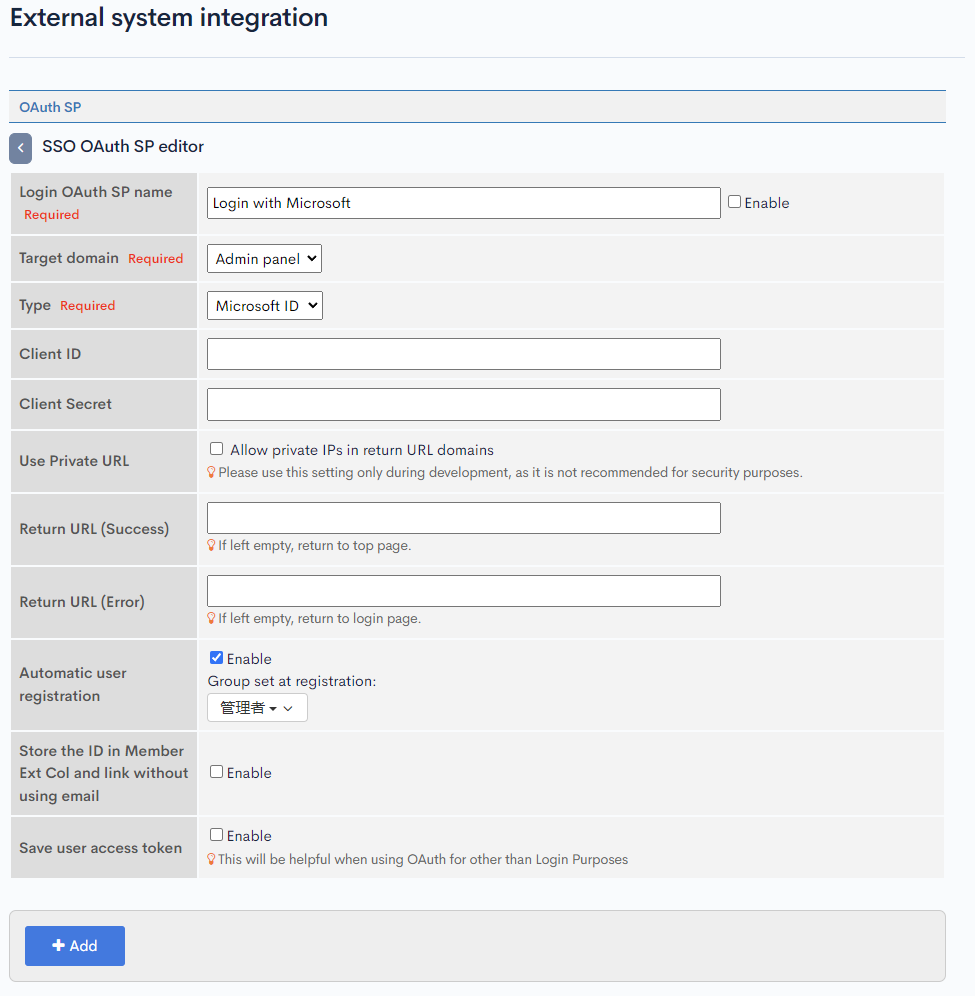
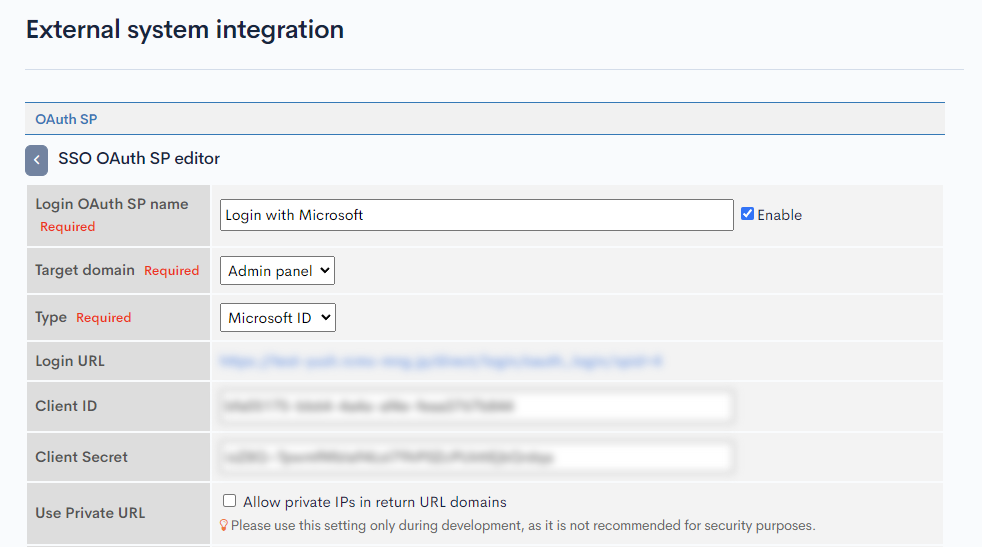
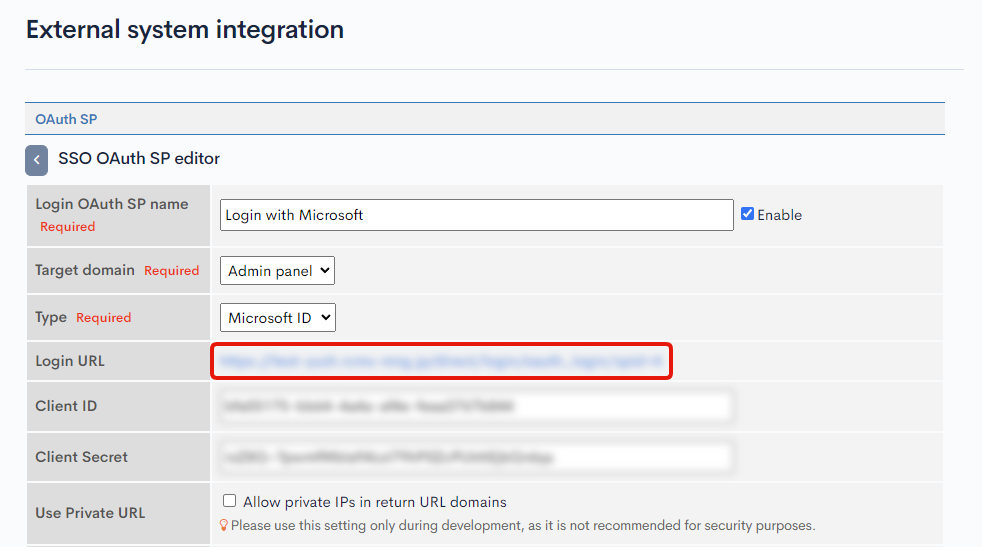
Input the followings in SSO OAuth SP edit page and click [Add] button.
| Item | Value |
|---|---|
| Login OAuth SP Name | Preferred name. This is for internal reference, does not have to match with Microsoft side. |
| Enable | Uncheck it. |
| Target Domain | Depending on the usecase, either for API access or to allow login to Admin Panel. For this tutorial, use Admin Panel. |
| Type | Select Microsoft ID. |
| Automatically Register User | Depending on the usecase whether new accounts are to be allowed or not. For this tutorial, check the checkbox. |
| Group set at Registration | The user group to be assigned at the time of registration. For this tutorial, use Administrator. |
Using new member with Administrator group have public exposing risks for anybody to sign up and get Administrator access. Therefore, it is recommended to change this setting to either disable new user registration or select a less priviledged group.
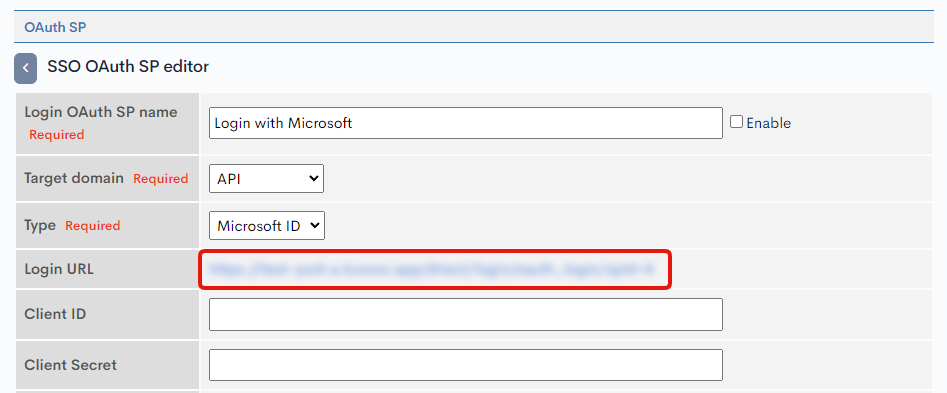
2. Copy the Login URL
After saving, click on the newly saved Service Provider to open the Admin Panel edit screen and copy the Login URL. This URL is needed to be configured on Microsoft Portal.
Microsoft Portal Setting
Next is the OAuth App Registration and setting either Microsoft Azure Portal or Microsoft Entra Portal depending on the usecase annd business requirements.
- The screen may change depending on Microsoft specification.
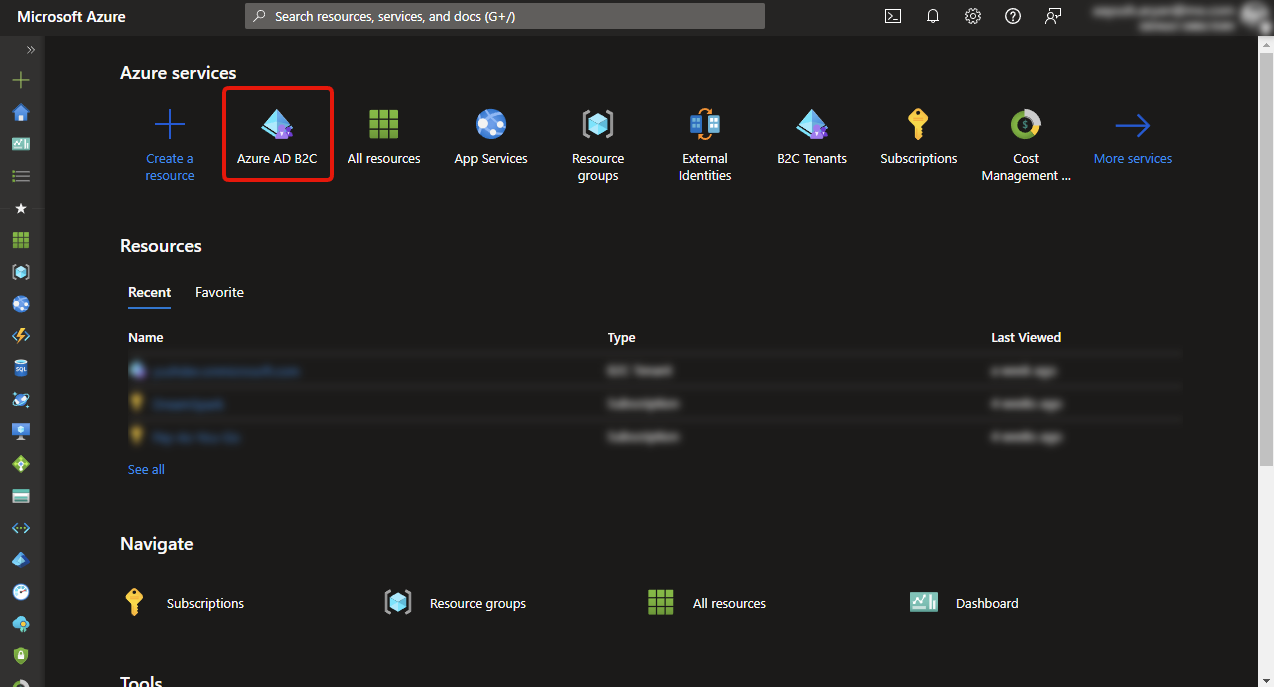
1. Access OAuth Application Setting page
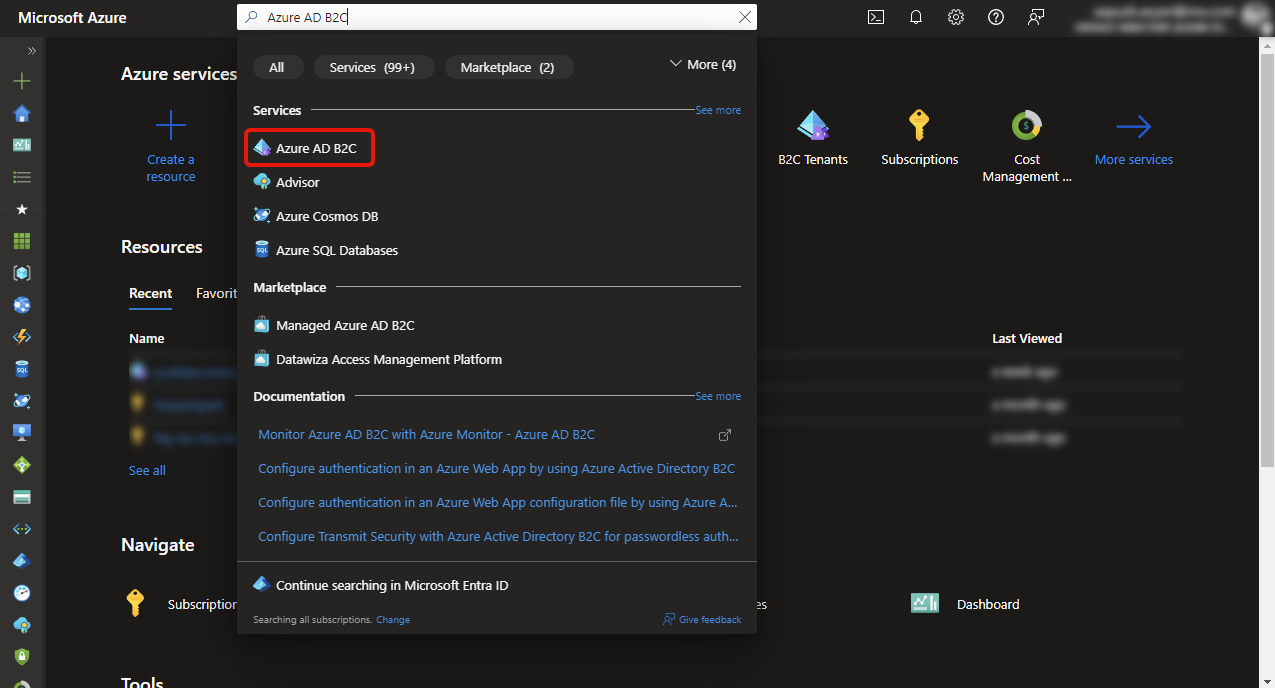
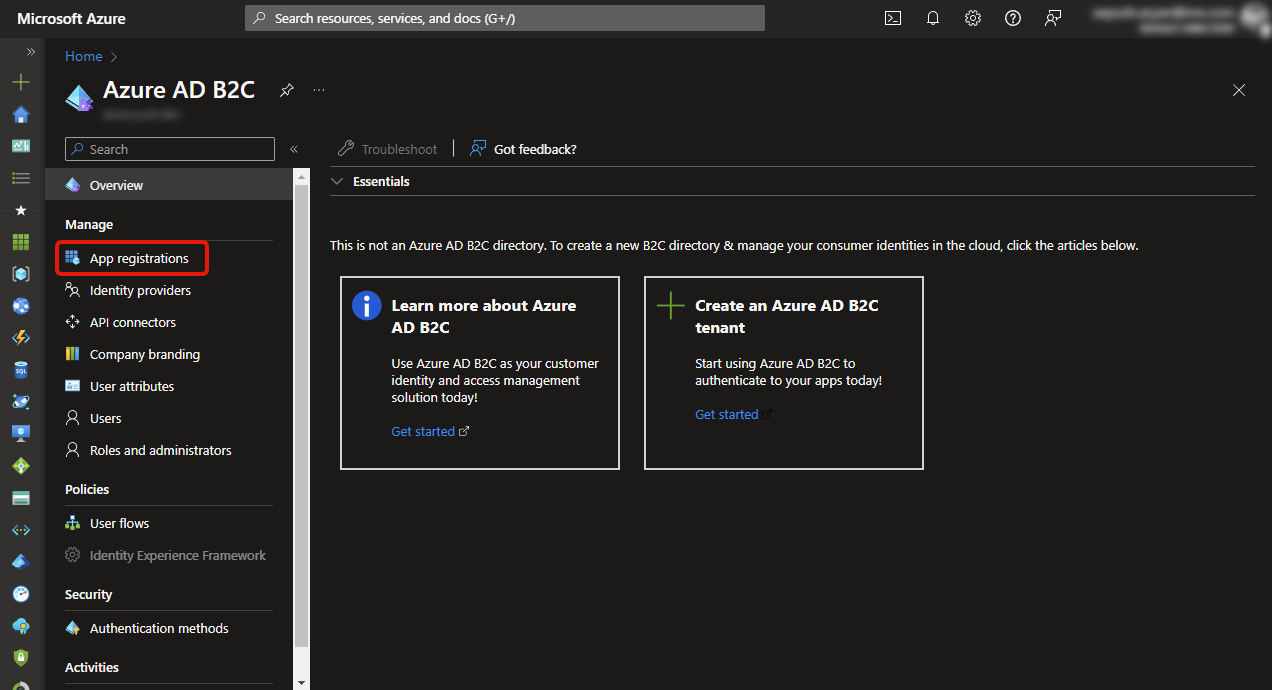
- Azure Portal
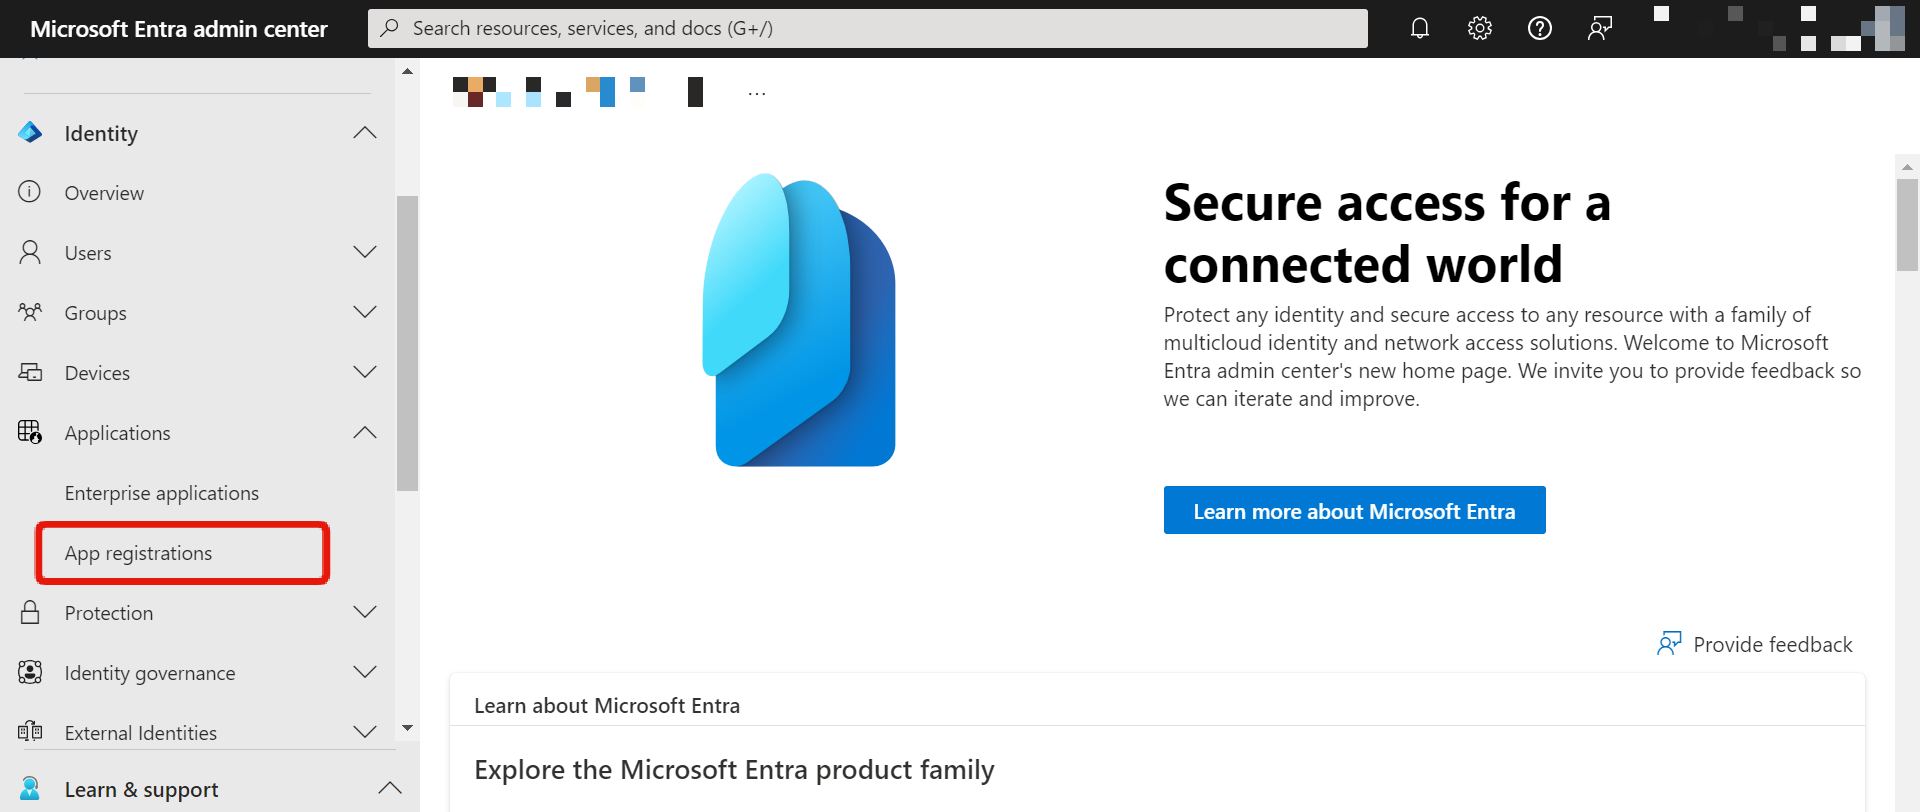
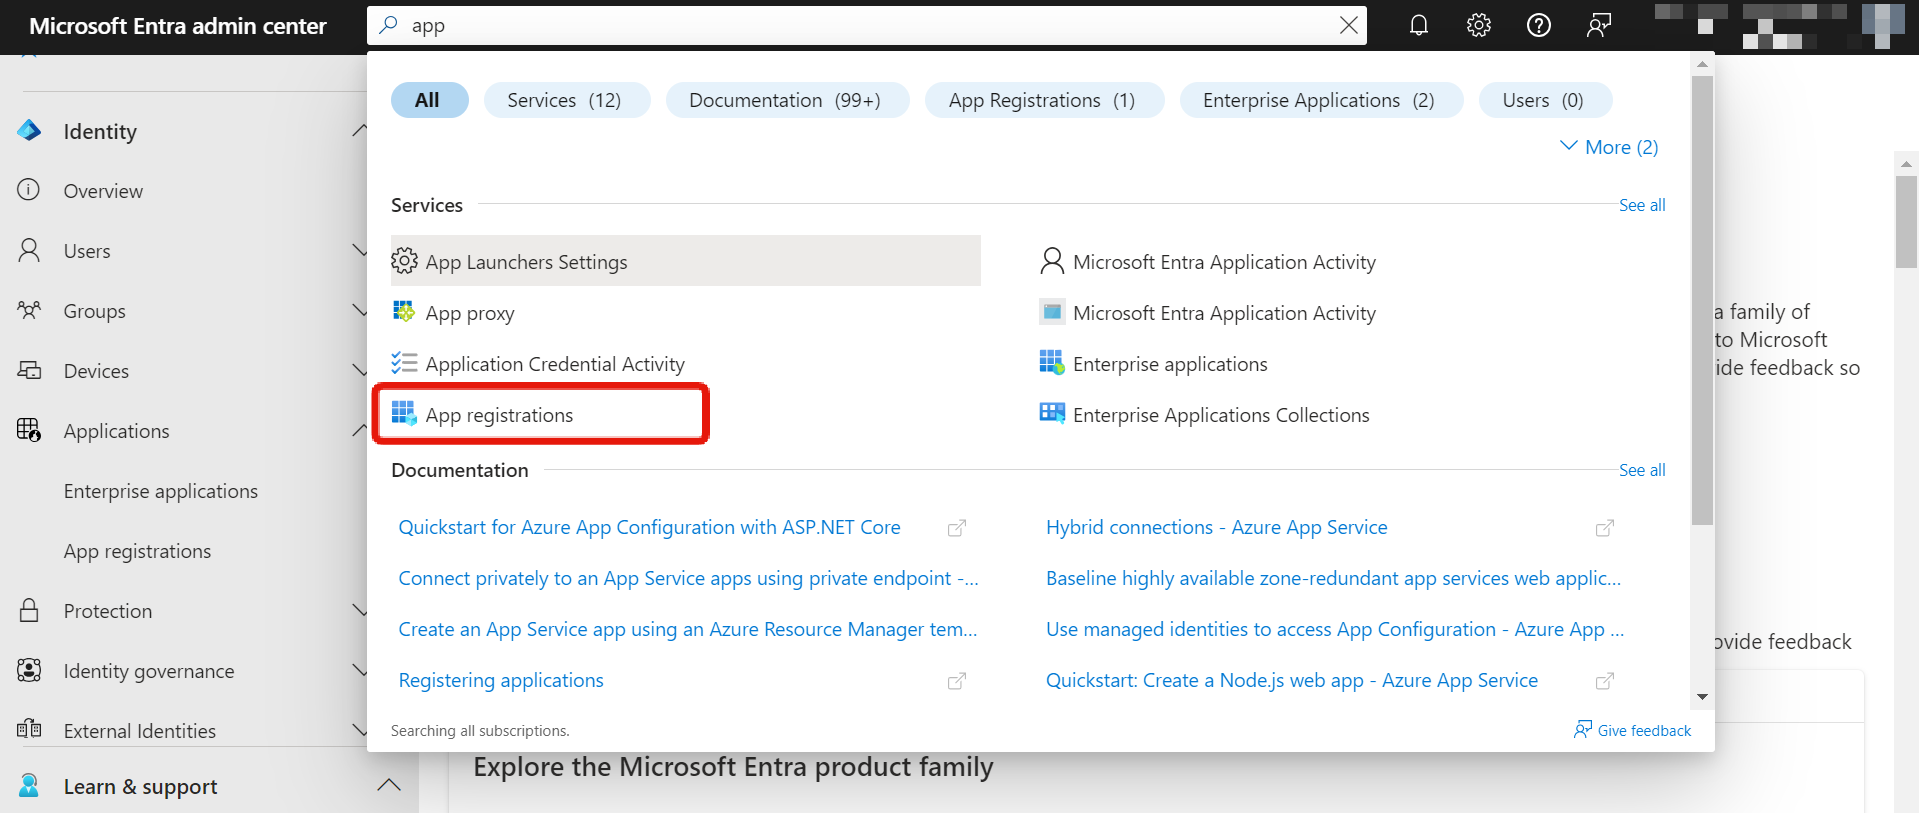
- Entra Portal
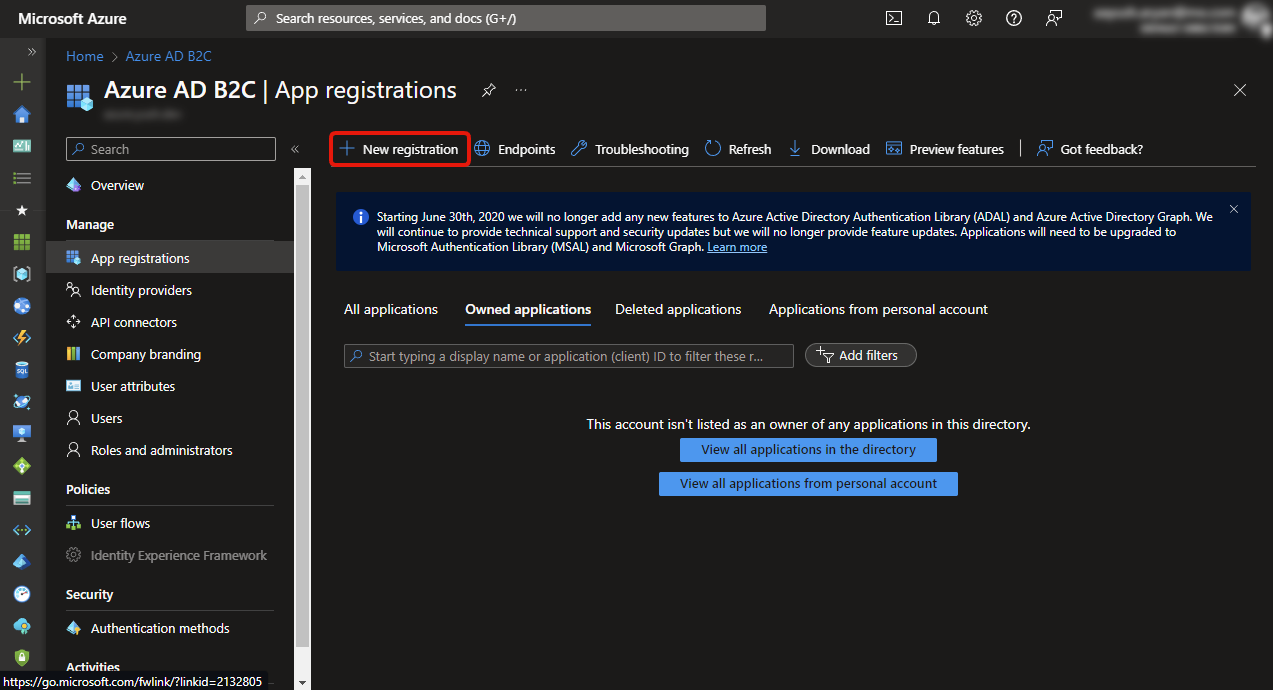
On Azure Portal, click on Microsoft Entra External ID (displayed as Azure AD B2C in the portal), or select from the search
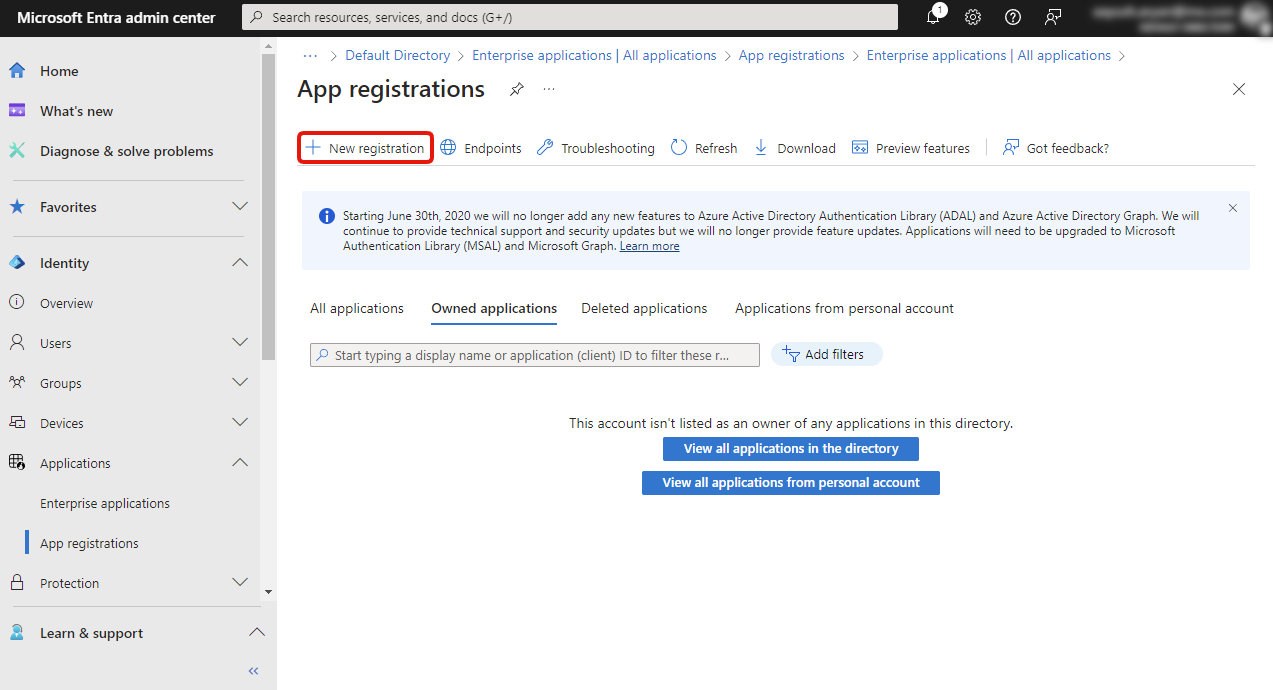
On Entra Portal, select from the side menu, or from the search. Select App registrations.
2. Create a new Application
- Azure Portal
- Entra Portal
On Azure Portal, click on App Registrations and then click on New Application
On Entra Portal, click on New Registration
3. Fill Application configuration
From now, the steps for Microsoft Azure Portal and Microsoft Entra Portal are same. Therefore for this tutorial, from now on, Microsoft Azure Portal is referred.
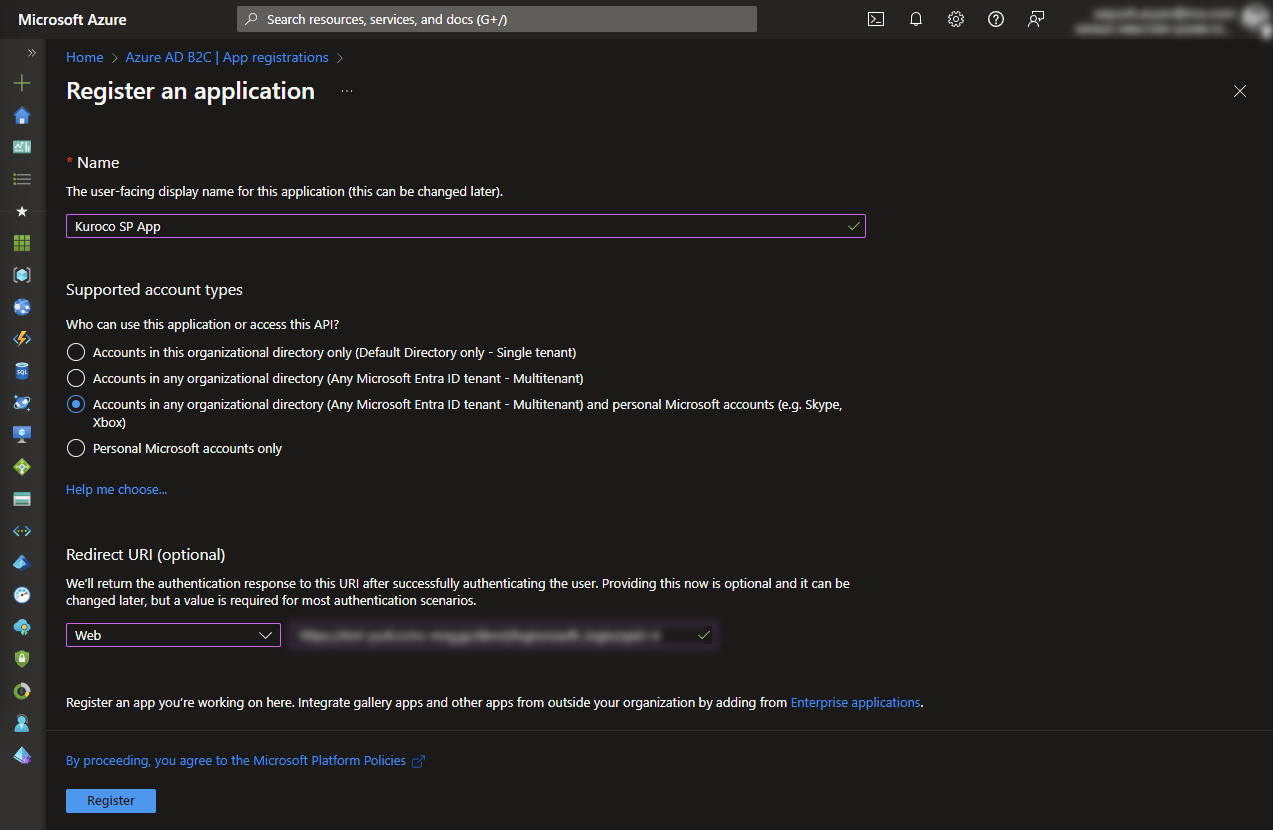
Input the following in configuration and click [Register] button.
| Item | Value |
|---|---|
| Name | Preferred name. This is for internal reference on Microsoft Portal, does not have to match with Kuroco. |
| Supported Account Types | Depending on the usecase of which users to allow to use this. For this tutorial, allow all. |
| Redirect URI (Dropdown) | Select Web |
| Redirect URI (Text Field) | Paste the copied Login URL from Kuroco SP Edit Screen |
3. Copy Application (Client) ID
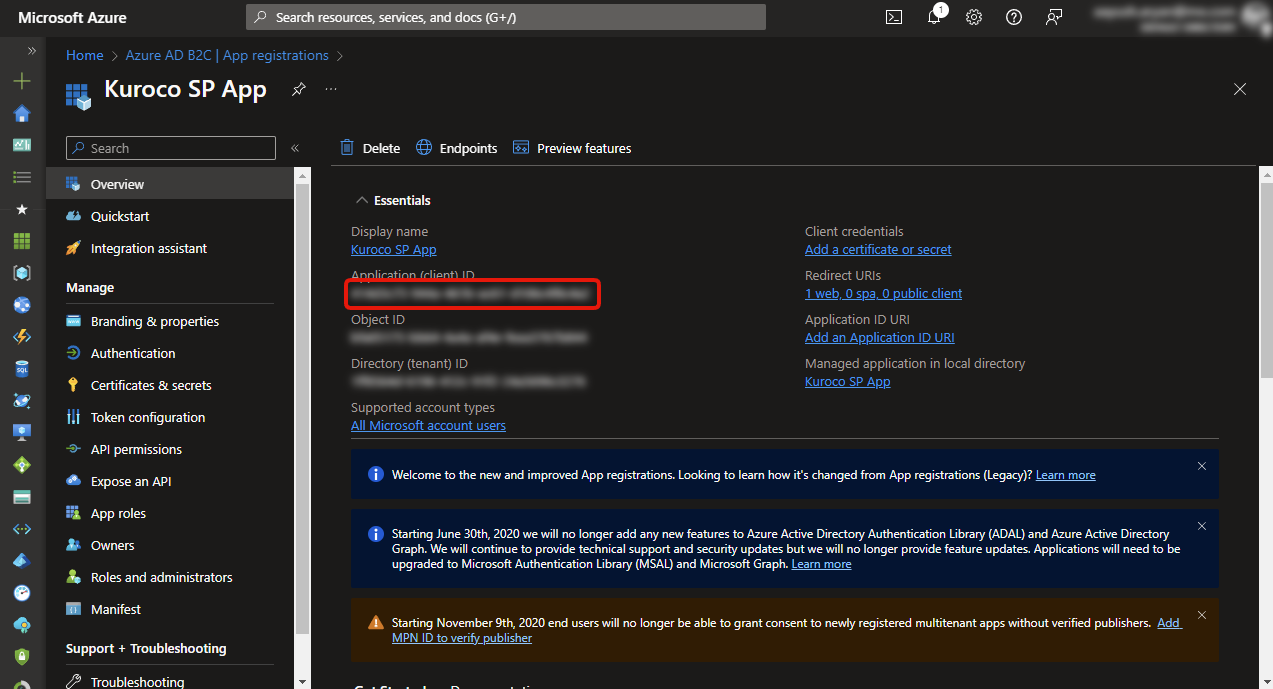
After successfully Registering, from the dashboard, copy the Application (Client) ID. This is needed to be filled in Kuroco OAuth SP Edit Admin Screen.
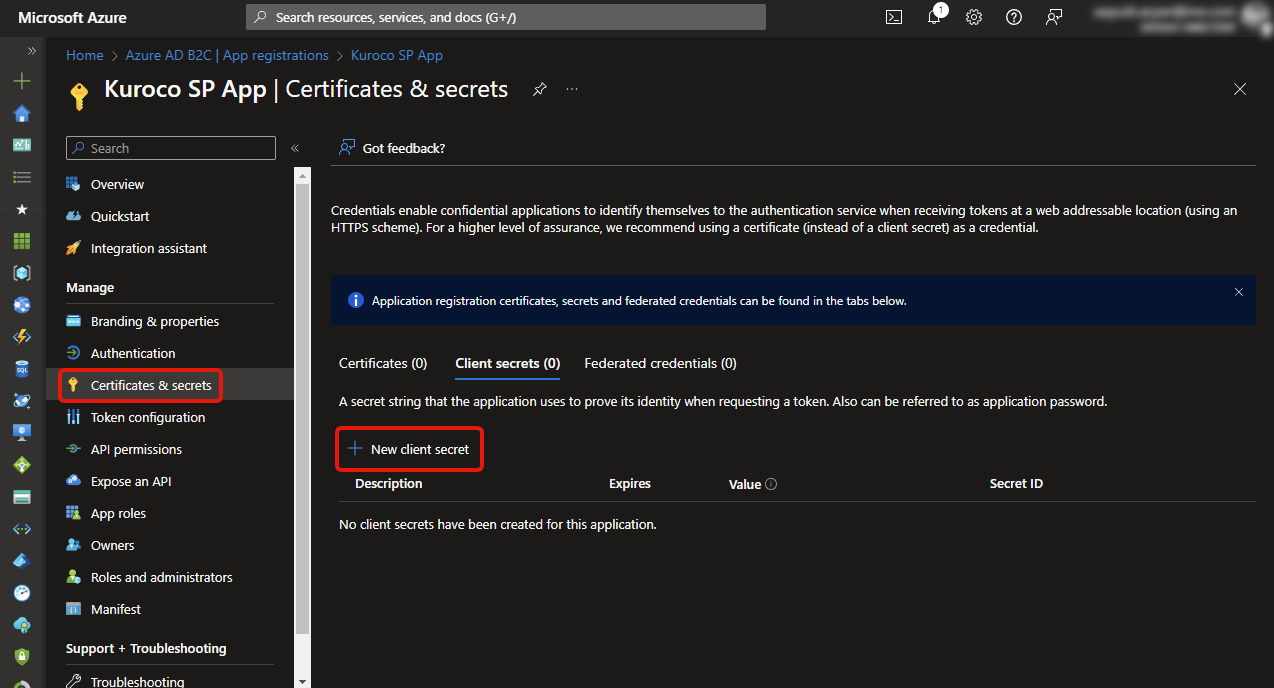
4. Create Client Secret
Click on [Certificates and Secrets] and then click on [New Client Secret].
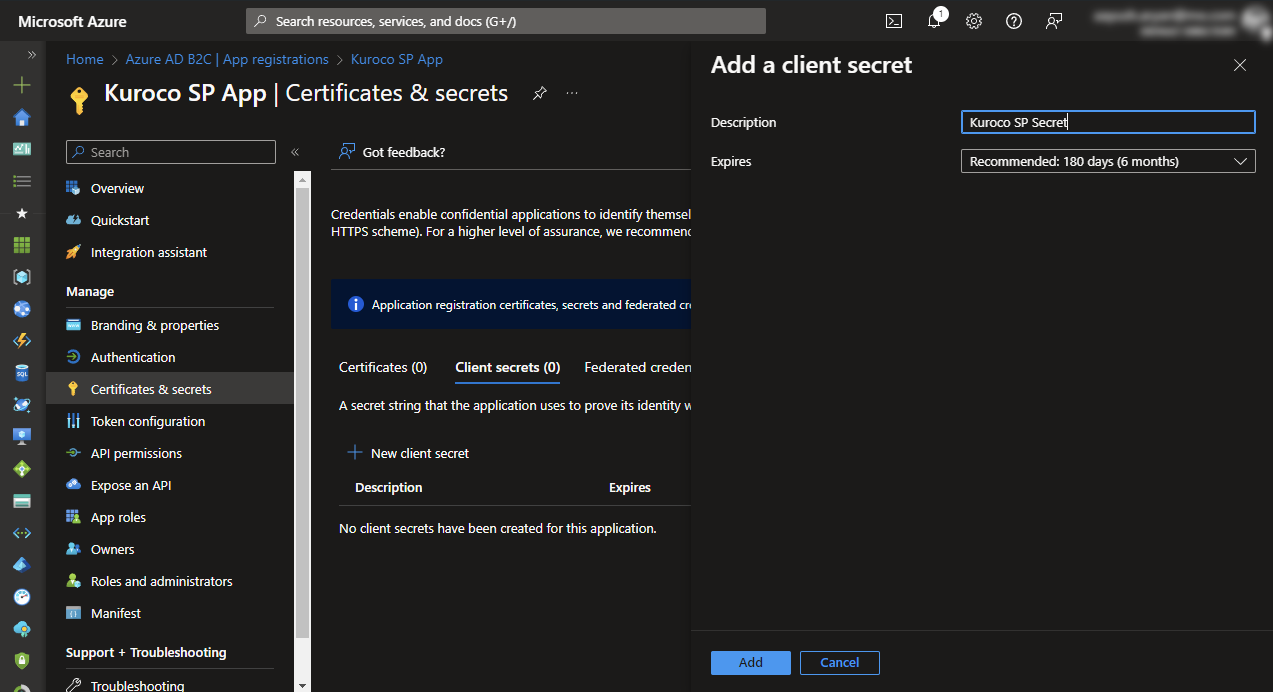
5. Update Secret Description and Expiry
Enter description for reference, this does not have to match with Kuroco. Select expiry, time.
After the expiry of secret, a new secret will be required and will be needed to set in Kuroco OAuth SP Edit Admin Screen.
After filling data, click [Add].
6. Copy Secret Value
After successfully Registering the client sercret, from the dashboard, copy the Secret Value. This is needed to be filled in Kuroco OAuth SP Edit Admin Screen.

Microsoft Dashboard steps have been completed.
Kuroco OAuth SP Edit Configuration
Update the copied Client ID and Client Secret from Microsoft OAuth App to Kuroco OAuth SP Edit dashboard.
| Item | Value |
|---|---|
| Enable | Check |
| Client ID | Value copied from Step 4. [Application (Client) ID] |
| Client Secret | Value copied from Step 6. [Secret Value] |
How to use
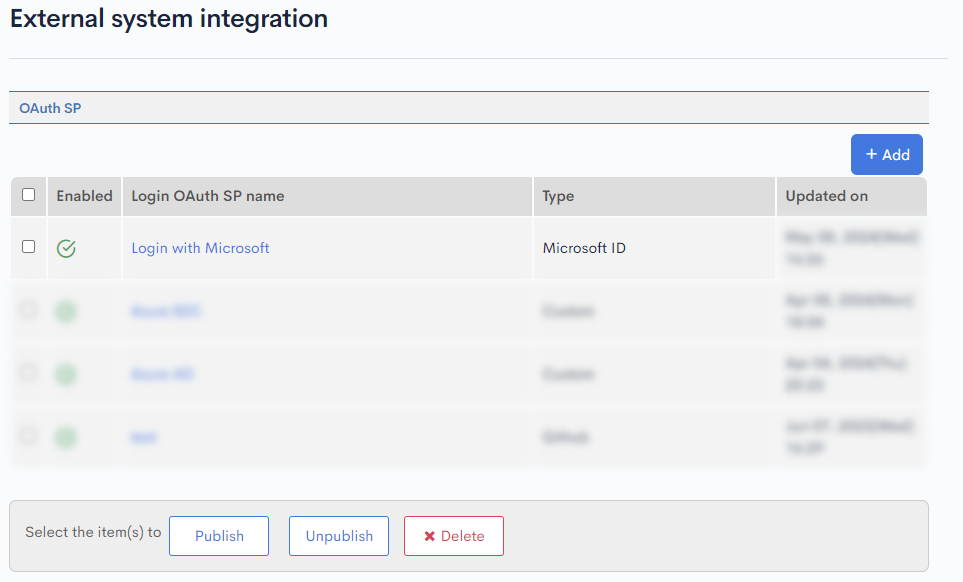
Check the created OAuth SP Screen.
Click [Login OAuth SP Name] of the SP configuration which you have created on the SSO OAuth SP list Screen.
You can find [Login URL].
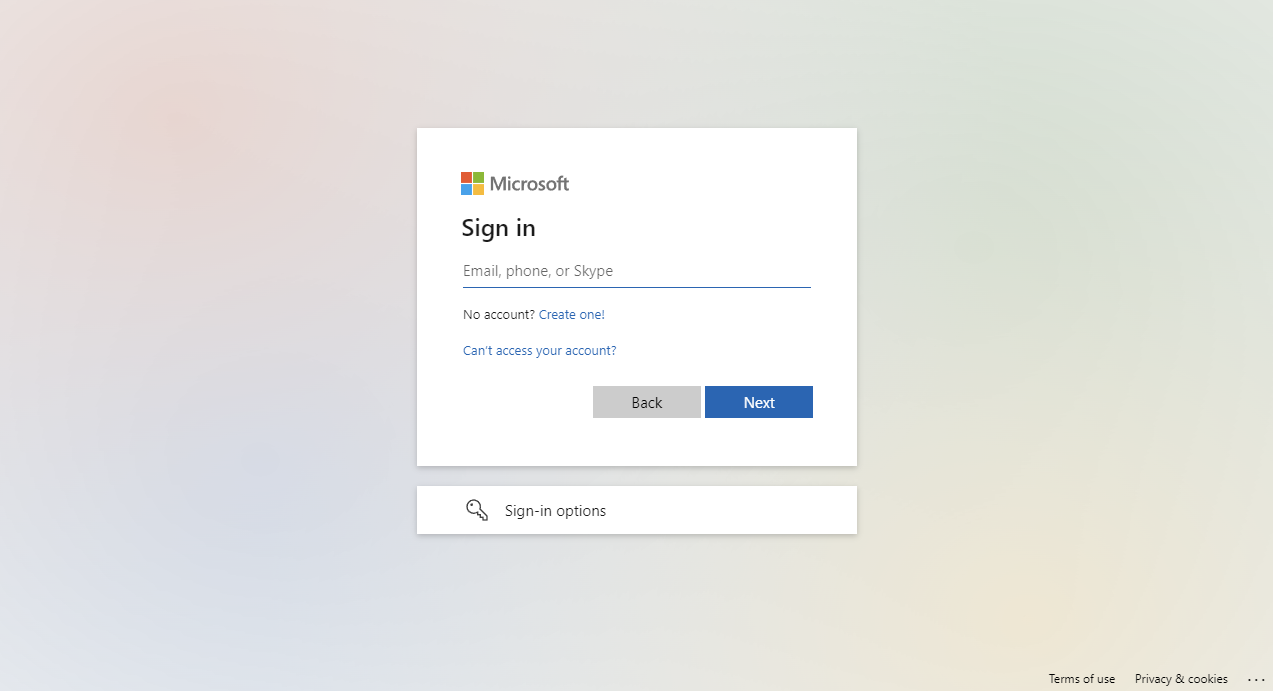
 Open the URL in Incognito (Private) Browsing and it links to the Microsoft login page.
Alternatively, since the type was configured to Admin panel. Navigate to Login screen of Admin Panel and selecct the SP from the External Login SSO [Login with your external account] List.
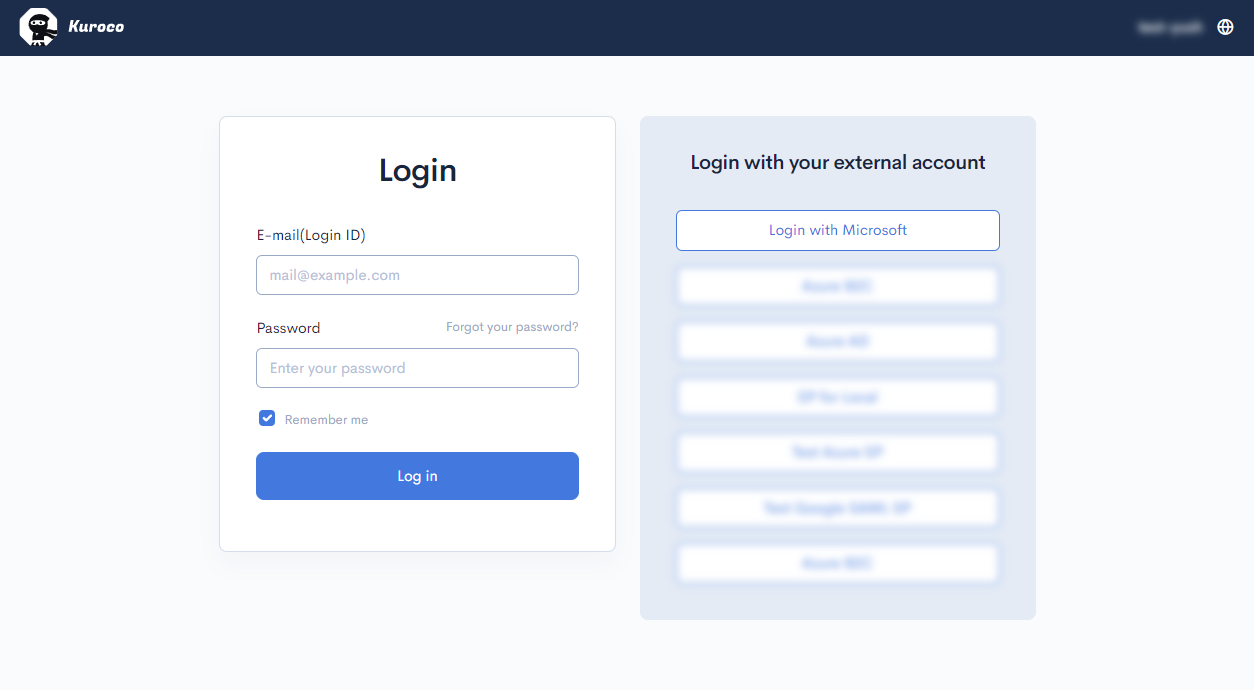
Microsoft Login can be used here.
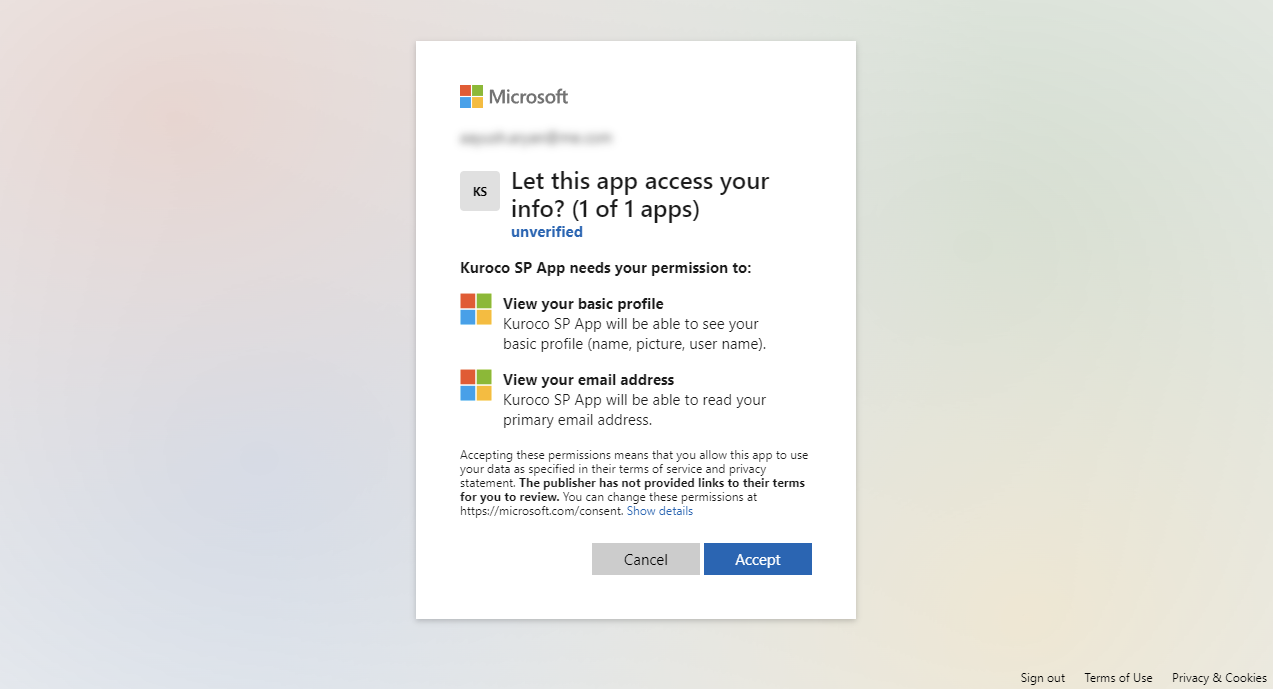
For new accounts (logging in first time through the App), it will ask for permissions. This is for login functionality, based on business needs, if additional information is required, it is recommended to use Custom OAuth SP Type and add addisional scope(s).
Support
If you have any other questions, please contact us or check out Our Slack Community.