Using Single Sign-On Login in Frontend
Overview
Kuroco has OAuth integration and SAML integration capabilities, making it possible to implement Single Sign-On (SSO) with services that support them. Configuration is made easier with preset settings for some external services.
In this tutorial, we will explain the generation of grant tokens and access tokens for using SSO login in the frontend. While we will demonstrate SSO with OAuth authentication using GitHub as an example, the token generation process for IDaaS SP and SAML SP is essentially the same as OAuth explained here.
What You Will Learn
You will learn the implementation of SSO with OAuth SP through the following steps:
Setting Up Kuroco
Creating an API
When implementing SSO login, it is necessary to create an API in Kuroco that can authenticate logins using dynamic tokens. Please note that SSO cannot be implemented with cookie authentication or static tokens.
In Kuroco, you can create multiple APIs, but the login session is different for each API. Even if you log in with SSO, you will only be logged in to the API created here, and not to other APIs.
Click on [API] in the Kuroco admin panel. Click on [Add].
In the [Add] dialog, enter the following and click [Add].
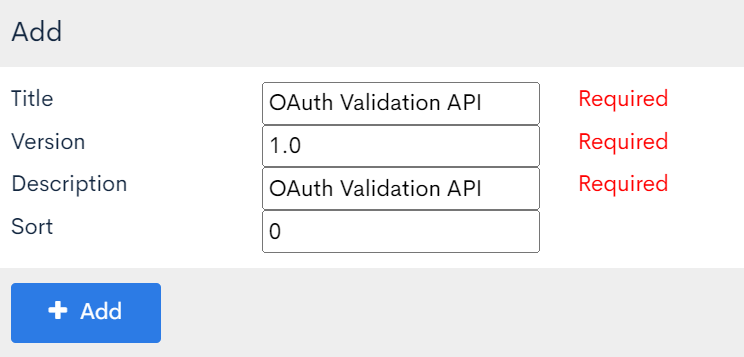
| Field | Setting |
|---|---|
| Title | OAuth Validation API |
| Version | 1.0 |
| Description | OAuth Validation API |
| Order | 0 |
Click on [Security], and the following dialog will appear.
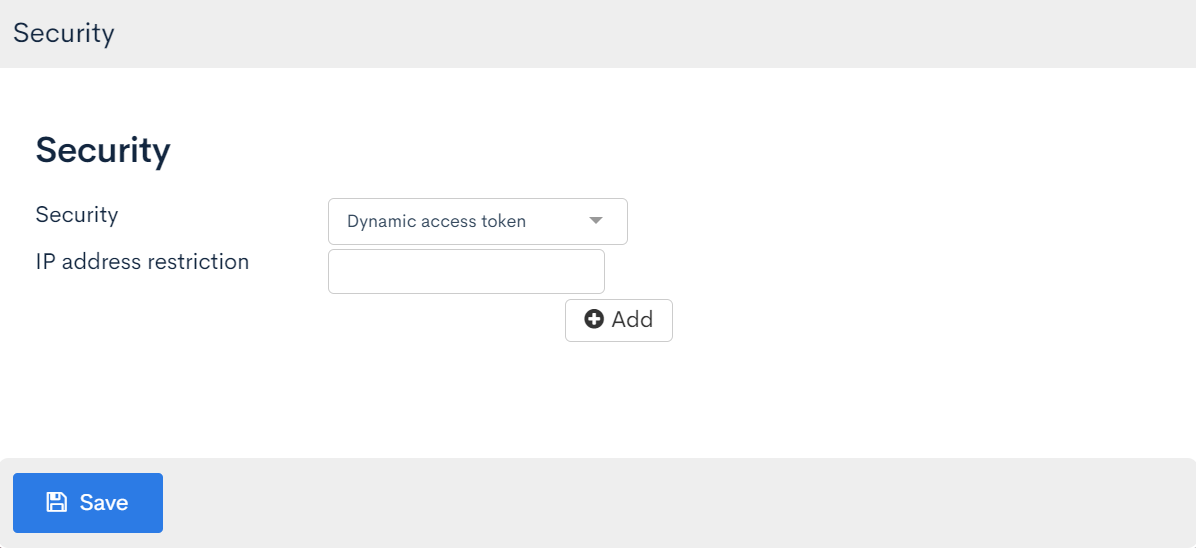
Select [Dynamic Access Token] under Security items, and click [Save].
Click on [Add New Endpoint], enter the following, and click [Add].
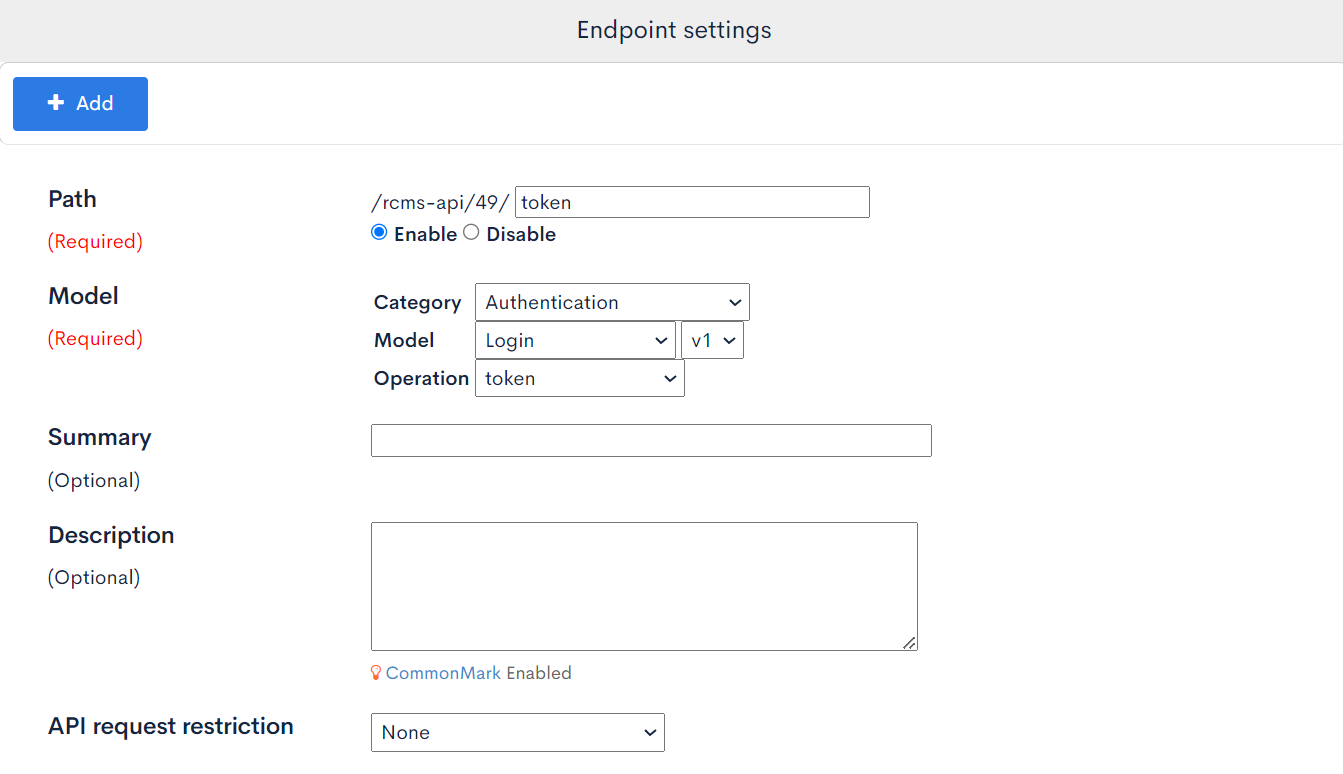
| Field | Setting | Note |
|---|---|---|
| Path | token | |
| Category | Authentication | |
| Model | Login | |
| Operation | token | |
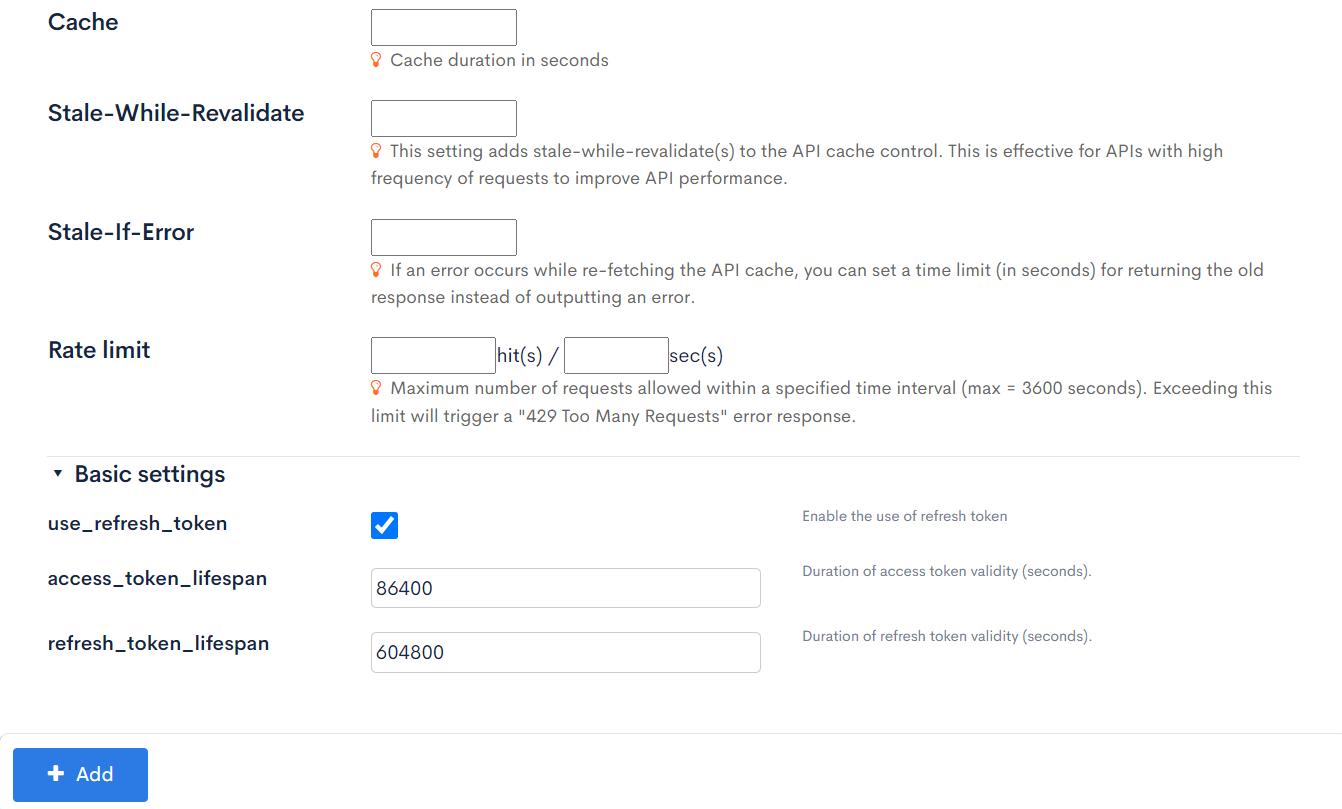
| use_refresh_token | Checked | |
| access_token_lifespan | 86400 | Specify 1 day in seconds |
| refresh_token_lifespan | 604800 | Specify 7 days in seconds |
With this, the API configuration is complete.
Adding OAuth SP Configuration
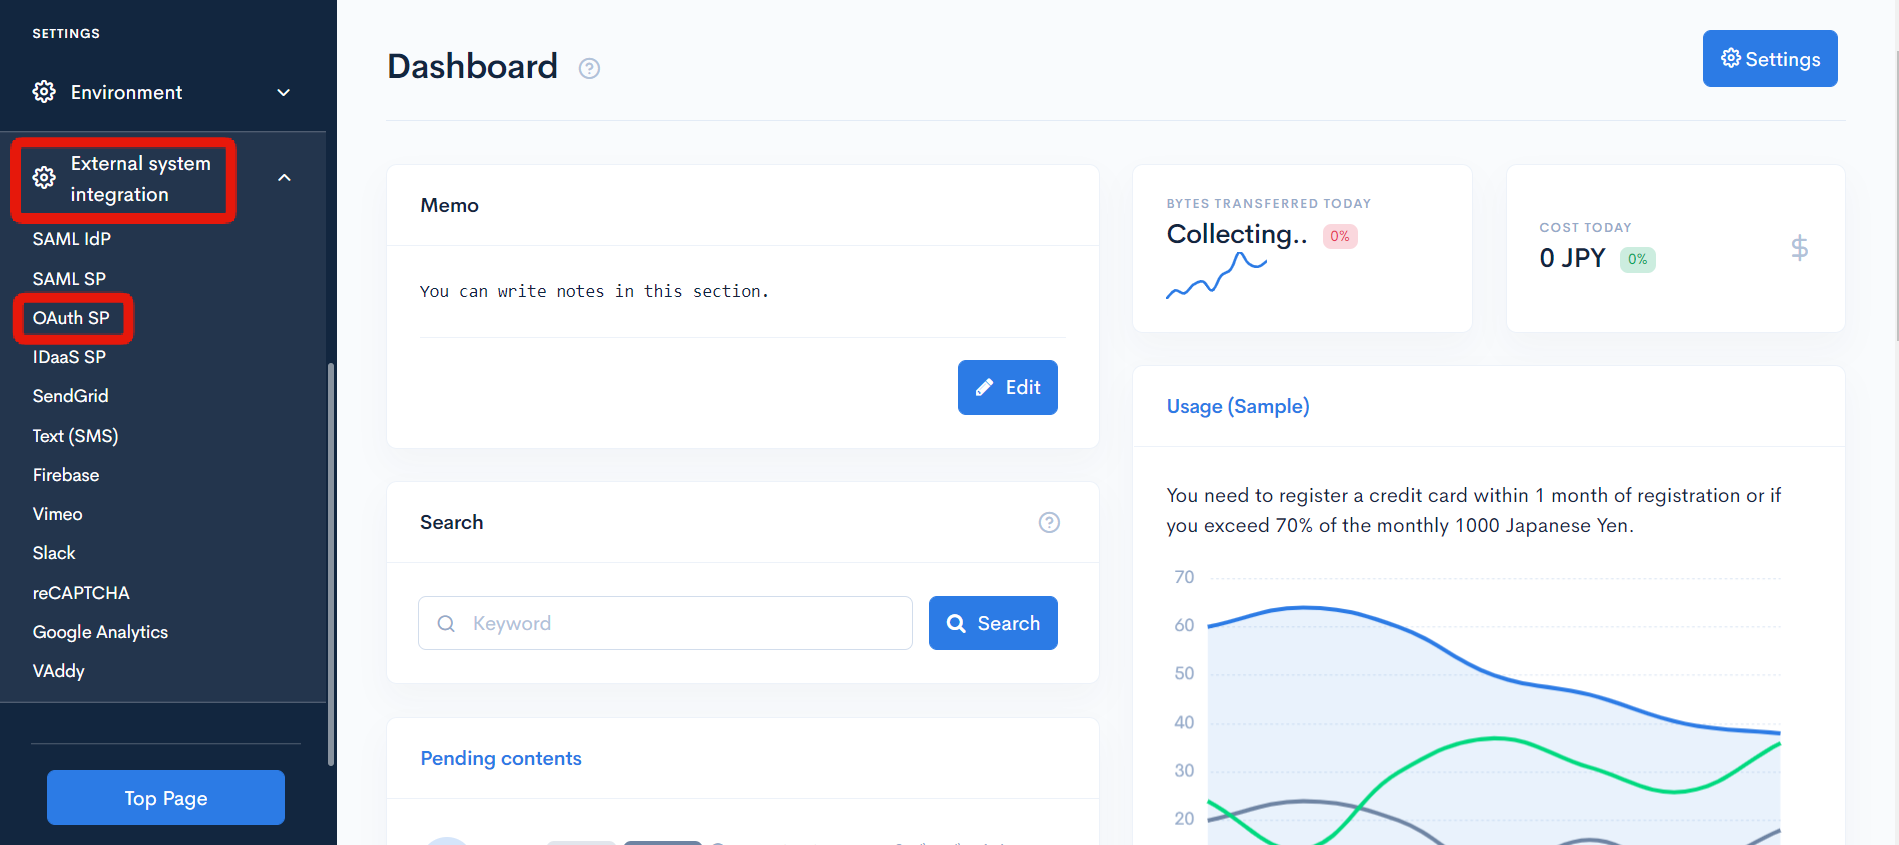
Click on [External System Integration] -> [OAuth SP].
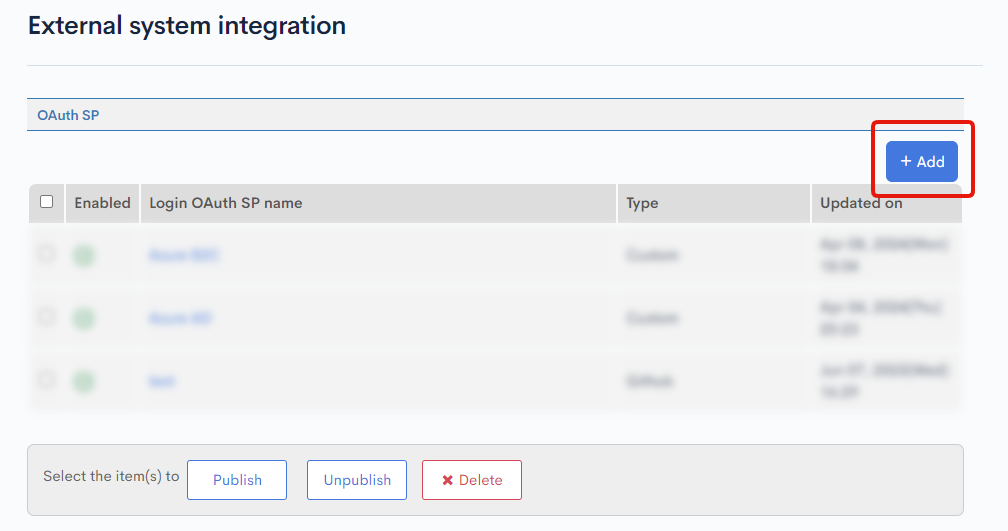
Click on [Add].
OAuth SP editing screen will be displayed, enter the following and click [Add].
| Item | Settings |
|---|---|
| OAuth SP Name | GitHub login |
| Target Domain | API |
| Type | GitHub |
| (For API) Generate Grant Token | Check OAuth verification API |
| Automatic User Registration | Do not check |
| Store ID in Member Extension Item instead of using Email | Do not check |
| Return URL (Success) | URL of the page to display immediately after successful login |
| Return URL (Error) | URL of the page to display immediately after failed login |
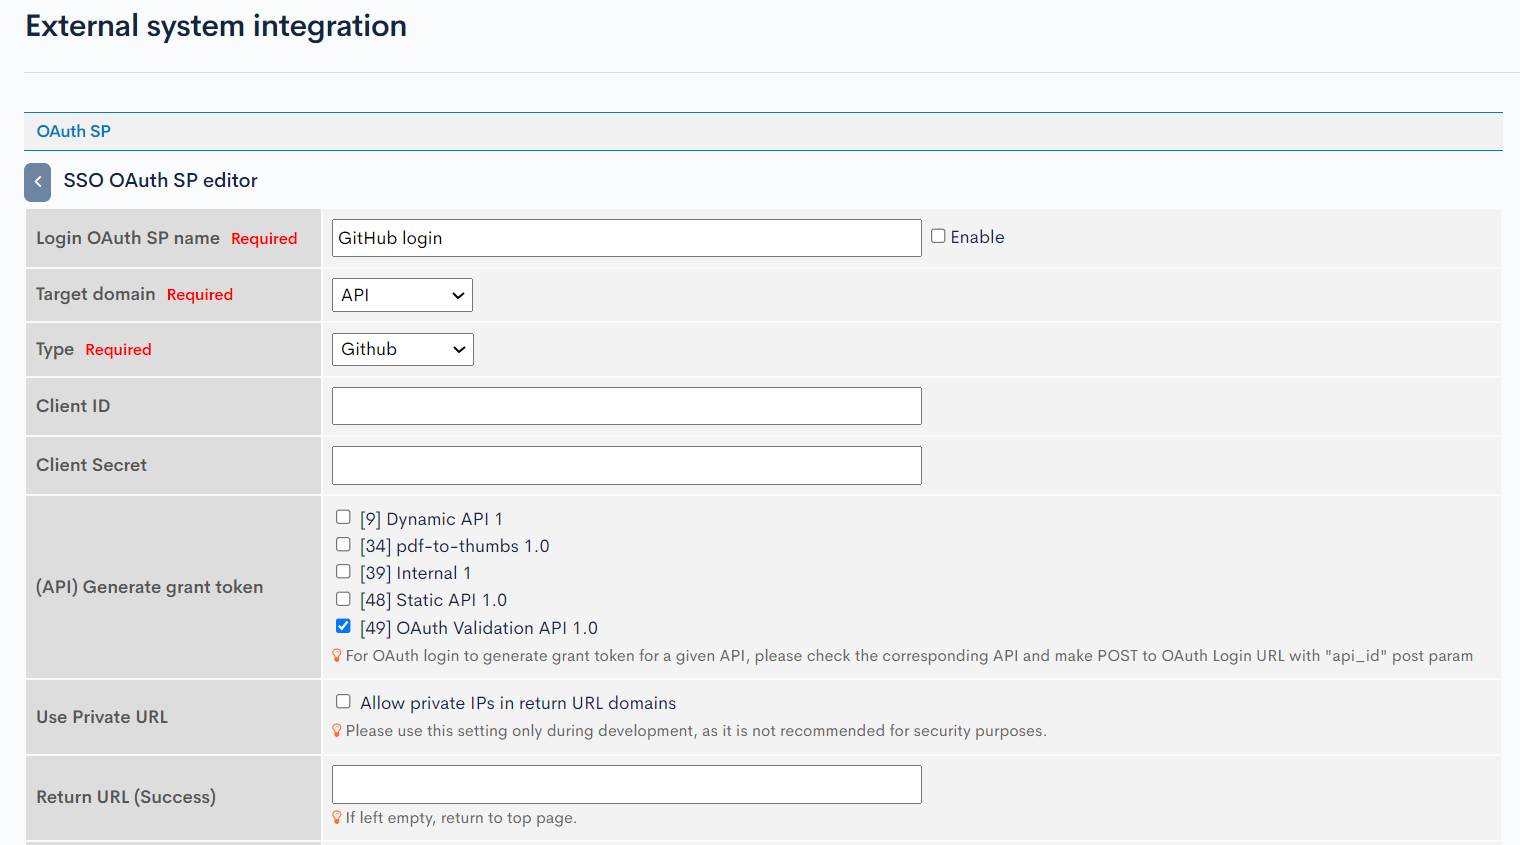
Please note that the Target Domain is "API" and not "Administration screen". This enables SSO functionality for frontend logins.
The following steps will be similar to those explained in Implementing SSO via OAuth authentication using external accounts (Administration screen), so please refer to that.
Implementation on the Frontend
Copy the URL next to OAuth verification API 1.0 displayed on the OAuth SP editing screen.
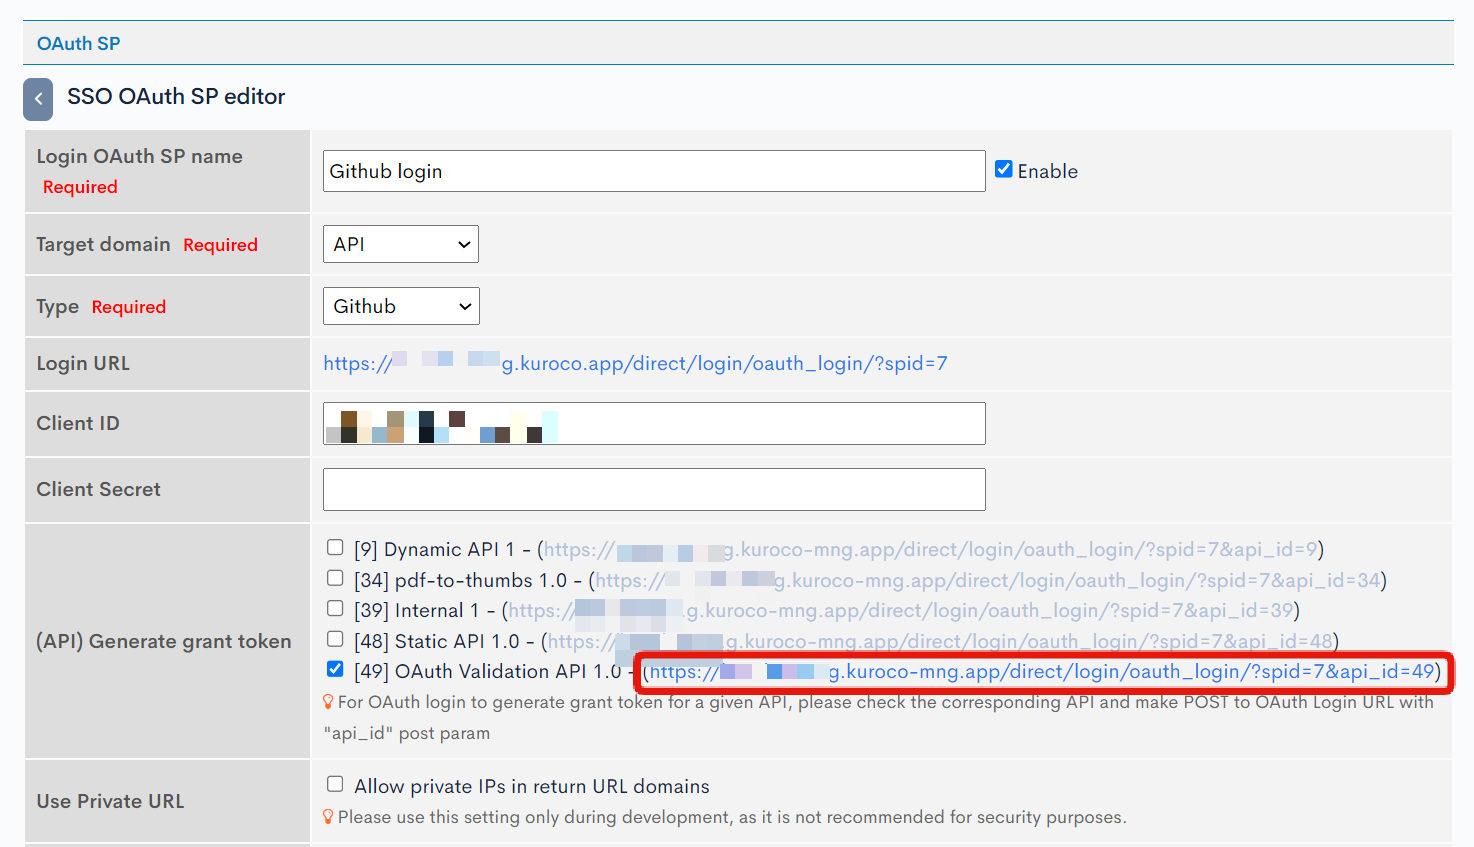
Place a link to the copied [Login URL] in any location on the frontend.
<a href="(URL)"><span>Login with GitHub</span></a>
How to Use
Check the link to the installed URL.
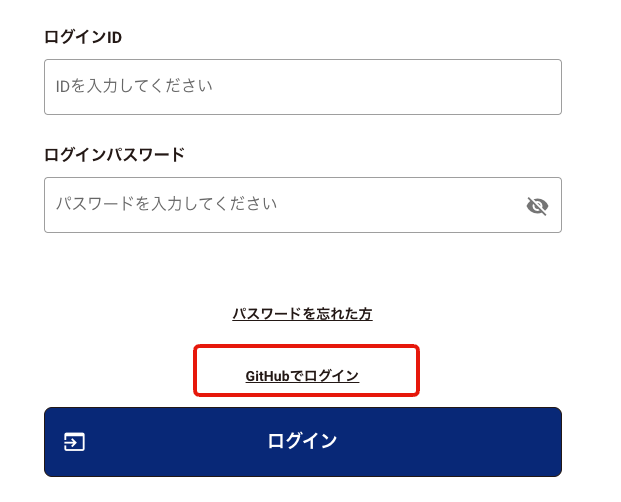
Clicking on it will open the GitHub login screen, where you enter your GitHub login ID and password.

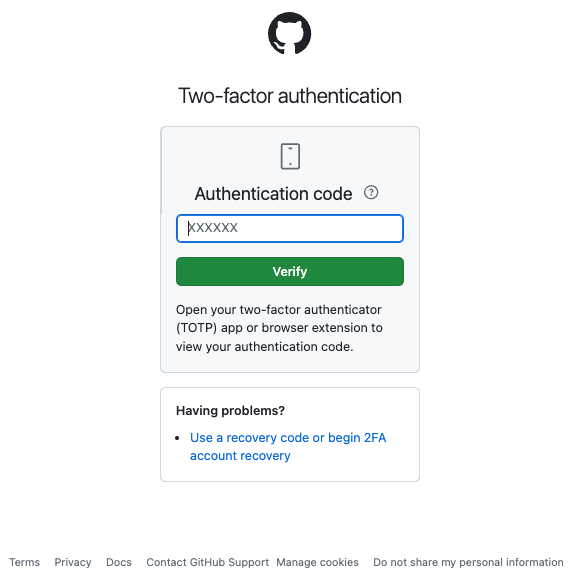
If two-factor authentication is set up, an input form for the authentication code will be displayed, where you enter it.
Upon successful login, you will be redirected to the URL set in [Return URL (Success)] in the OAuth SP settings.
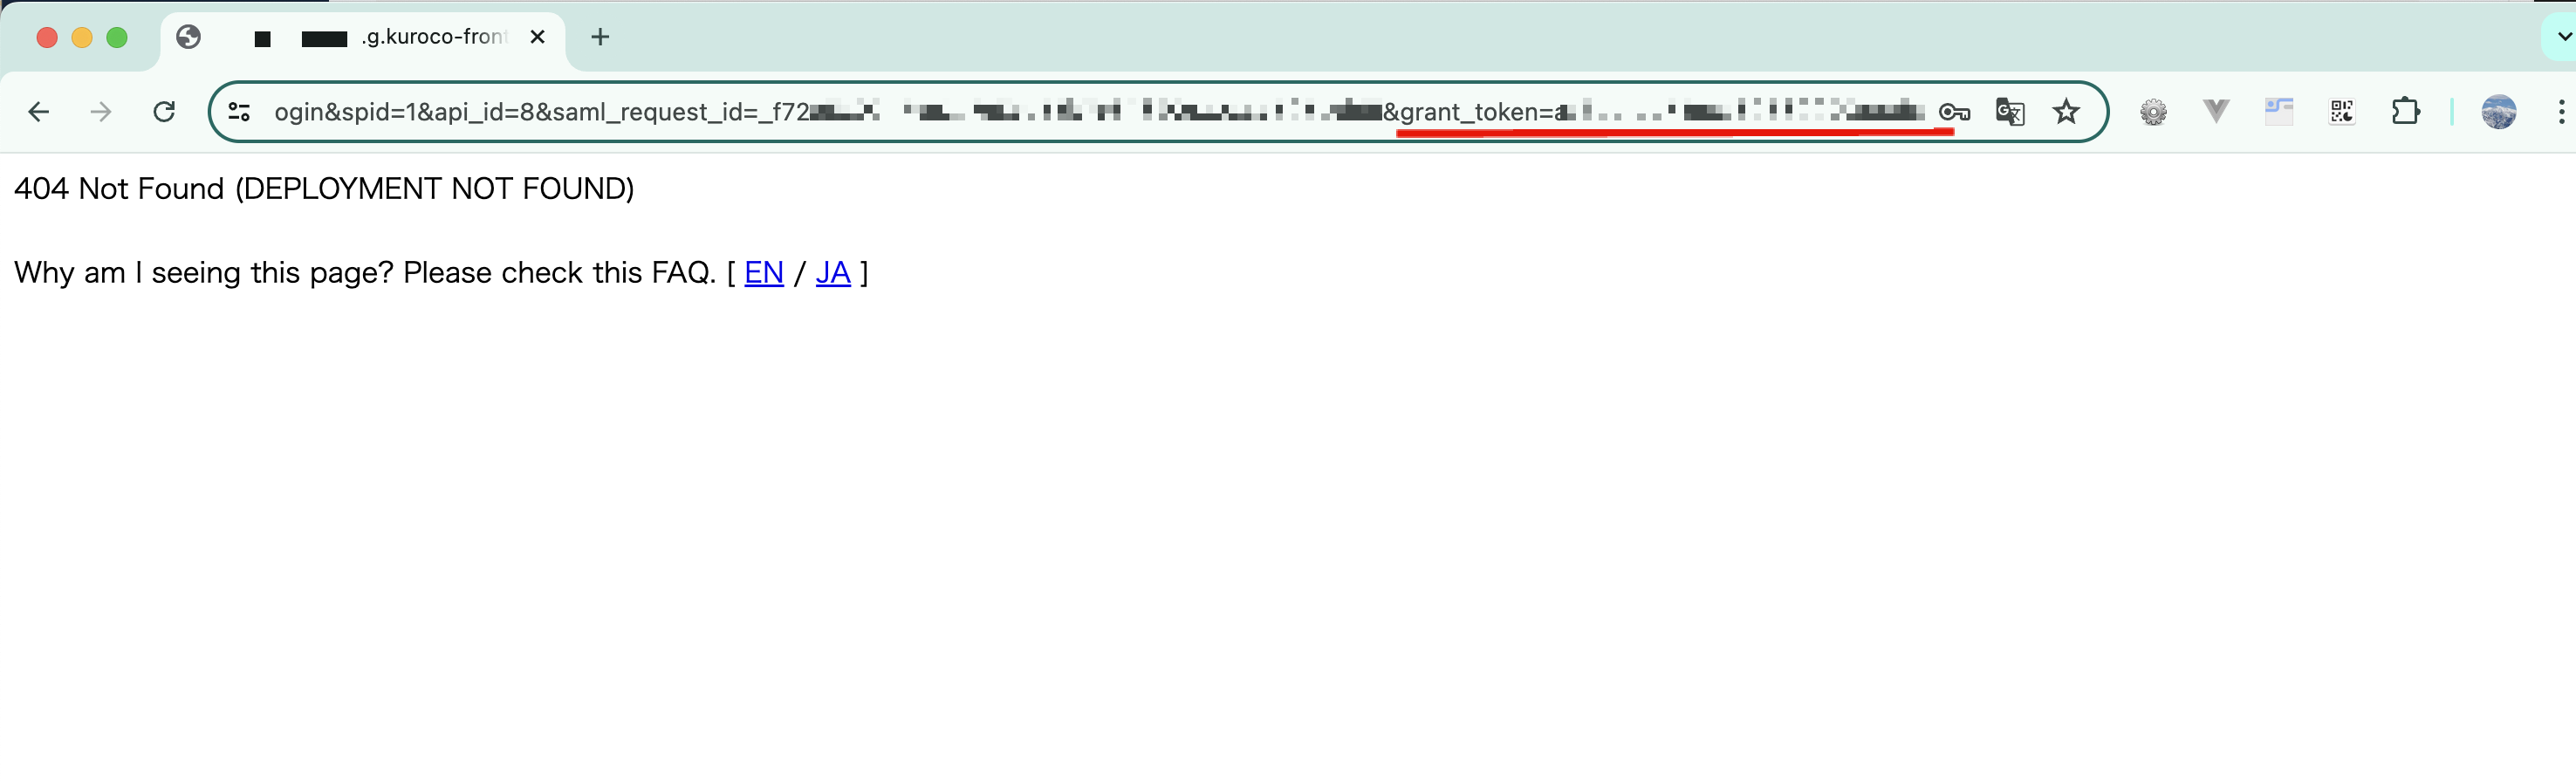
In the case of SAML authentication, you will be redirected to the URL of [Return URL (Success)] with a GET variable &grant_token=********* attached.
The grant_token is a temporary token to issue an access token. Implement the login process to obtain the access token using this token.
Copy the grant_token from the URL, then go to SwaggerUI and click [Try it out] on the endpoint /rcms-api/X/token you created earlier.
Paste the copied string into the value part of the grant_token key in the JSON written in [Request body].
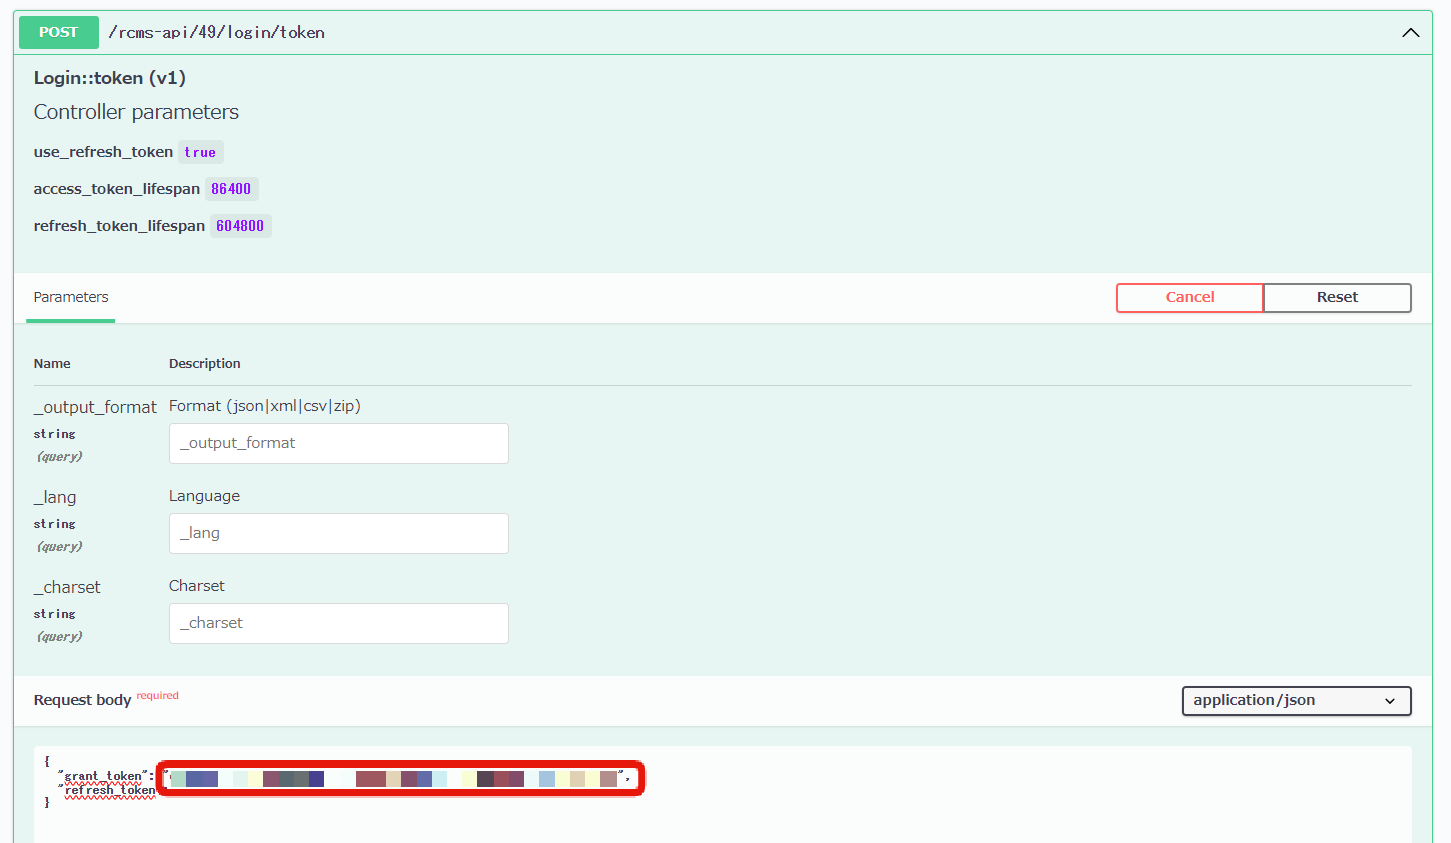
Upon sending the request, you can confirm that the response contains the access token.

By attaching this access token to the request header and sending the request, the endpoints added to the OAuth verification API can be accessed from the frontend.
Related Documents
- How to implement OAuth based SSO using GitHub
- How to implement OAuth based SSO using Microsoft
- How to implement SAML based SSO using Google Workspace
- How to implement SAML based SSO using GMO Trust Login
- How to implement SAML based SSO using Auth0
- Use IDaaS to Implement Microsoft Entra External ID (formerly Azure AD B2C) SSO
Support
If you have any other questions, please contact us or check out Our Slack Community.