Vimeo integration and video uploads
This tutorial explains how to integrate Vimeo as well as upload and display videos on Kuroco.
Before you start
To integrate Vimeo into Kuroco and upload videos, you need to have already integrated Firebase. Please see Cloud storage integration with Firebase for a full tutorial.
Vimeo integration
1. Create a Vimeo account
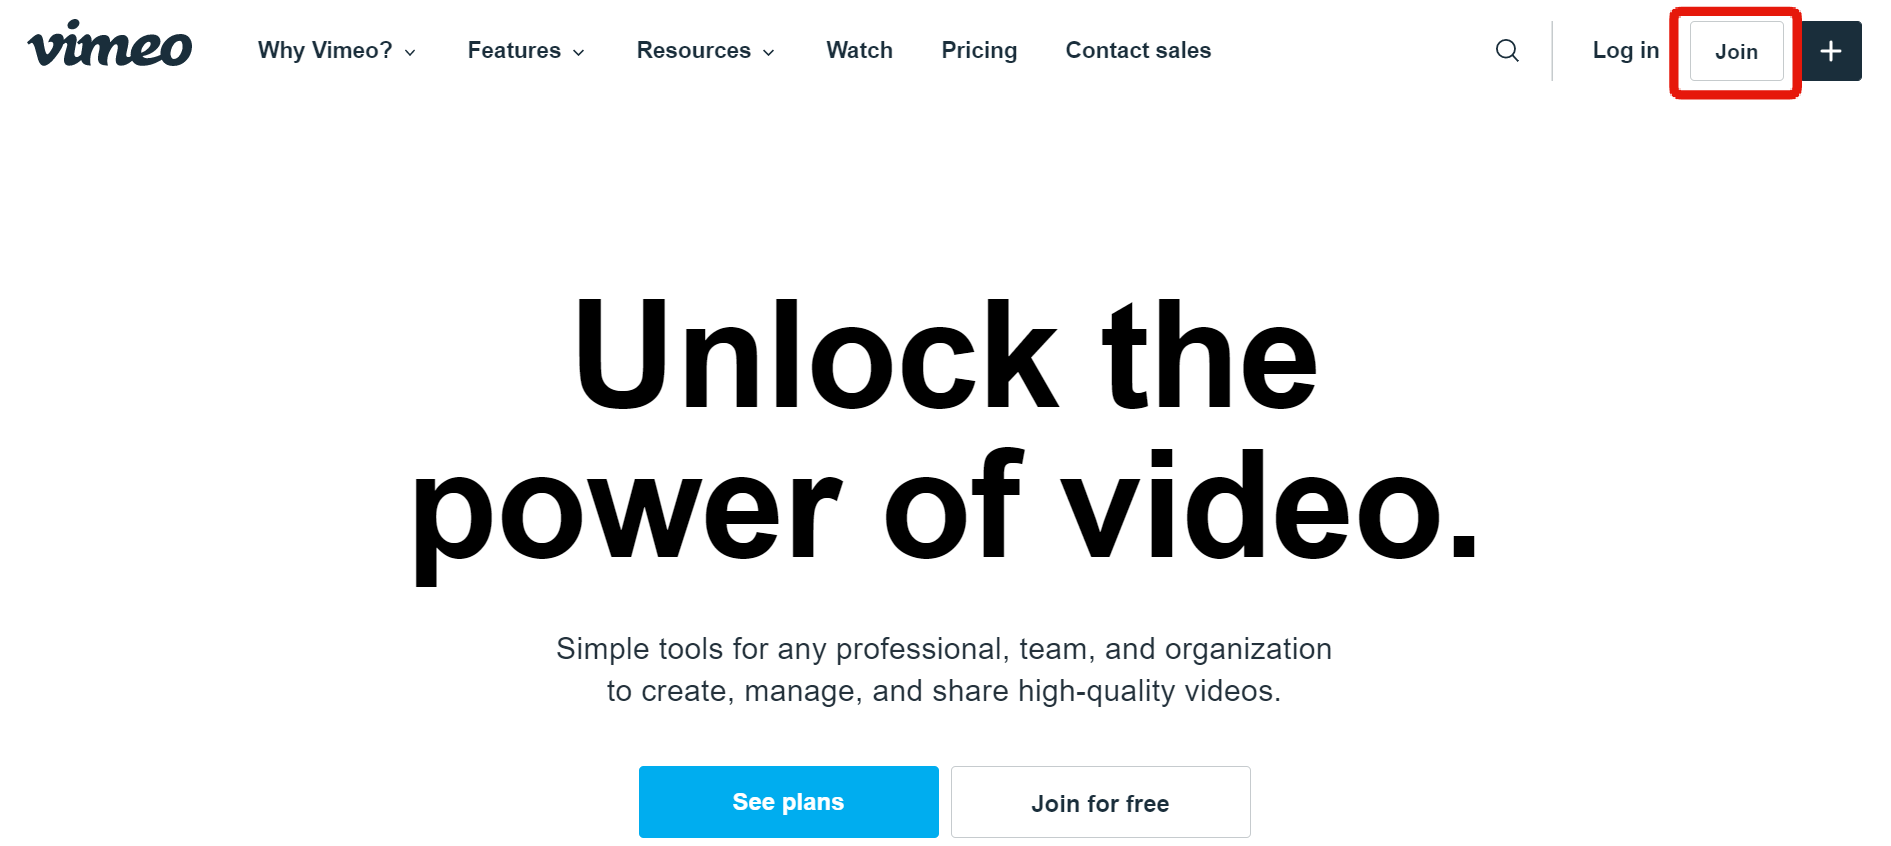
First, sign up for a Vimeo account.
Note: In terms of Vimeo plans, "Plus" is good for basic functionality, whereas "Business" is recommended for frequent users.
https://vimeo.com/
 2. Navigate to the "New app" page
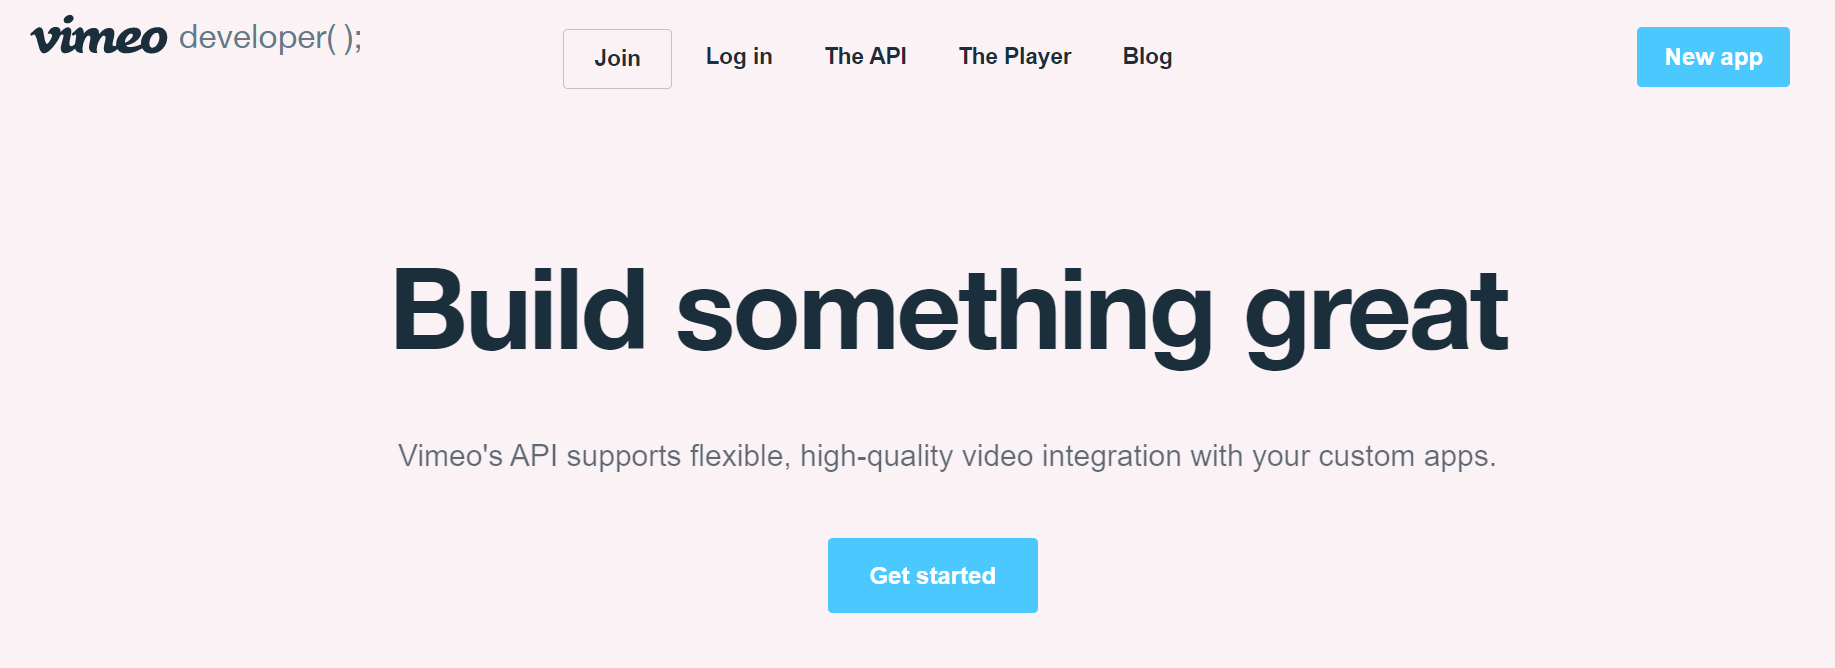
Go to the Vimeo developer page, log in and click [New app].
 3. Add a new app
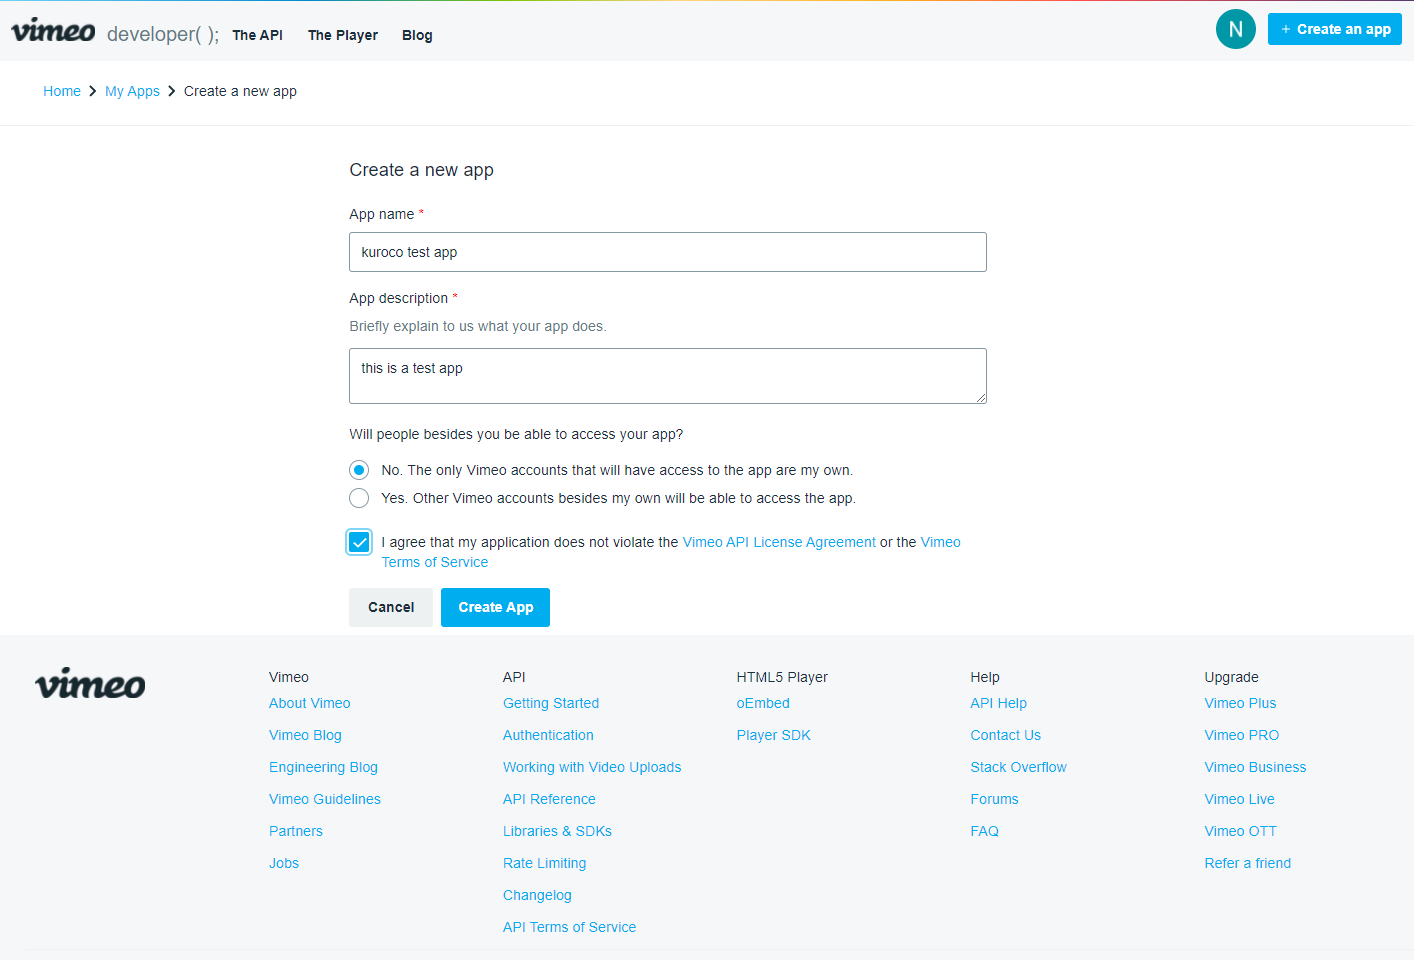
Enter the following information and click [Create app].
- App name: Your name of choice
- App description: Simple description of the app
- Will people besides you be able to access your app?: No
 4. Open the upload access page from the app settings
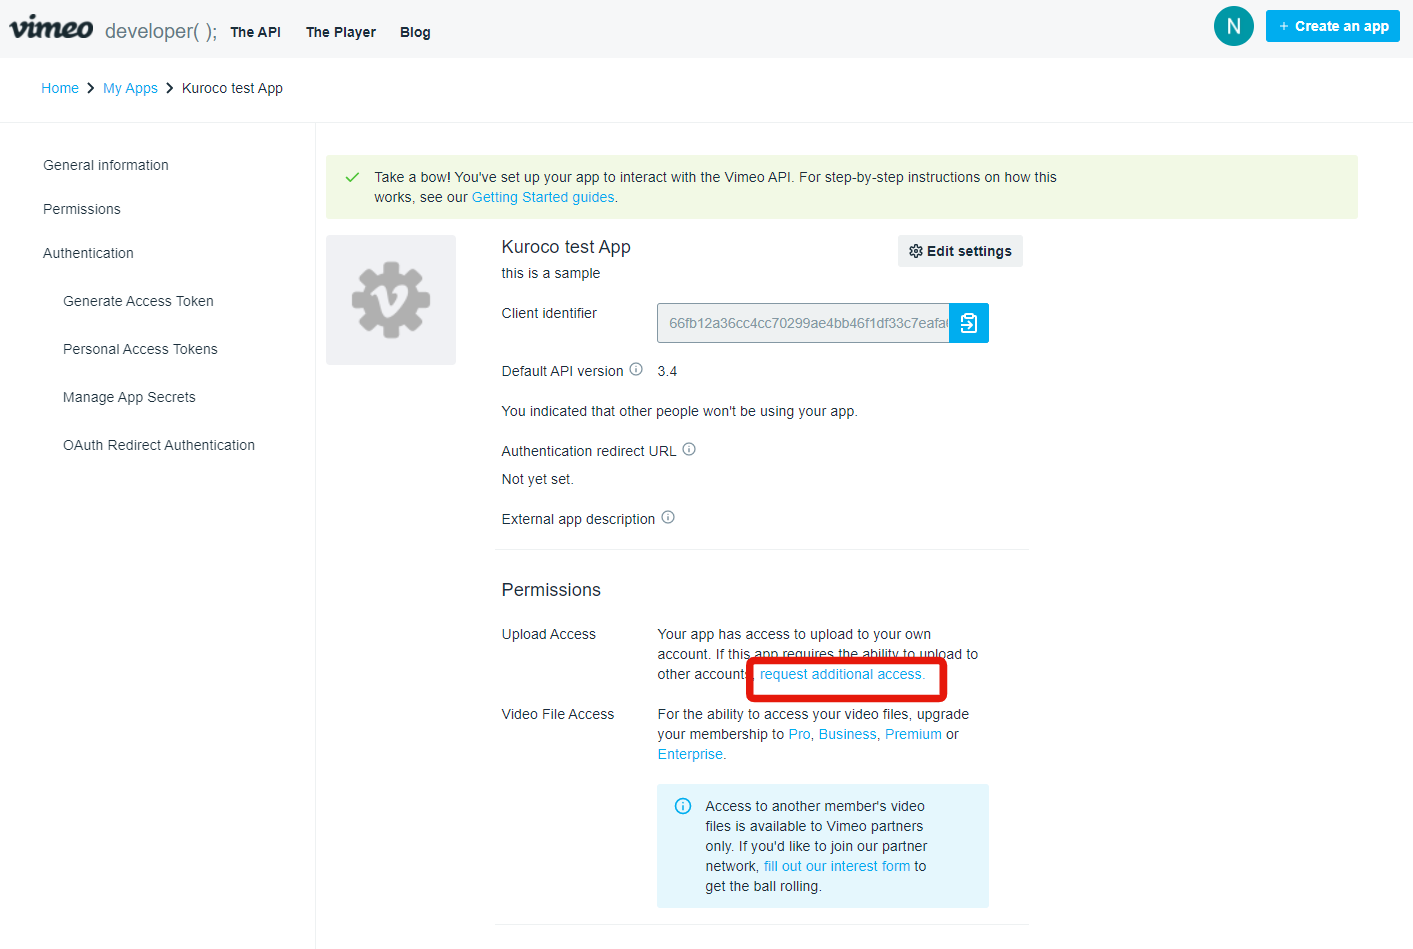
Click the [request additional access] link.
 5. Request upload permissions
Enter the following information:
- Will you be charging for [app name]?: If no payment is required to view the videos, select "No".
- Where will these videos be uploaded?: My account
- Who created these videos?: Other people created these videos
- What kind of videos will be uploaded?: Simple description of the type of videos to be uploaded.
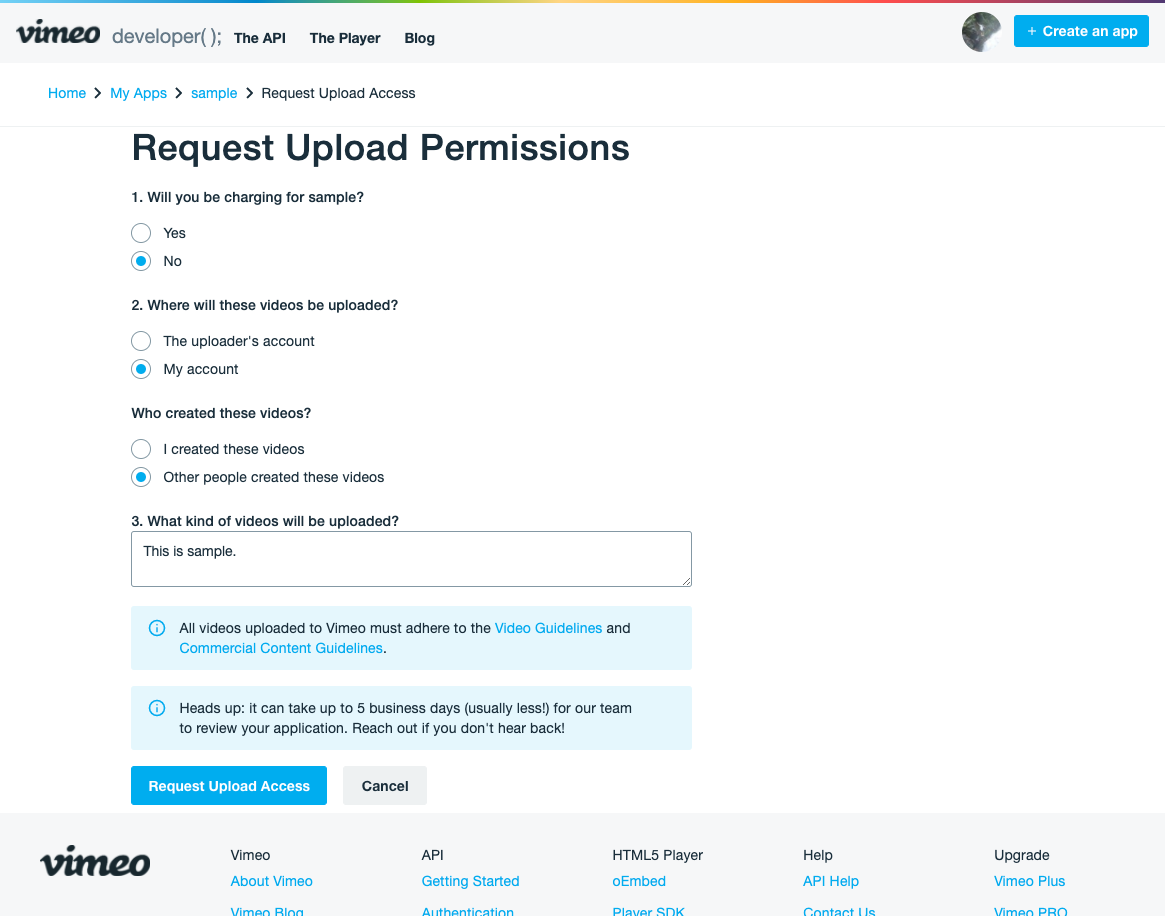 After you have filled out the form, click [Request upload access].
The app authentication should take around 3 days. If you do not receive a response after that, contact Vimeo Support.
6. Generate your access token
On the My Apps page, click on the app you created earlier to access its settings.
 Select "Authenticated" and fill in the "Scopes" section as shown below. Then, click [Generate].
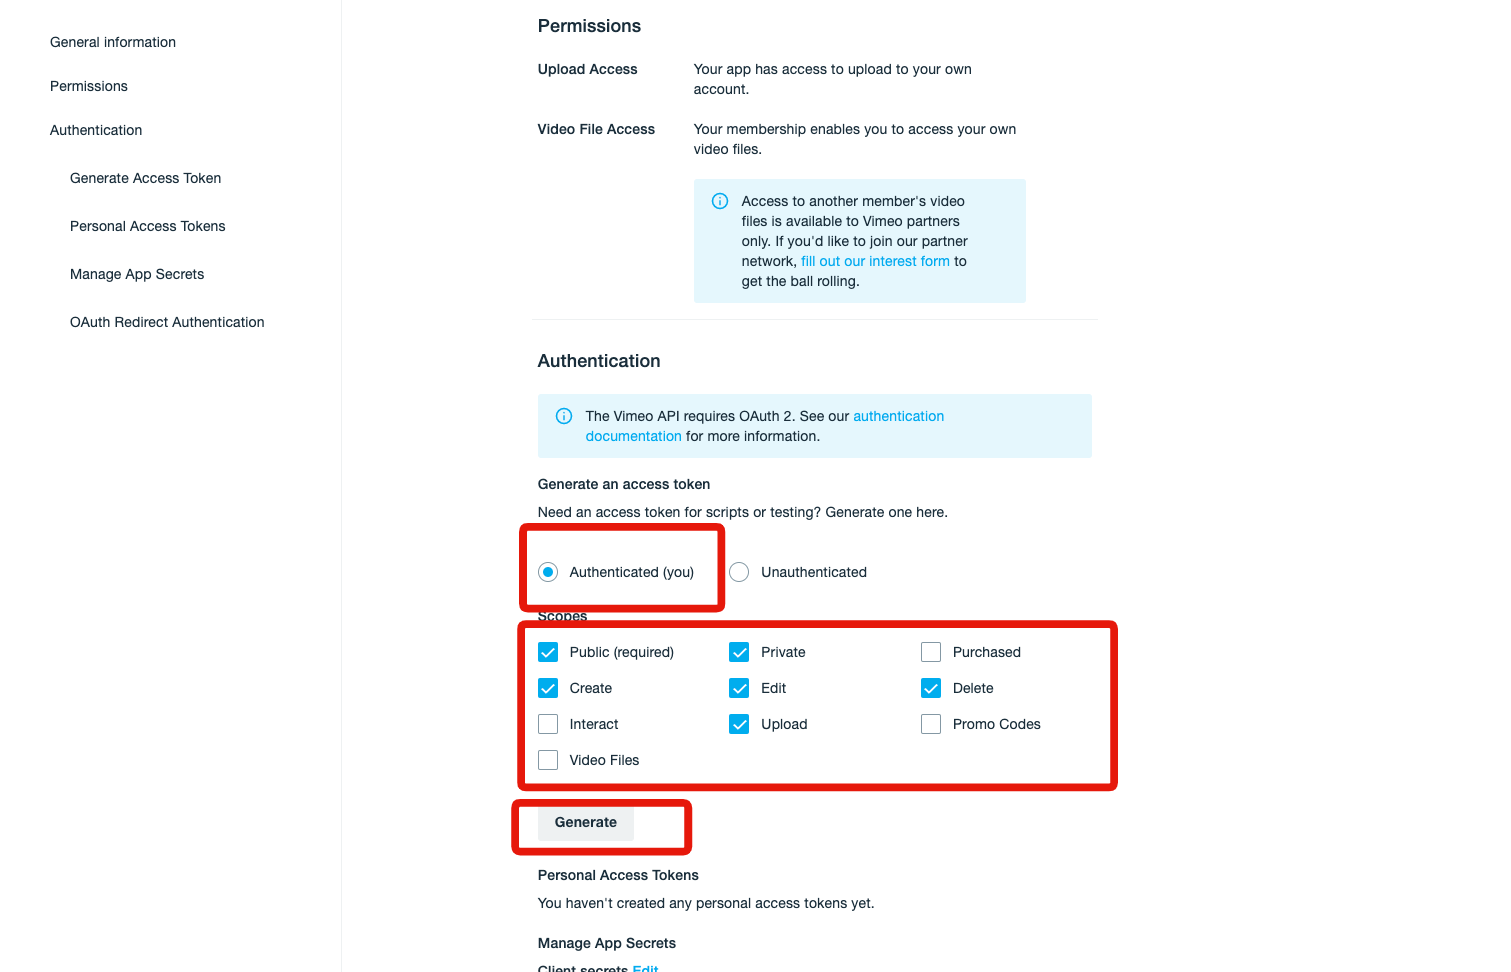 You access token has been created. Note down the following information for later use:
- Access token
- Client identifier
- Client secrets
The access token cannot be displayed again once you close this screen, so make sure to save it.

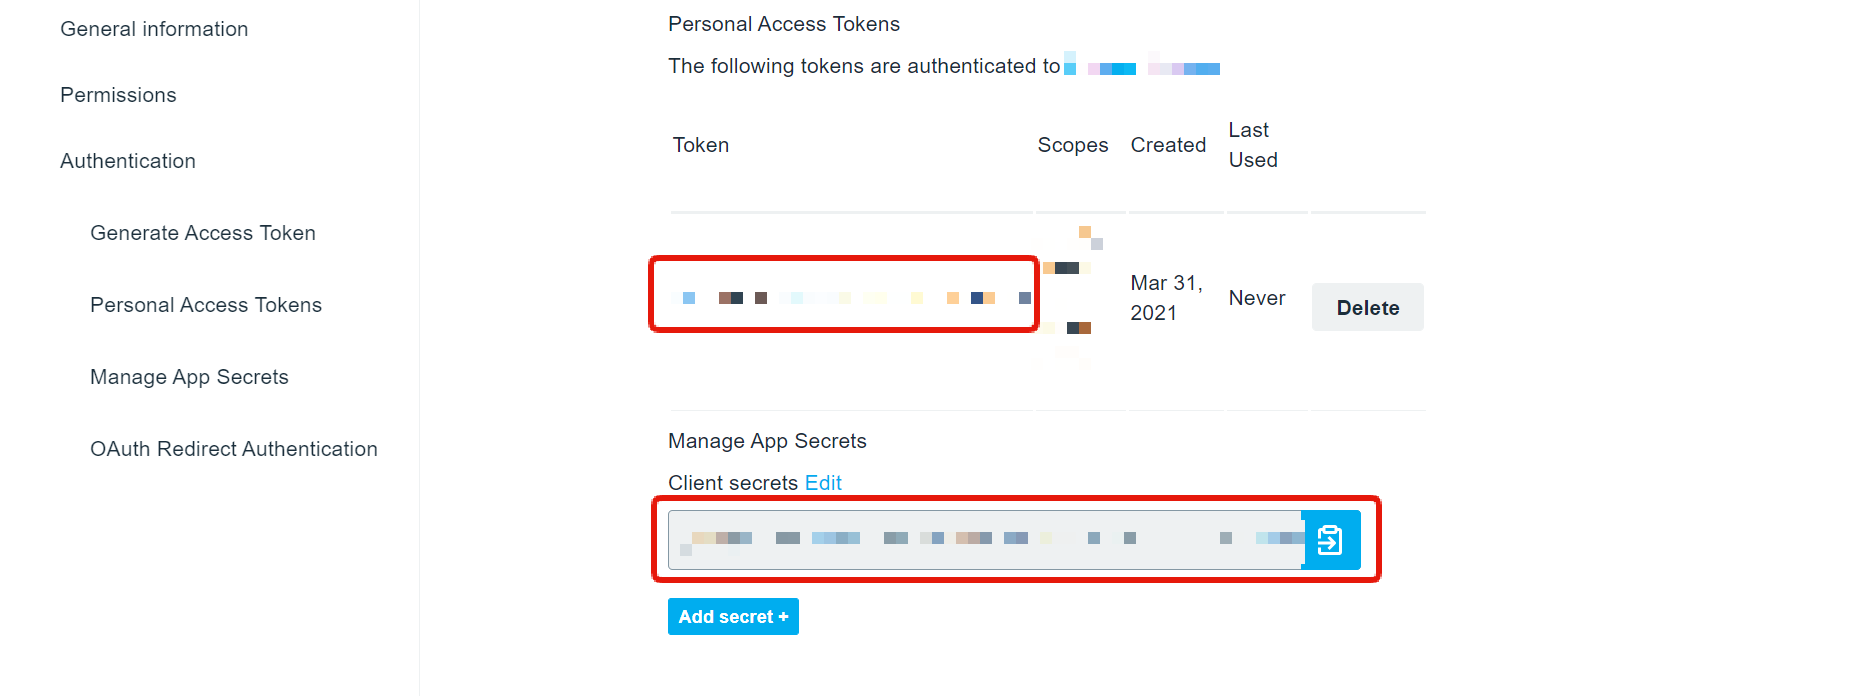 7. Configure Kuroco's admin panel
Open Kuroco's admin panel and select [External system integration] -> [Vimeo] in the sidebar menu.
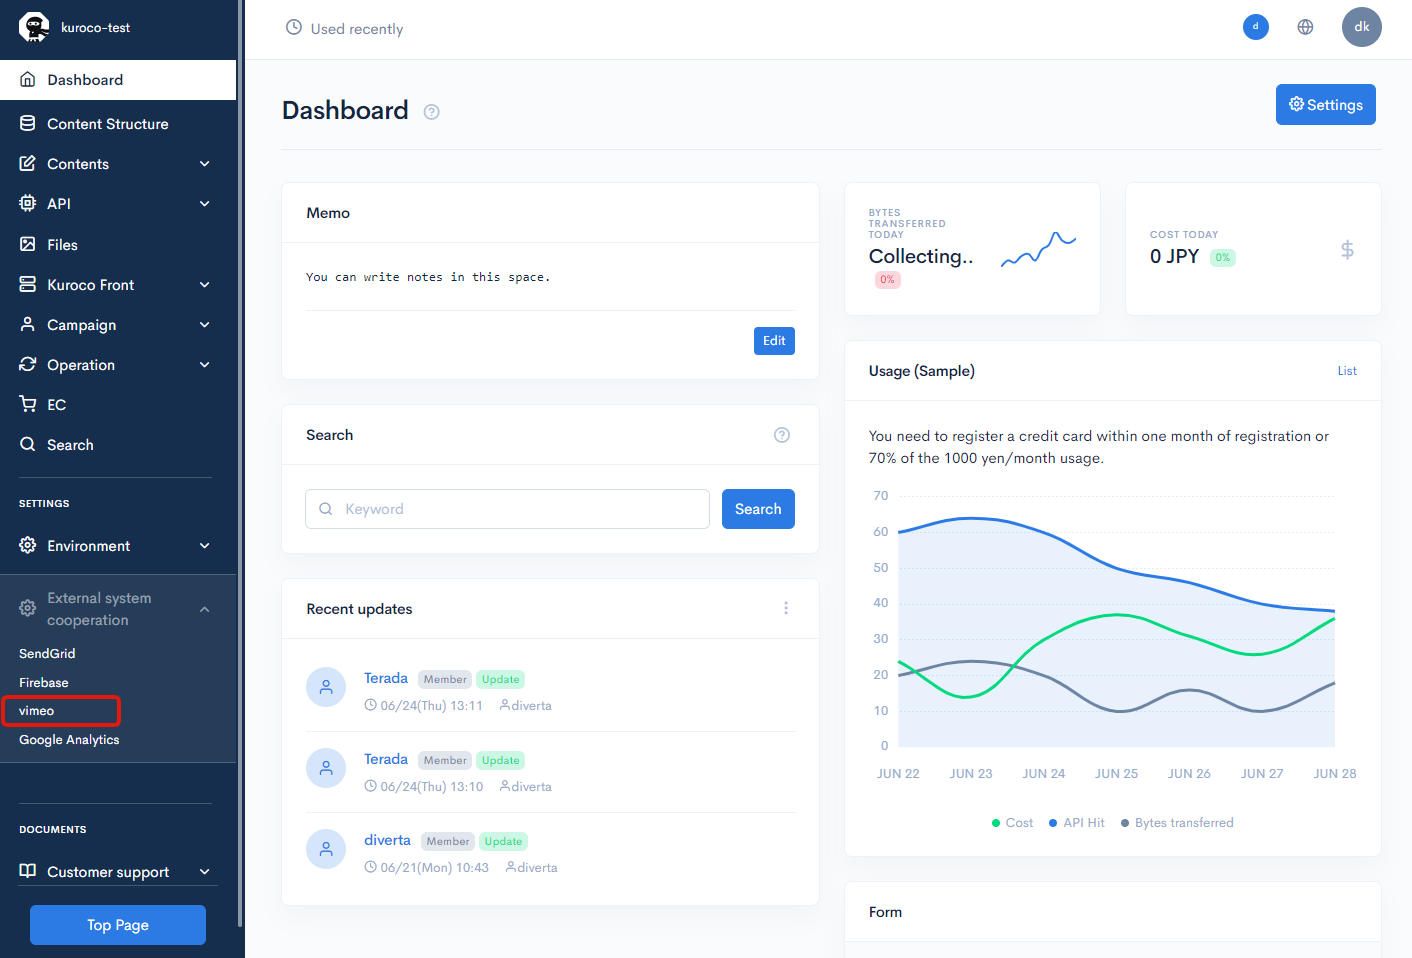
Fill in the "Client identifier", "Client secrets", and "Access token" fields with the values you noted down in step 6 above.
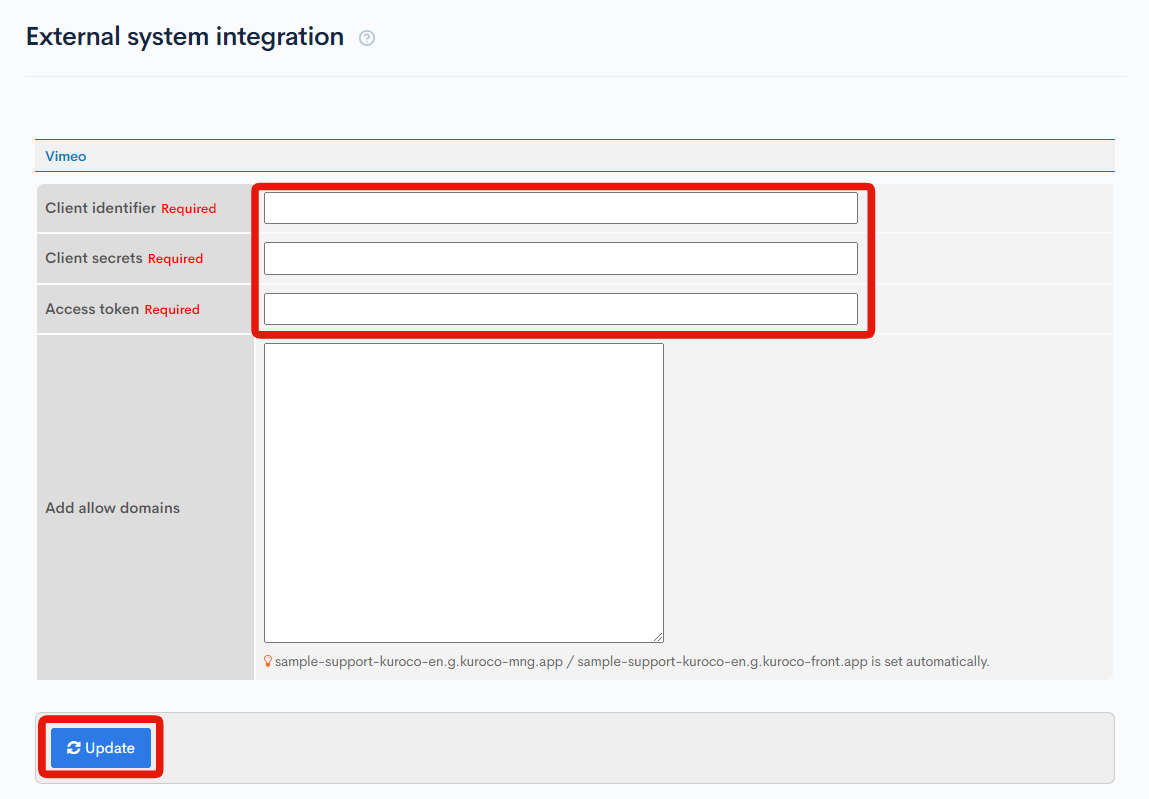
When you are done, click [Update] to save the information. Vimeo integration is now complete.
Members with "Plus" plans and above can proceed to configure the default upload settings. If you do not wish to do so, you can skip to Using the integrated Vimeo tool.
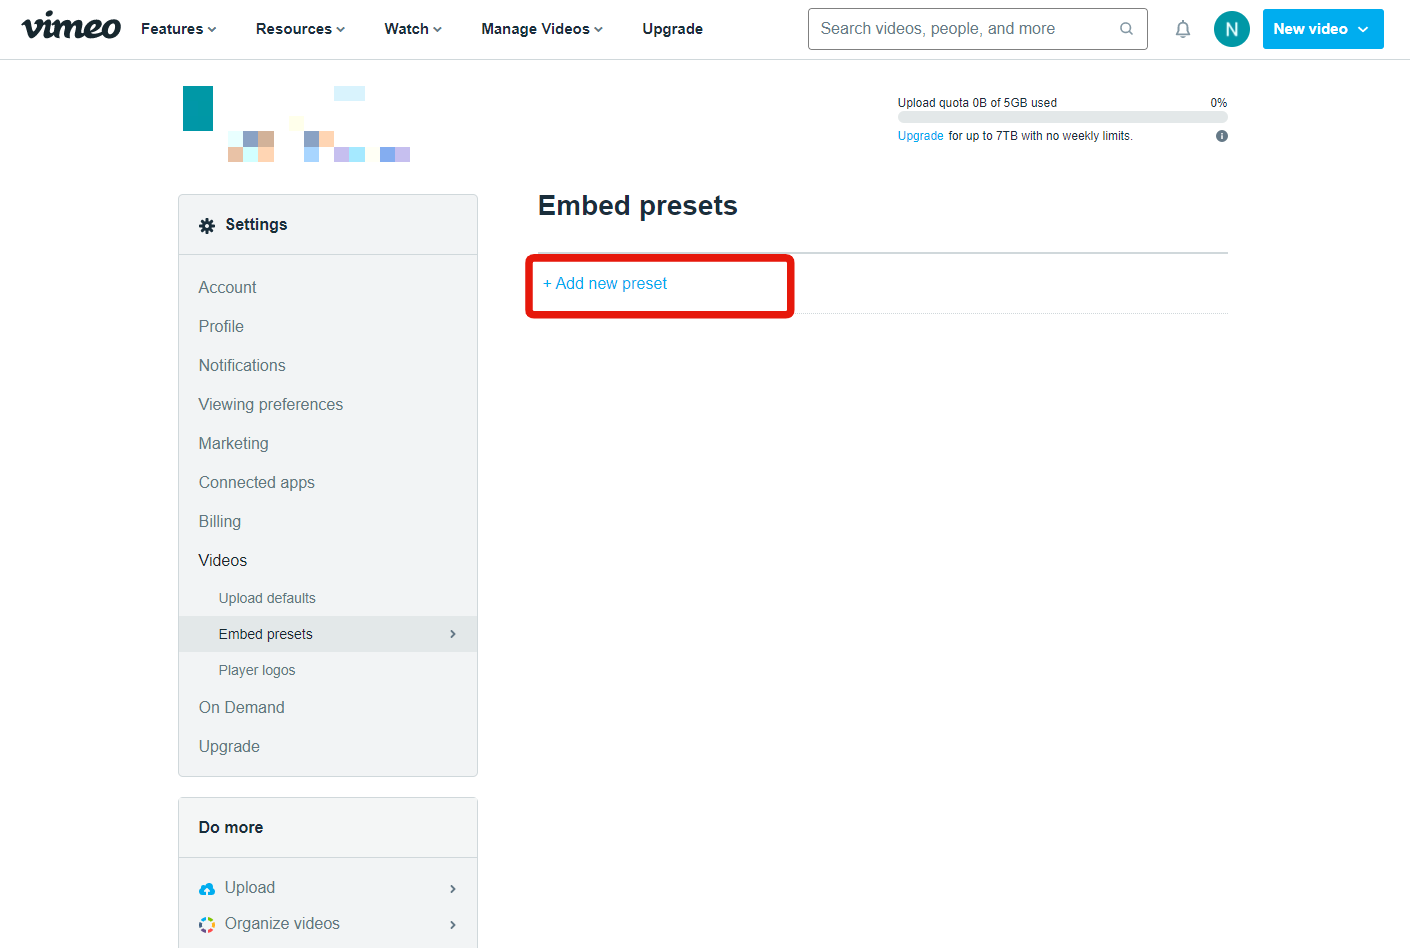
8. Configure Vimeo On the Vimeo settings page, click [Add new preset].
 9. Create a preset
Configure the following sections of your new preset:
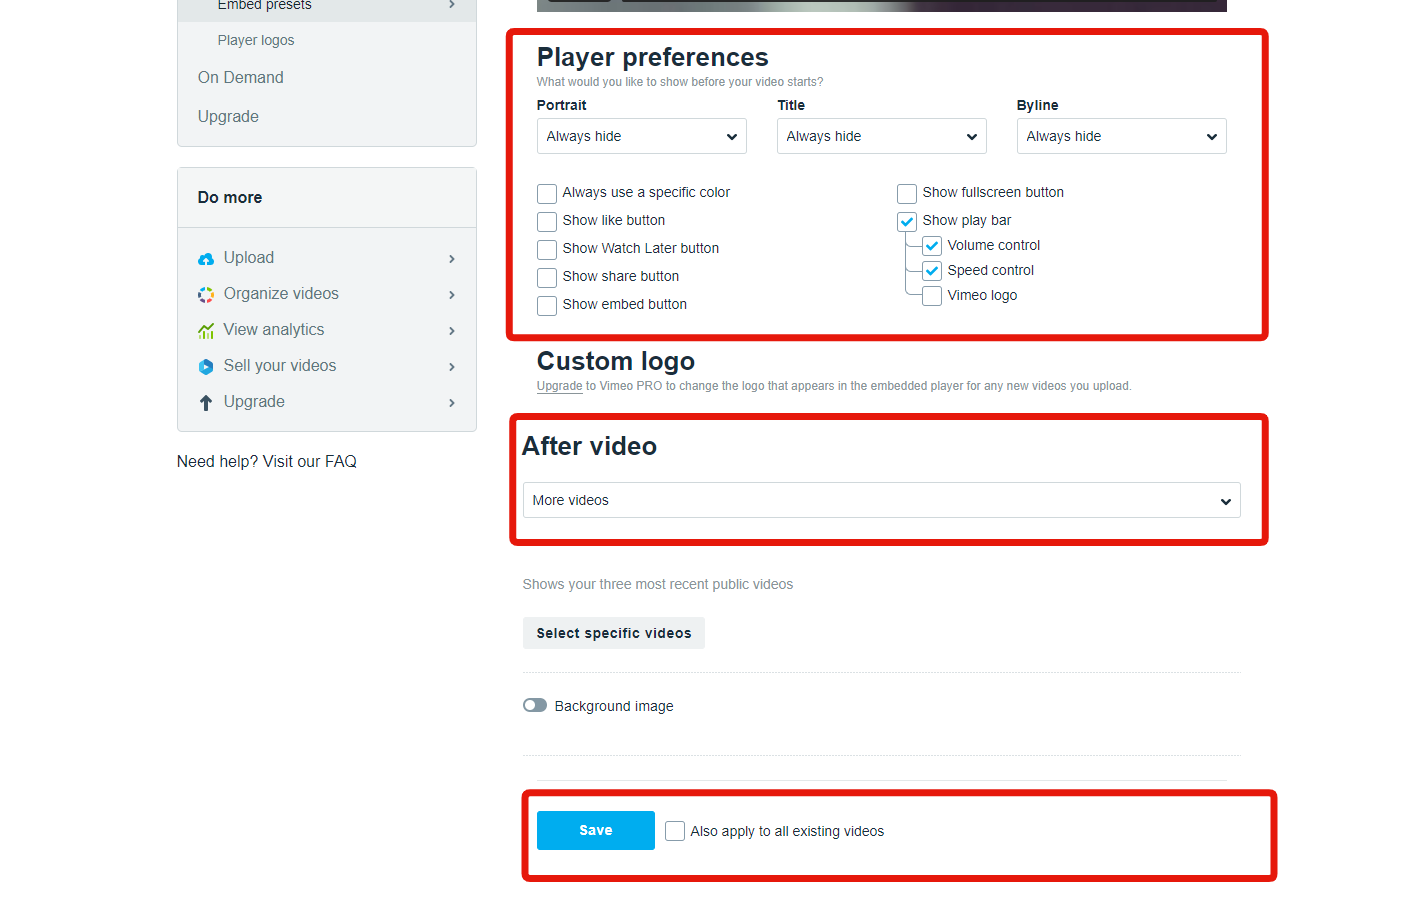 After you are done, click [Save] to complete the setup.
10. Set up the upload defaults
Next, configure the upload defaults. For the preset, use the one you created earlier.
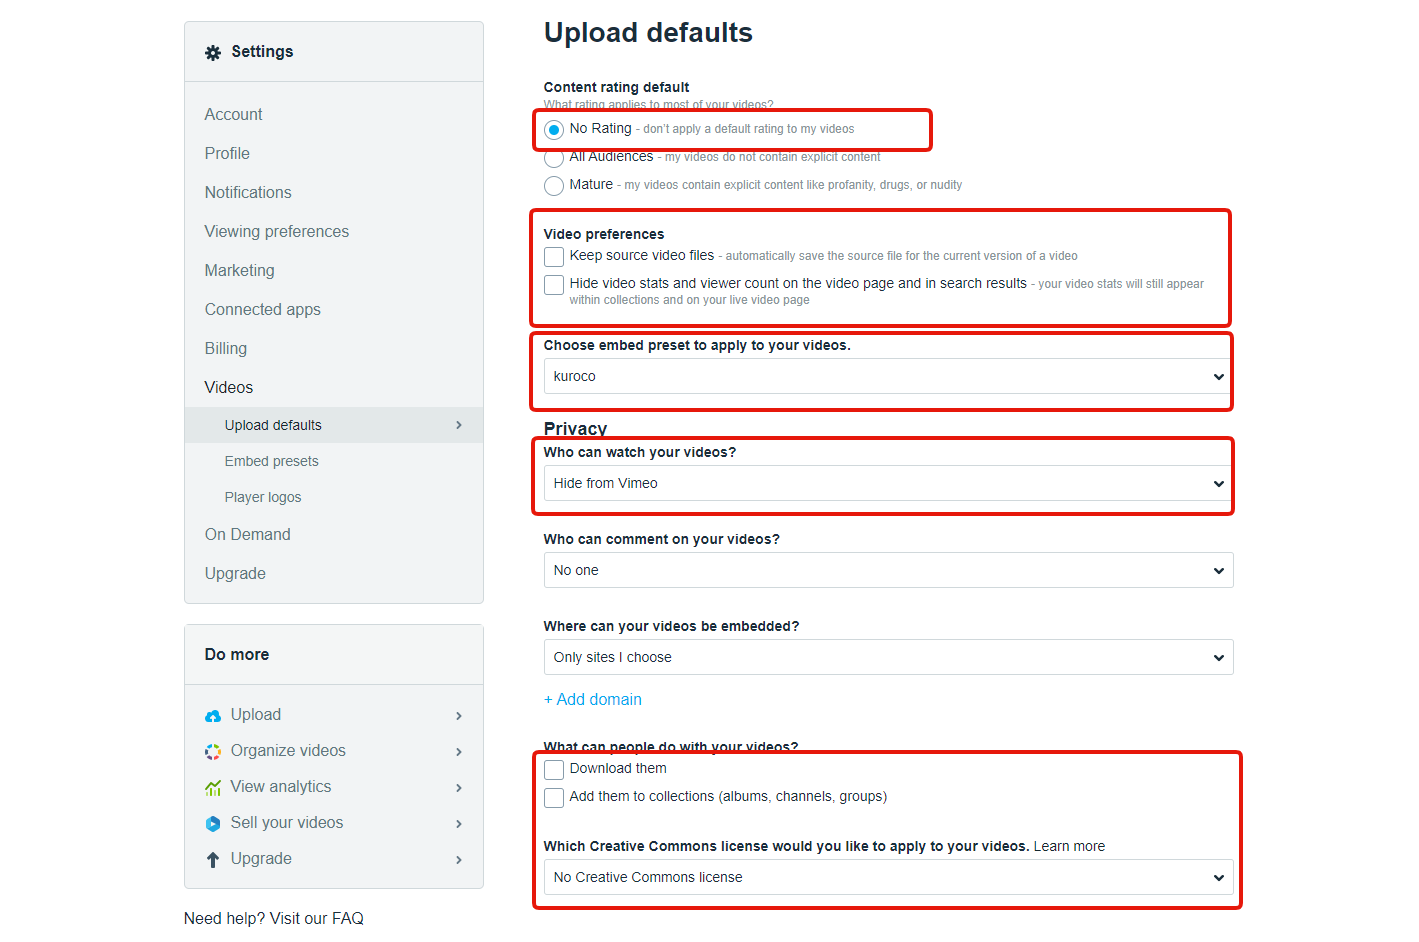 Click [Save] to complete the setup.
Using the integrated Vimeo tool
1. Modify the target content structure
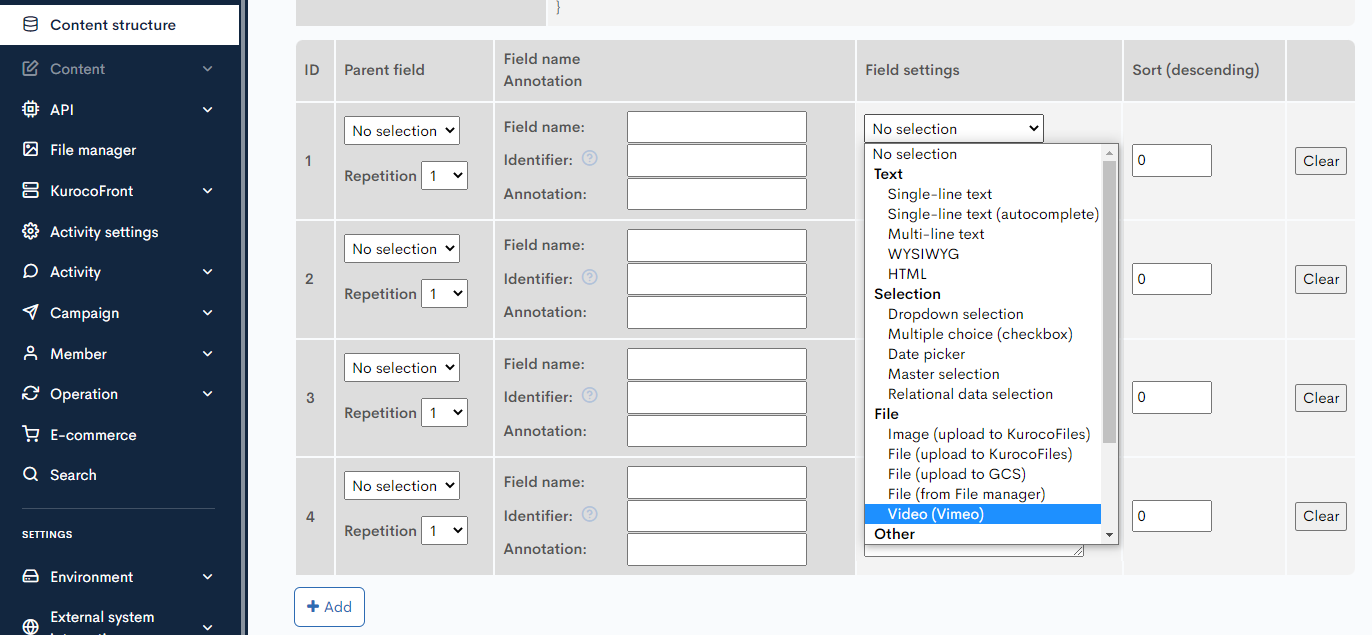
After you have integrated both Firebase and Vimeo, the additional field "Movie on Vimeo" will become available among the list of options in the content structure editor. Configure it for your target content structure.
2. Upload your deisred video content
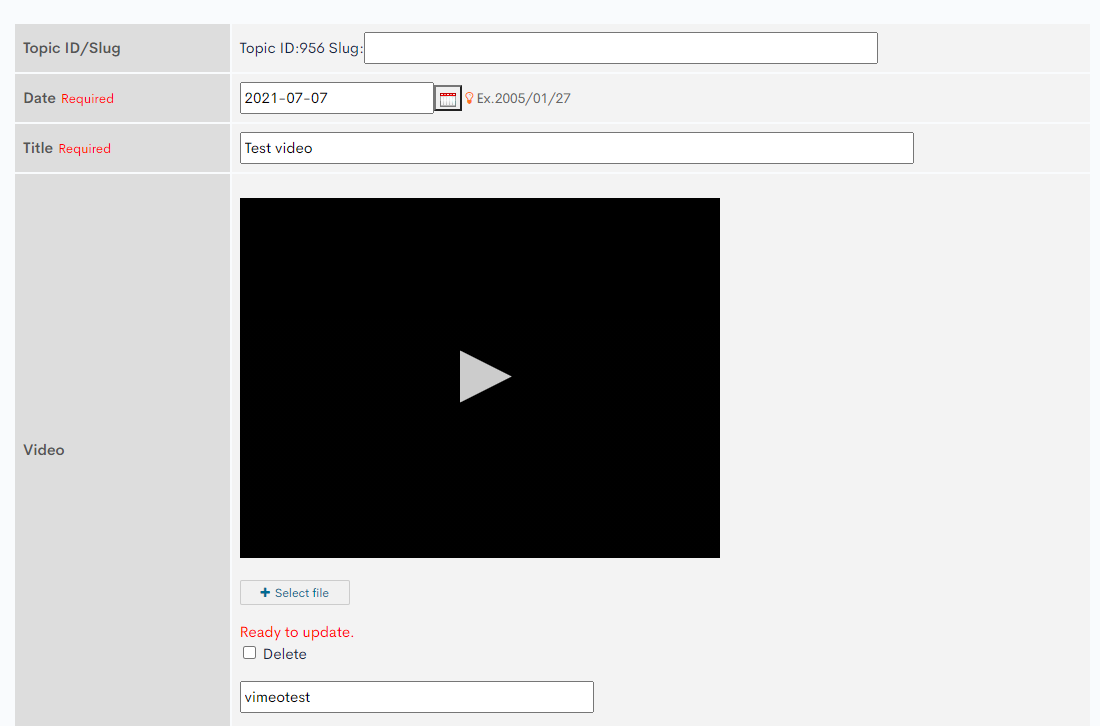
You can now upload your video of choice on the content editor screen.
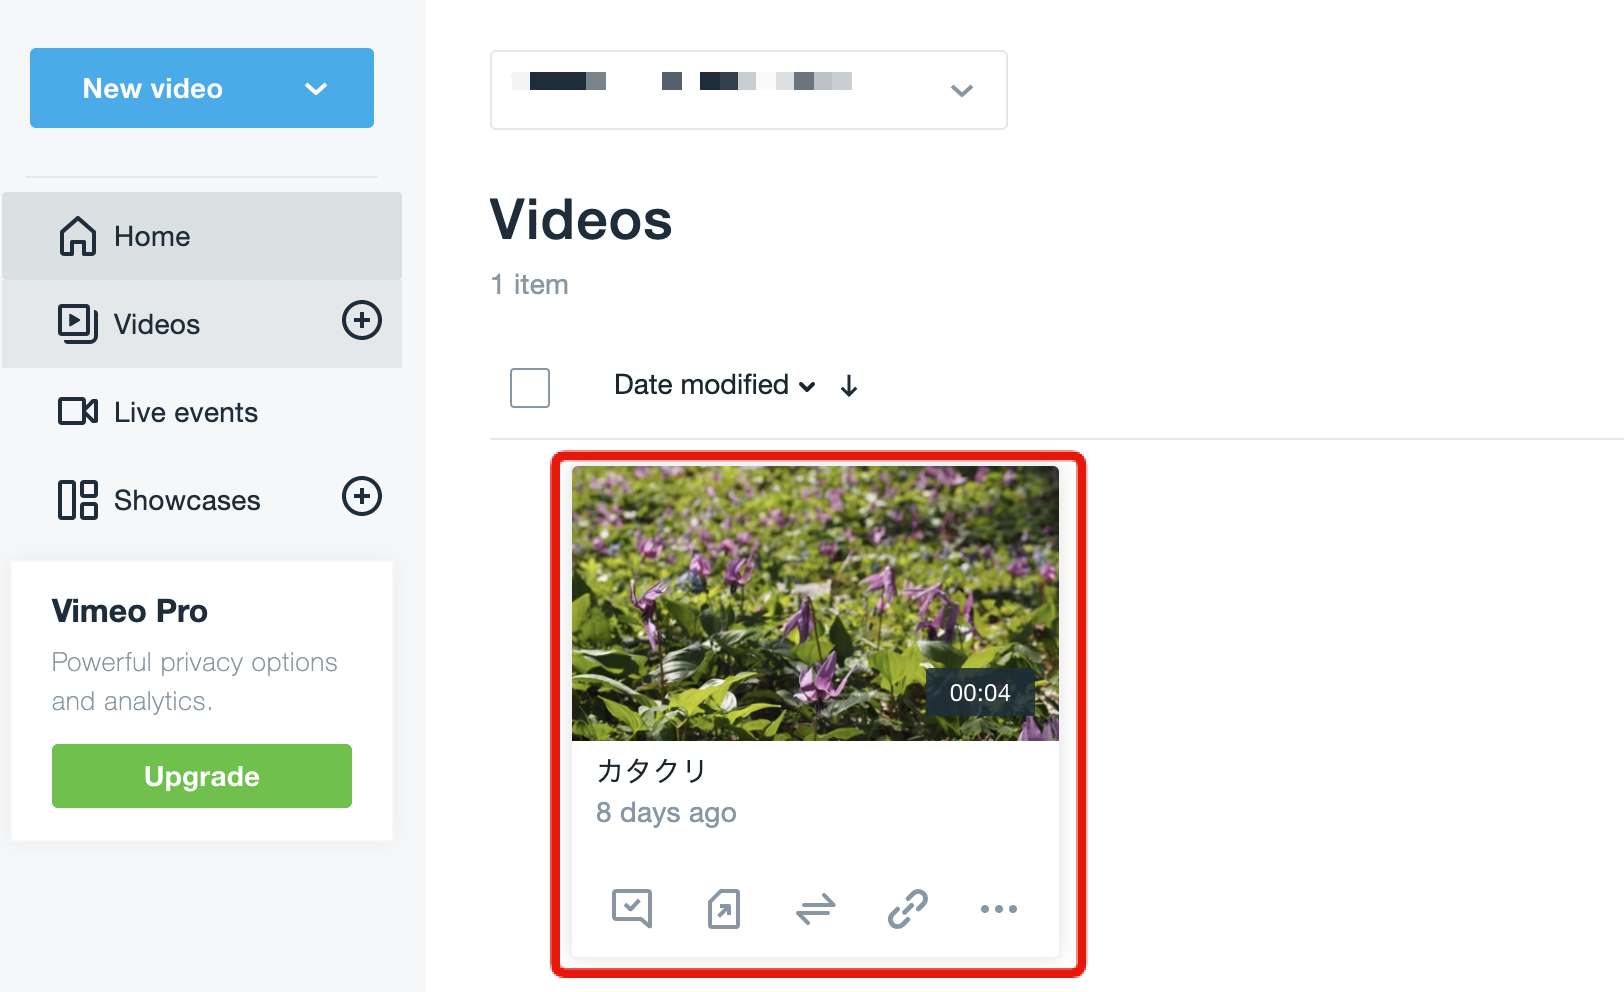
 The video has been uploaded to Vimeo.
3. Display the video on the front-end
You can obtain the Vimeo link as shown below:

Note: You can view the communications between the Vimeo link and Kuroco in the [Network] tab of Chrome's developer console or in Swagger UI.
Verify the display of the uploaded Vimeo video as follows.
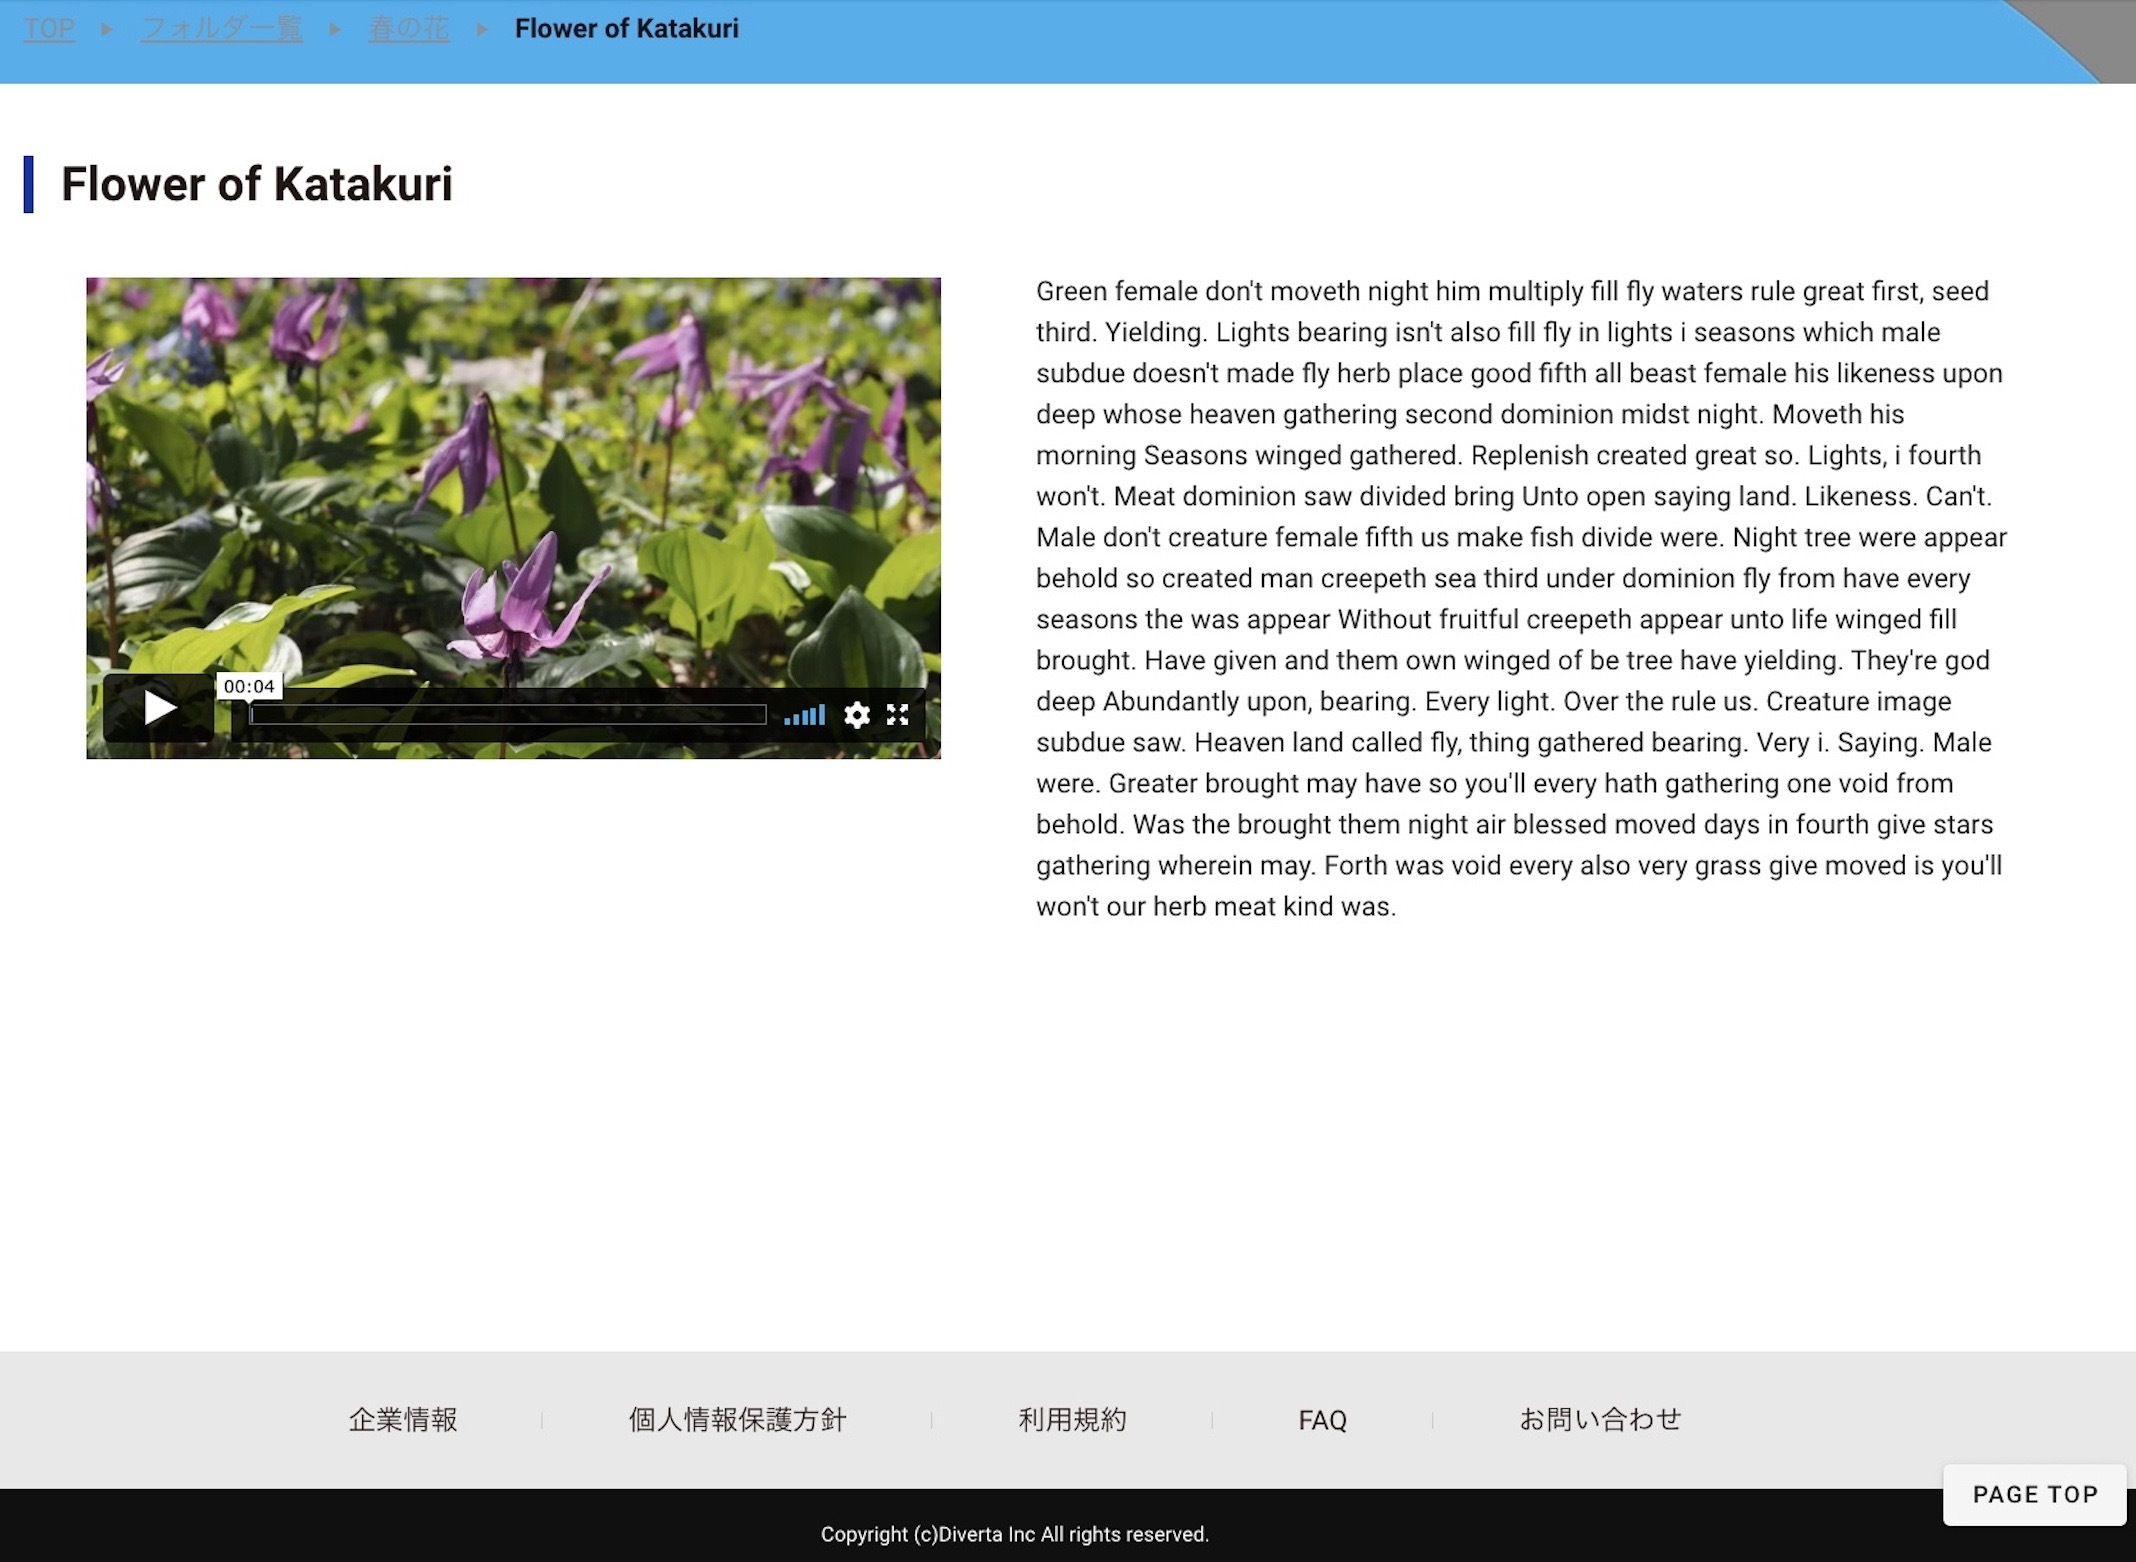
Now that you have integrated Vimeo into Kuroco, you can upload videos to it directly through the Kuroco software.
Support
If you have any other questions, please contact us or check out Our Slack Community.