SAML IdP
The SAML IdP screen enables you to view, add, and update the IdP settings for site logins.
SAML IdP list
Accessing the screen
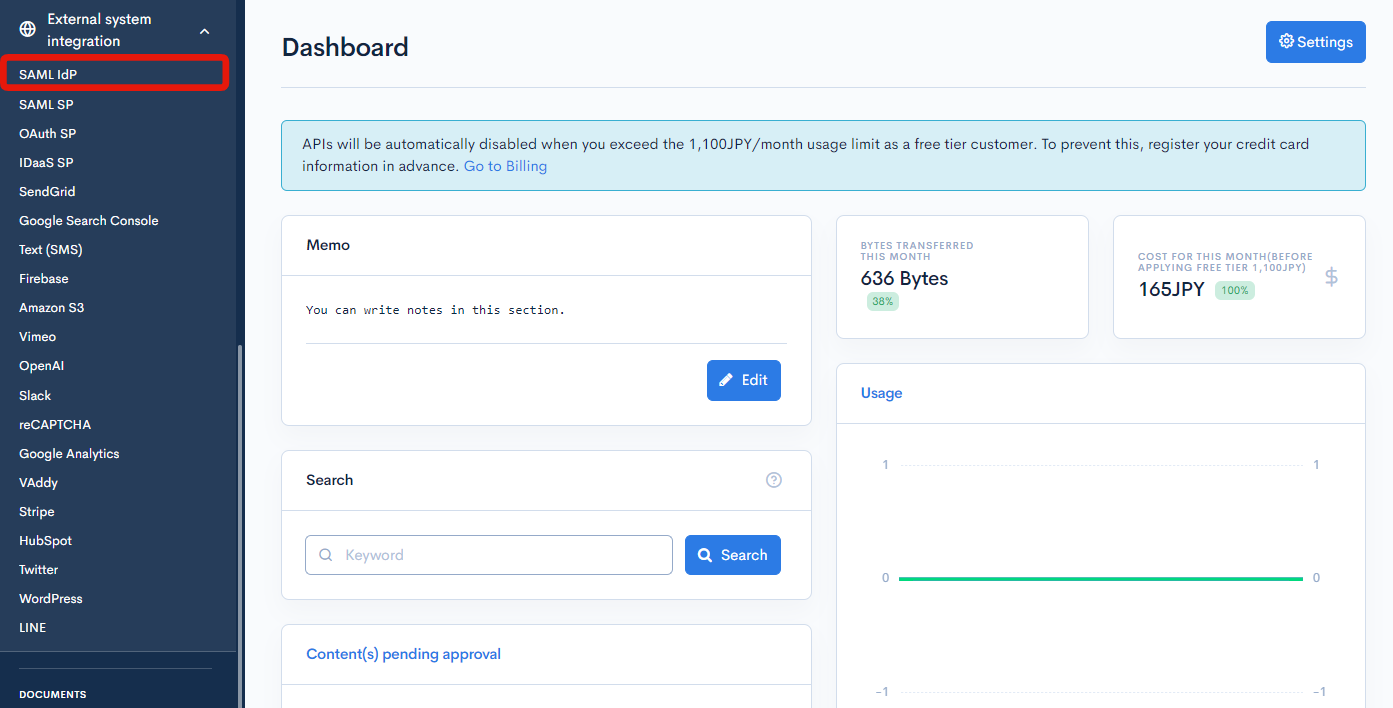
In the left sidebar menu, under "SETTINGS", click [External system integration] -> [SAML IdP].
Field descriptions
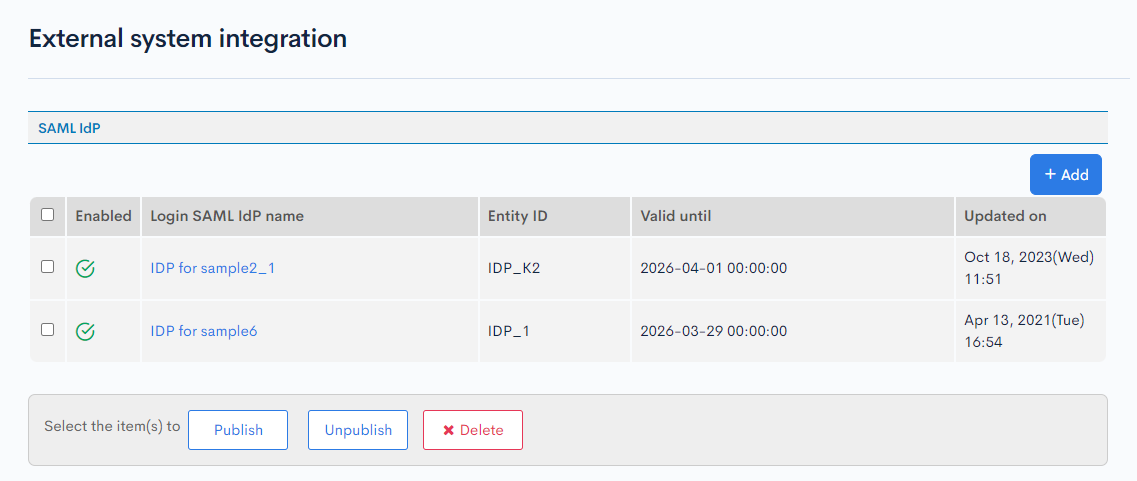
| Field | Description |
|---|---|
| Enabled | Status of the IdP. : Enabled : Enabled : Disabled : Disabled |
| Login SAML IdP name | Name of the IdP. |
| Entity ID | SAML entity ID. |
| Valid until | Expiration date and time of the IdP. |
| Updated on | Date and time of last update to the IdP. |
SAML IdP editor
Accessing the screen
In the left sidebar menu, under "SETTINGS", click [External system integration] -> [SAML IdP].

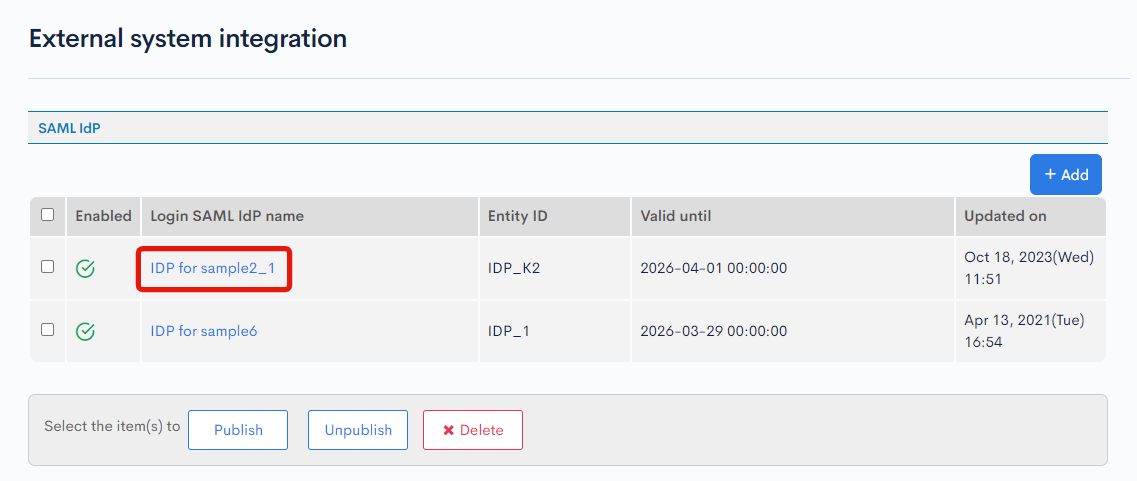
On the SAML IdP list screen, click the name of the IdP you want to edit.
Item descriptions
SAML IdP editor
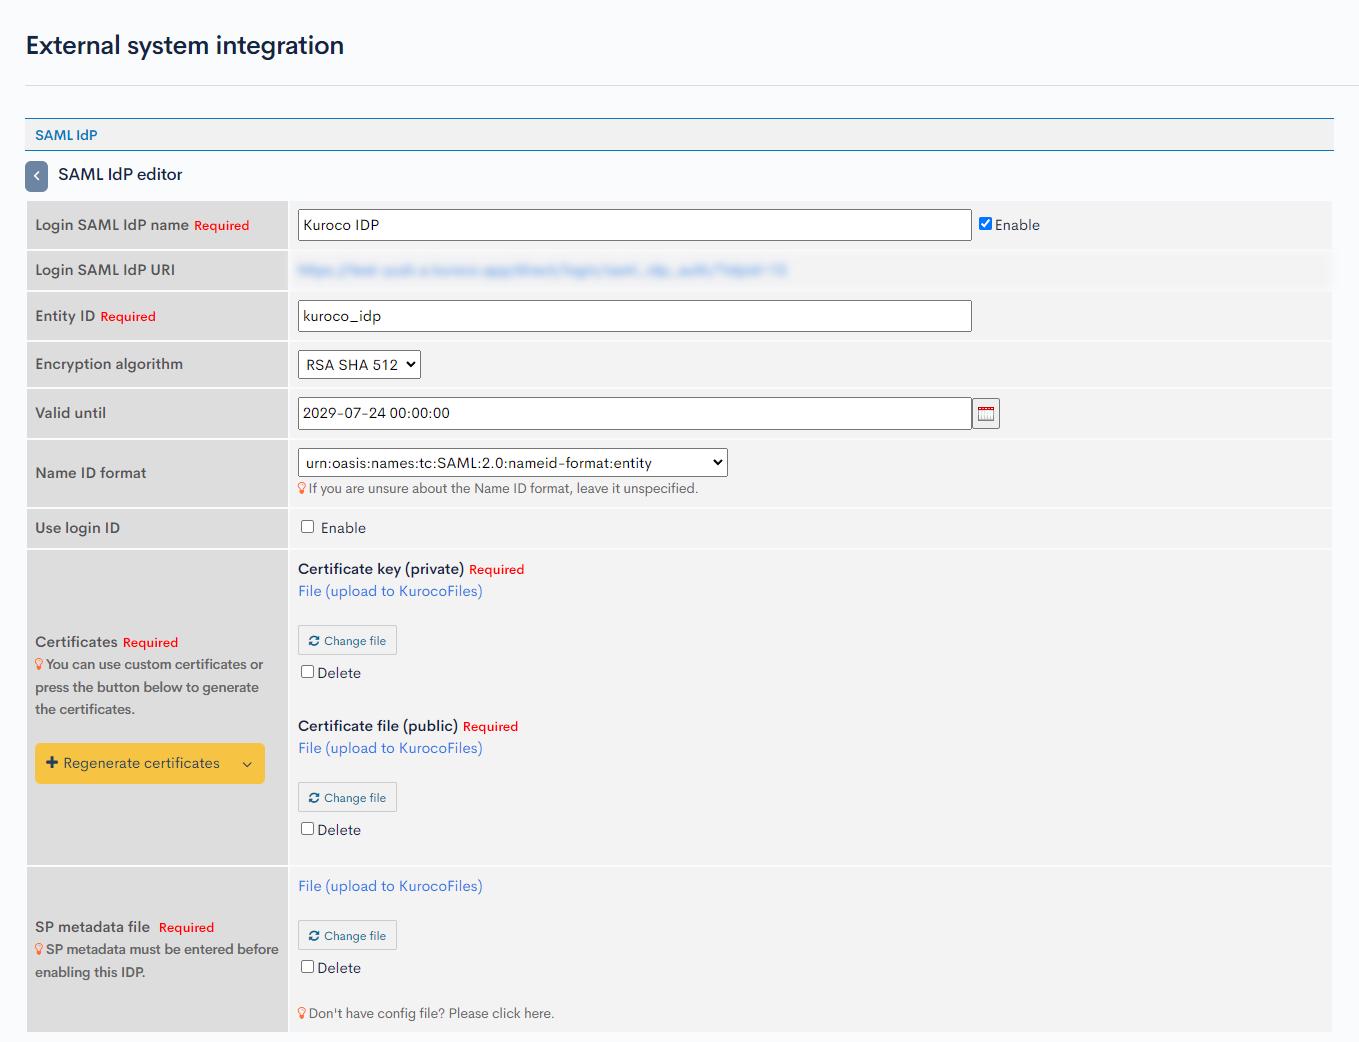
| Item | Description |
|---|---|
| Login SAML IdP name | Name of the IdP. To enable the IdP, check the "Enable" box and specify the required SP metadata below. |
| Login SAML IdP URI | URL that accepts authentication requests from the service provider. This is displayed as IdP metadata and can be manually configured on the SP side as an IdP URL. |
| Entity ID | SAML entity ID. |
| Encryption algorithm | Algorithm to encrypt the login data. |
| Valid until | Expiration date and time of the IdP. |
| Name ID format | Format of the name ID. |
| Use login ID | Check to allow collaboration using the Login ID. |
| Certificates | Certificate file and key used for data encryption. Click [Regenerate certificates] to generate them automatically. (Note: If you have a requirement of a certificate of length of 2048 bits or 8192 bits, you can select from the down arrow next to the generate certificate button. Default certificate size is 4096 bits) |
| SP metadata file | XML metadata file of the service provider. When creating a new IdP, you can omit this field by disabling the IdP. (Note: Instead of uploading a file, you can also click [Don't have config file? Please click here.] to manually enter the following data in text format.
|
| Attribute mapping | You may map a user field as a SAML attribute to distinguish between users. At least one identifier is required for SAML authentication. |
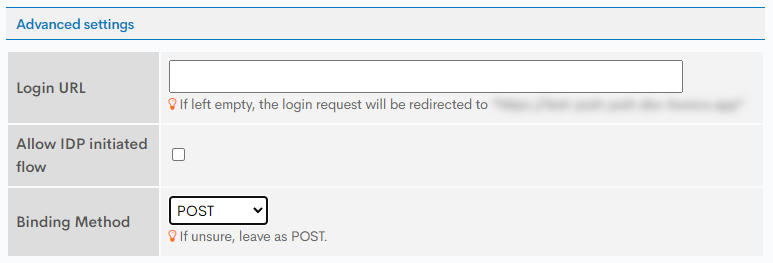
Advanced settings
| Field | Description |
|---|---|
| Login URL | Login page URL. Leaving this field blank will redirect the user to the Front-end domain homepage. The front-end domain can be configured in Environment > Account Settings. The purpose is to allow your frontend logic to handle the login functionality. (Note: If you want to redirect to use Admin Panel Login, you can set the URL as https://(site-key).g.kuroco-mng.app/management/login/login/?Return_URL=/direct/login/saml_idp_auth/?idpid=(IdP-ID), replace the IdP ID with the IdP ID you are configuring) |
| Allow IdP initiated flow | Check this box to enable IdP initiated flow. |
| Binding Method | Selection of the Binding Method. |
Actions

| Button | Description |
|---|---|
| Update | Apply all changes made on this screen. |
| Download metadata | Download the current IdP metadata in SAML 2.0-compliant XML format. |
| Delete | Delete the current IdP. |
Additional Notes for some SP
AWS Cognito
In AWS Cognito, the setup is divided into 2 parts, the configuration binding and the actual binding. AWS runs check while configuration and once those checks pass, only then Cognito allows SAML SSO Metadata to be saved.
During the configuration part, AWS will parse the IdP XML. For that purposes, during configuration time, the Binding Method should be REDIRECT. Binding method is under Advanced Settings.

Once the XML is updated on AWS side, then the Binding Method can be changed to POST for SSO to function.
Support
If you have any other questions, please contact us or check out Our Slack Community.